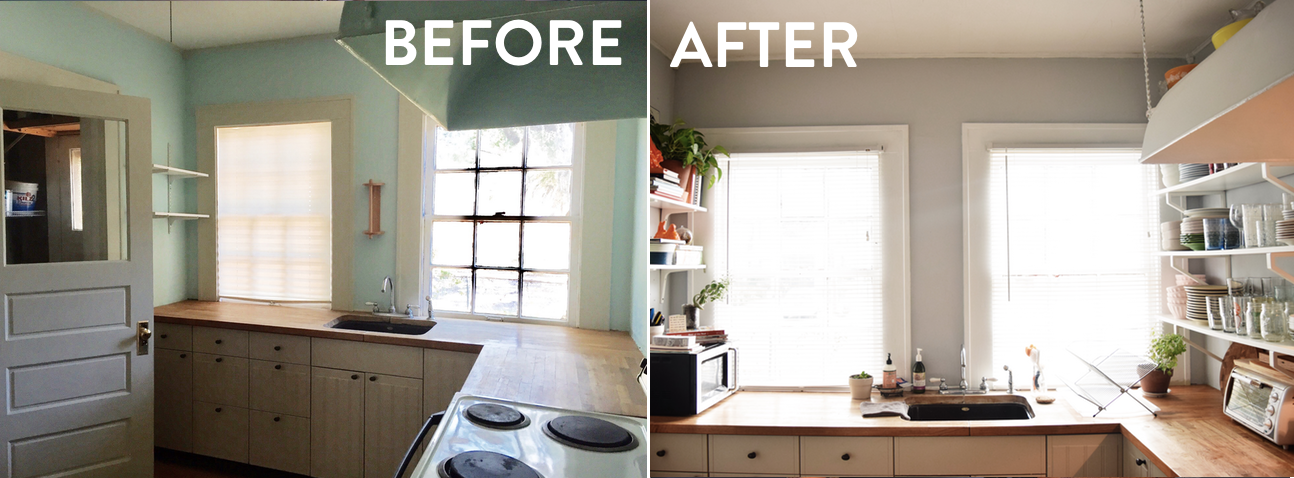
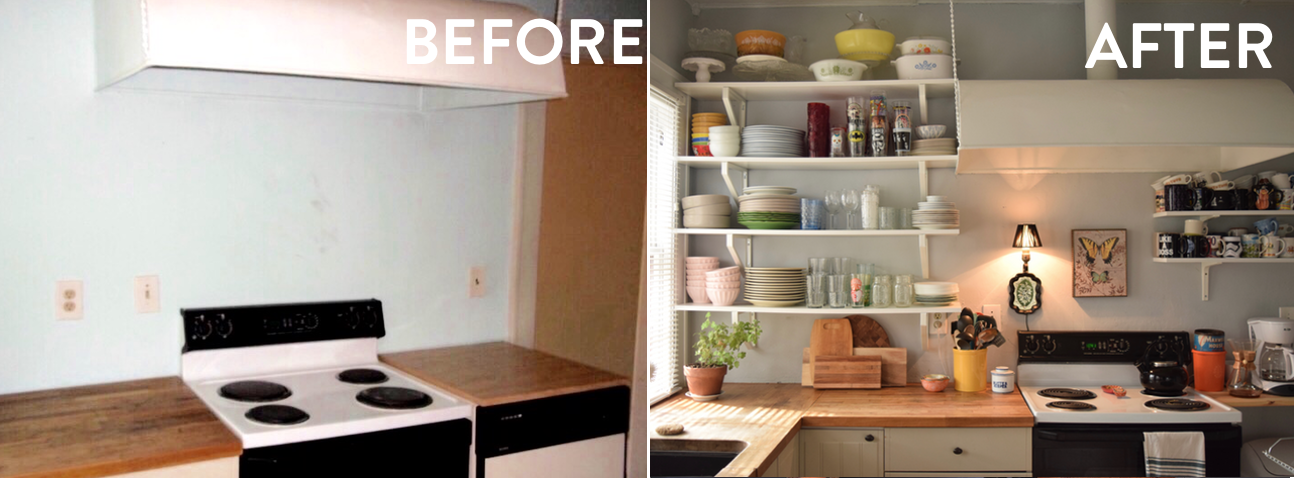
KITCHEN (BEFORE & AFTER)
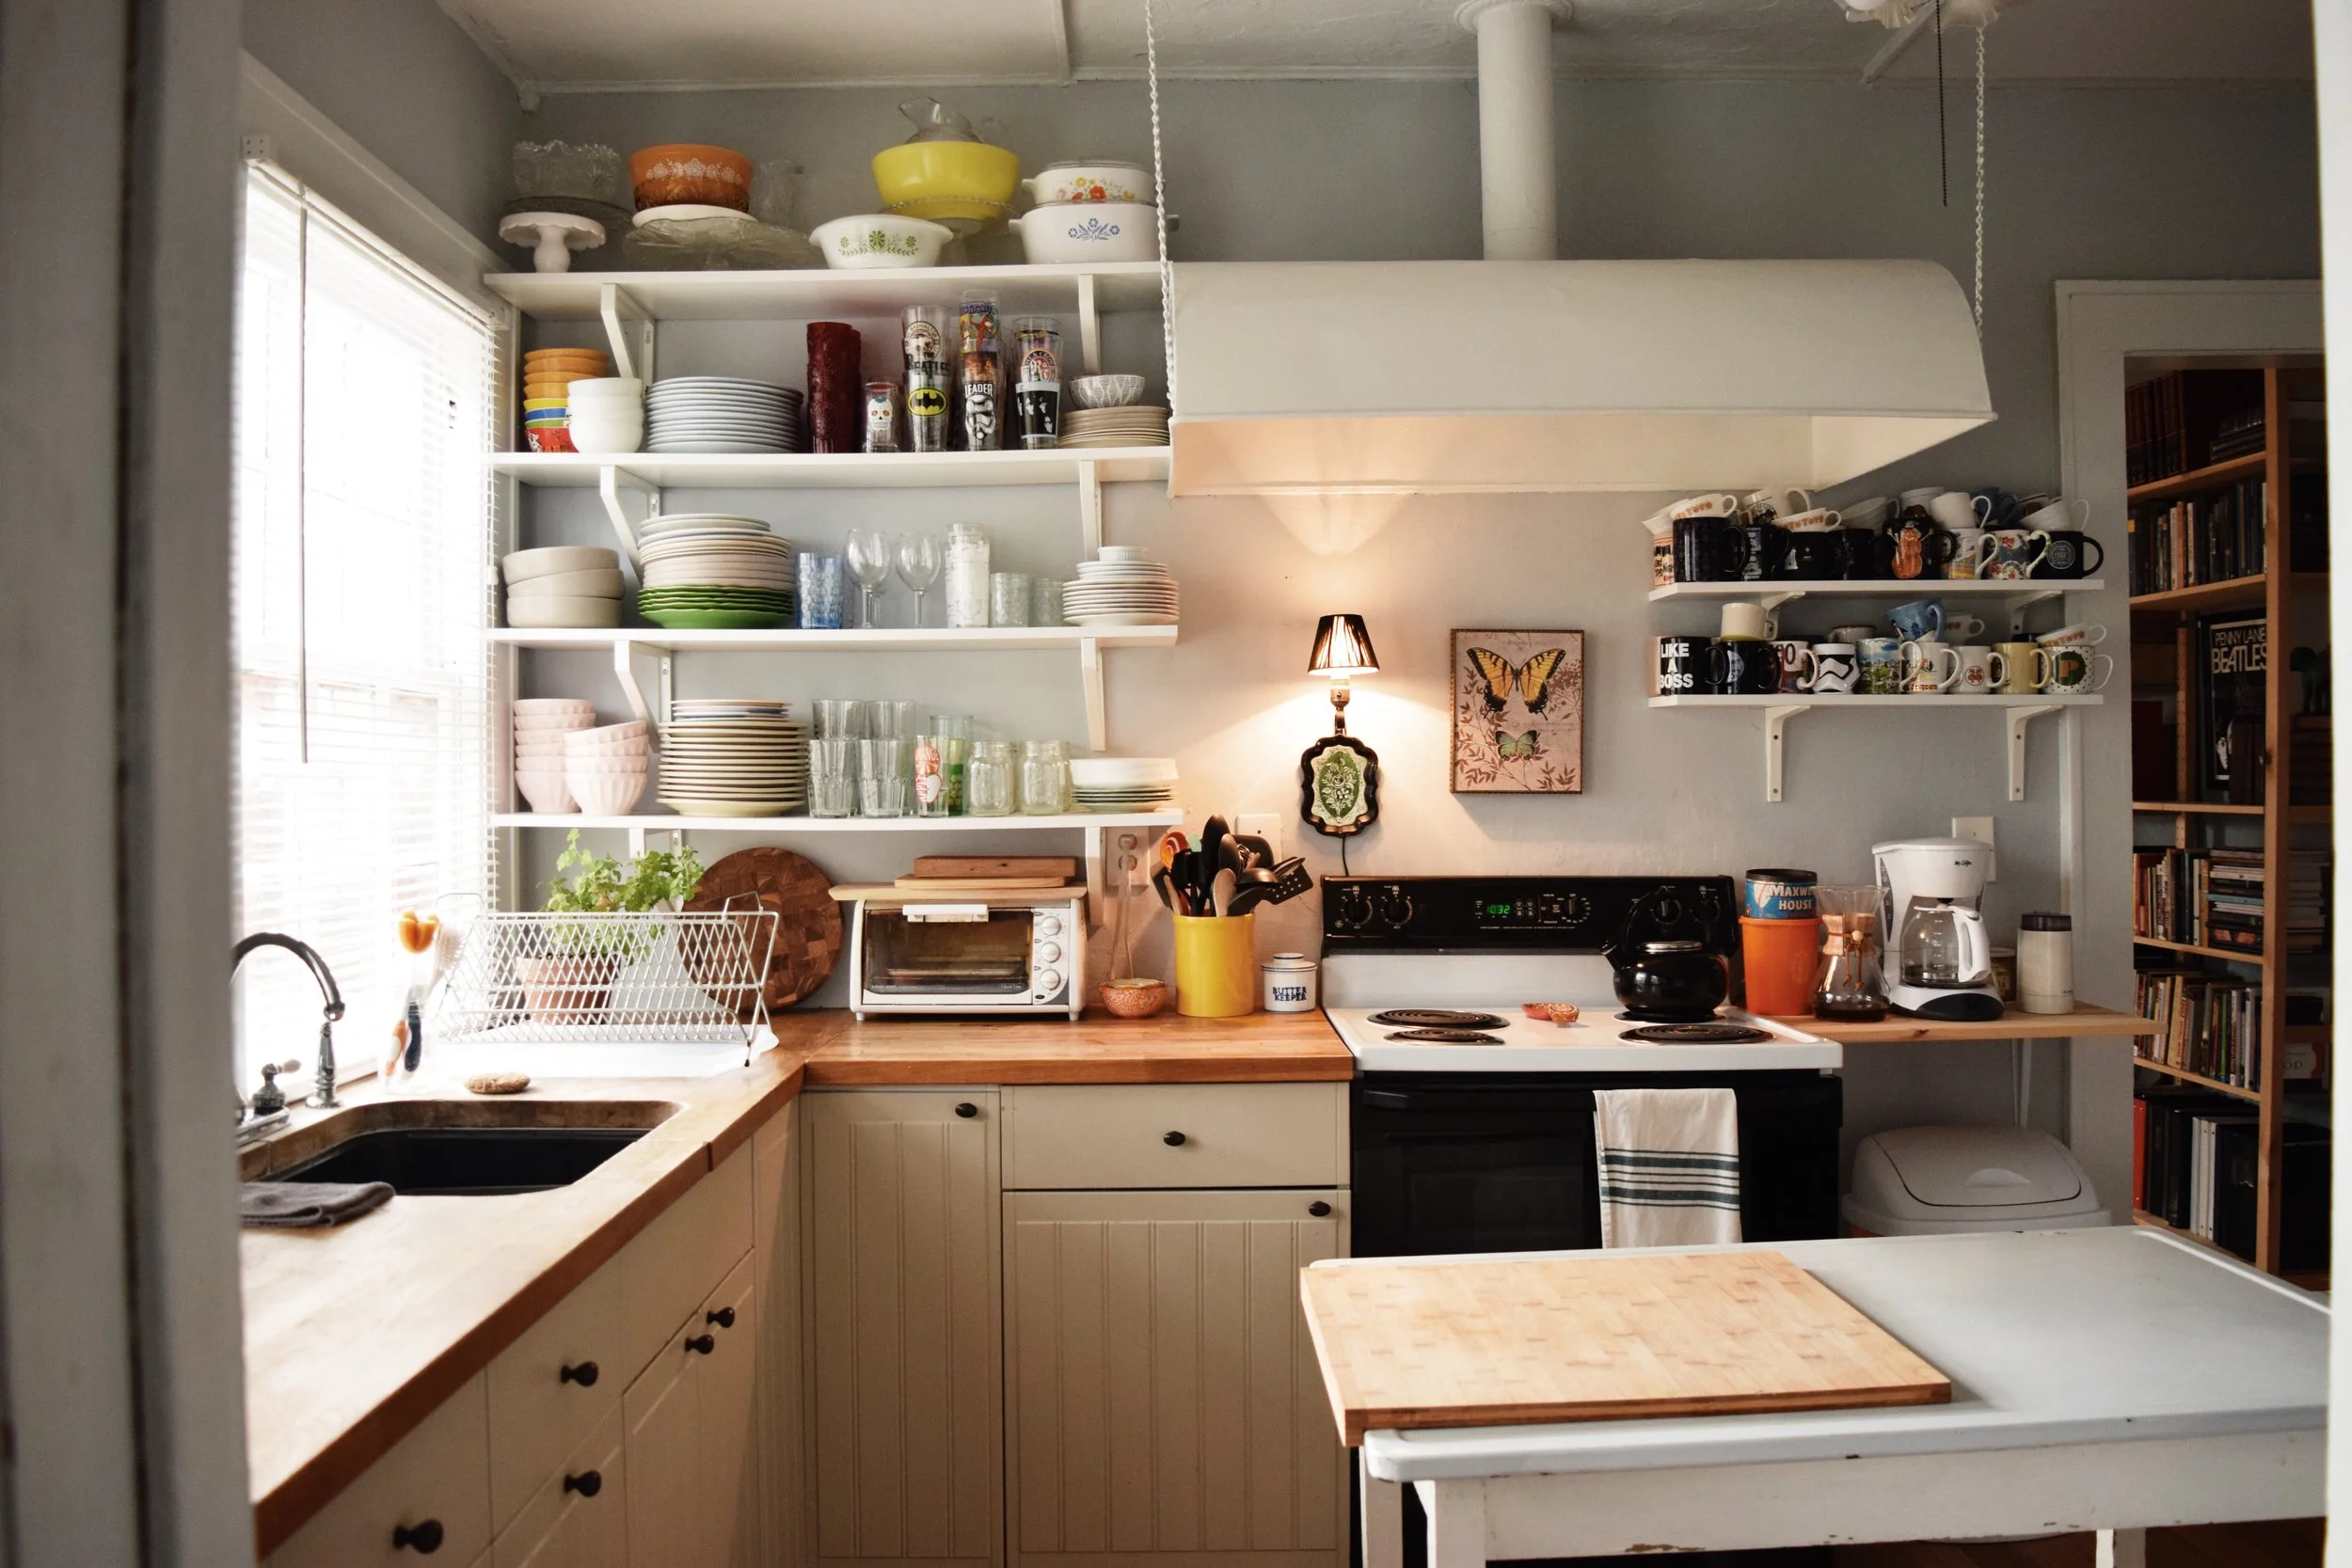
When I walked into this kitchen for the first time I knew there was limited cupboard space and that I needed to get creative with how we used the area. One of the first things I notice was the amount of open wall space not being utilized. I began brainstorming ways we could use this space to accommodate our plates, cups, etc. Our previous home had built in cupboards with wood and glass doors - I loved this feature of our previous kitchen. I wanted to think of ways that I could keep the open look from our previous space and translate that into our new home .


There was a lot of reworking to do in the kitchen - as you can see - the refrigerator was in the breakfast nook, there were two dishwashers that didn't work, and the most random assortment of colors you could imagine. What in the world!? I loved the challenge and was excited to get started!
I immediately began researching options for open shelving for all the free space on the wall. When I begin brainstorming projects like this, I will typically grab a piece of paper and sketch ideas for how to best use the space. Get creative! Draw out as many options as you can think of. You will be surprised how easy it is to find ways to make your ideas work - even with a limited budget.
I was able to find some shelving in Ikea that would worked perfectly for the size area I was working with. So, Calvin and I put the down seats in our car and drove down to Orlando for the day. :)
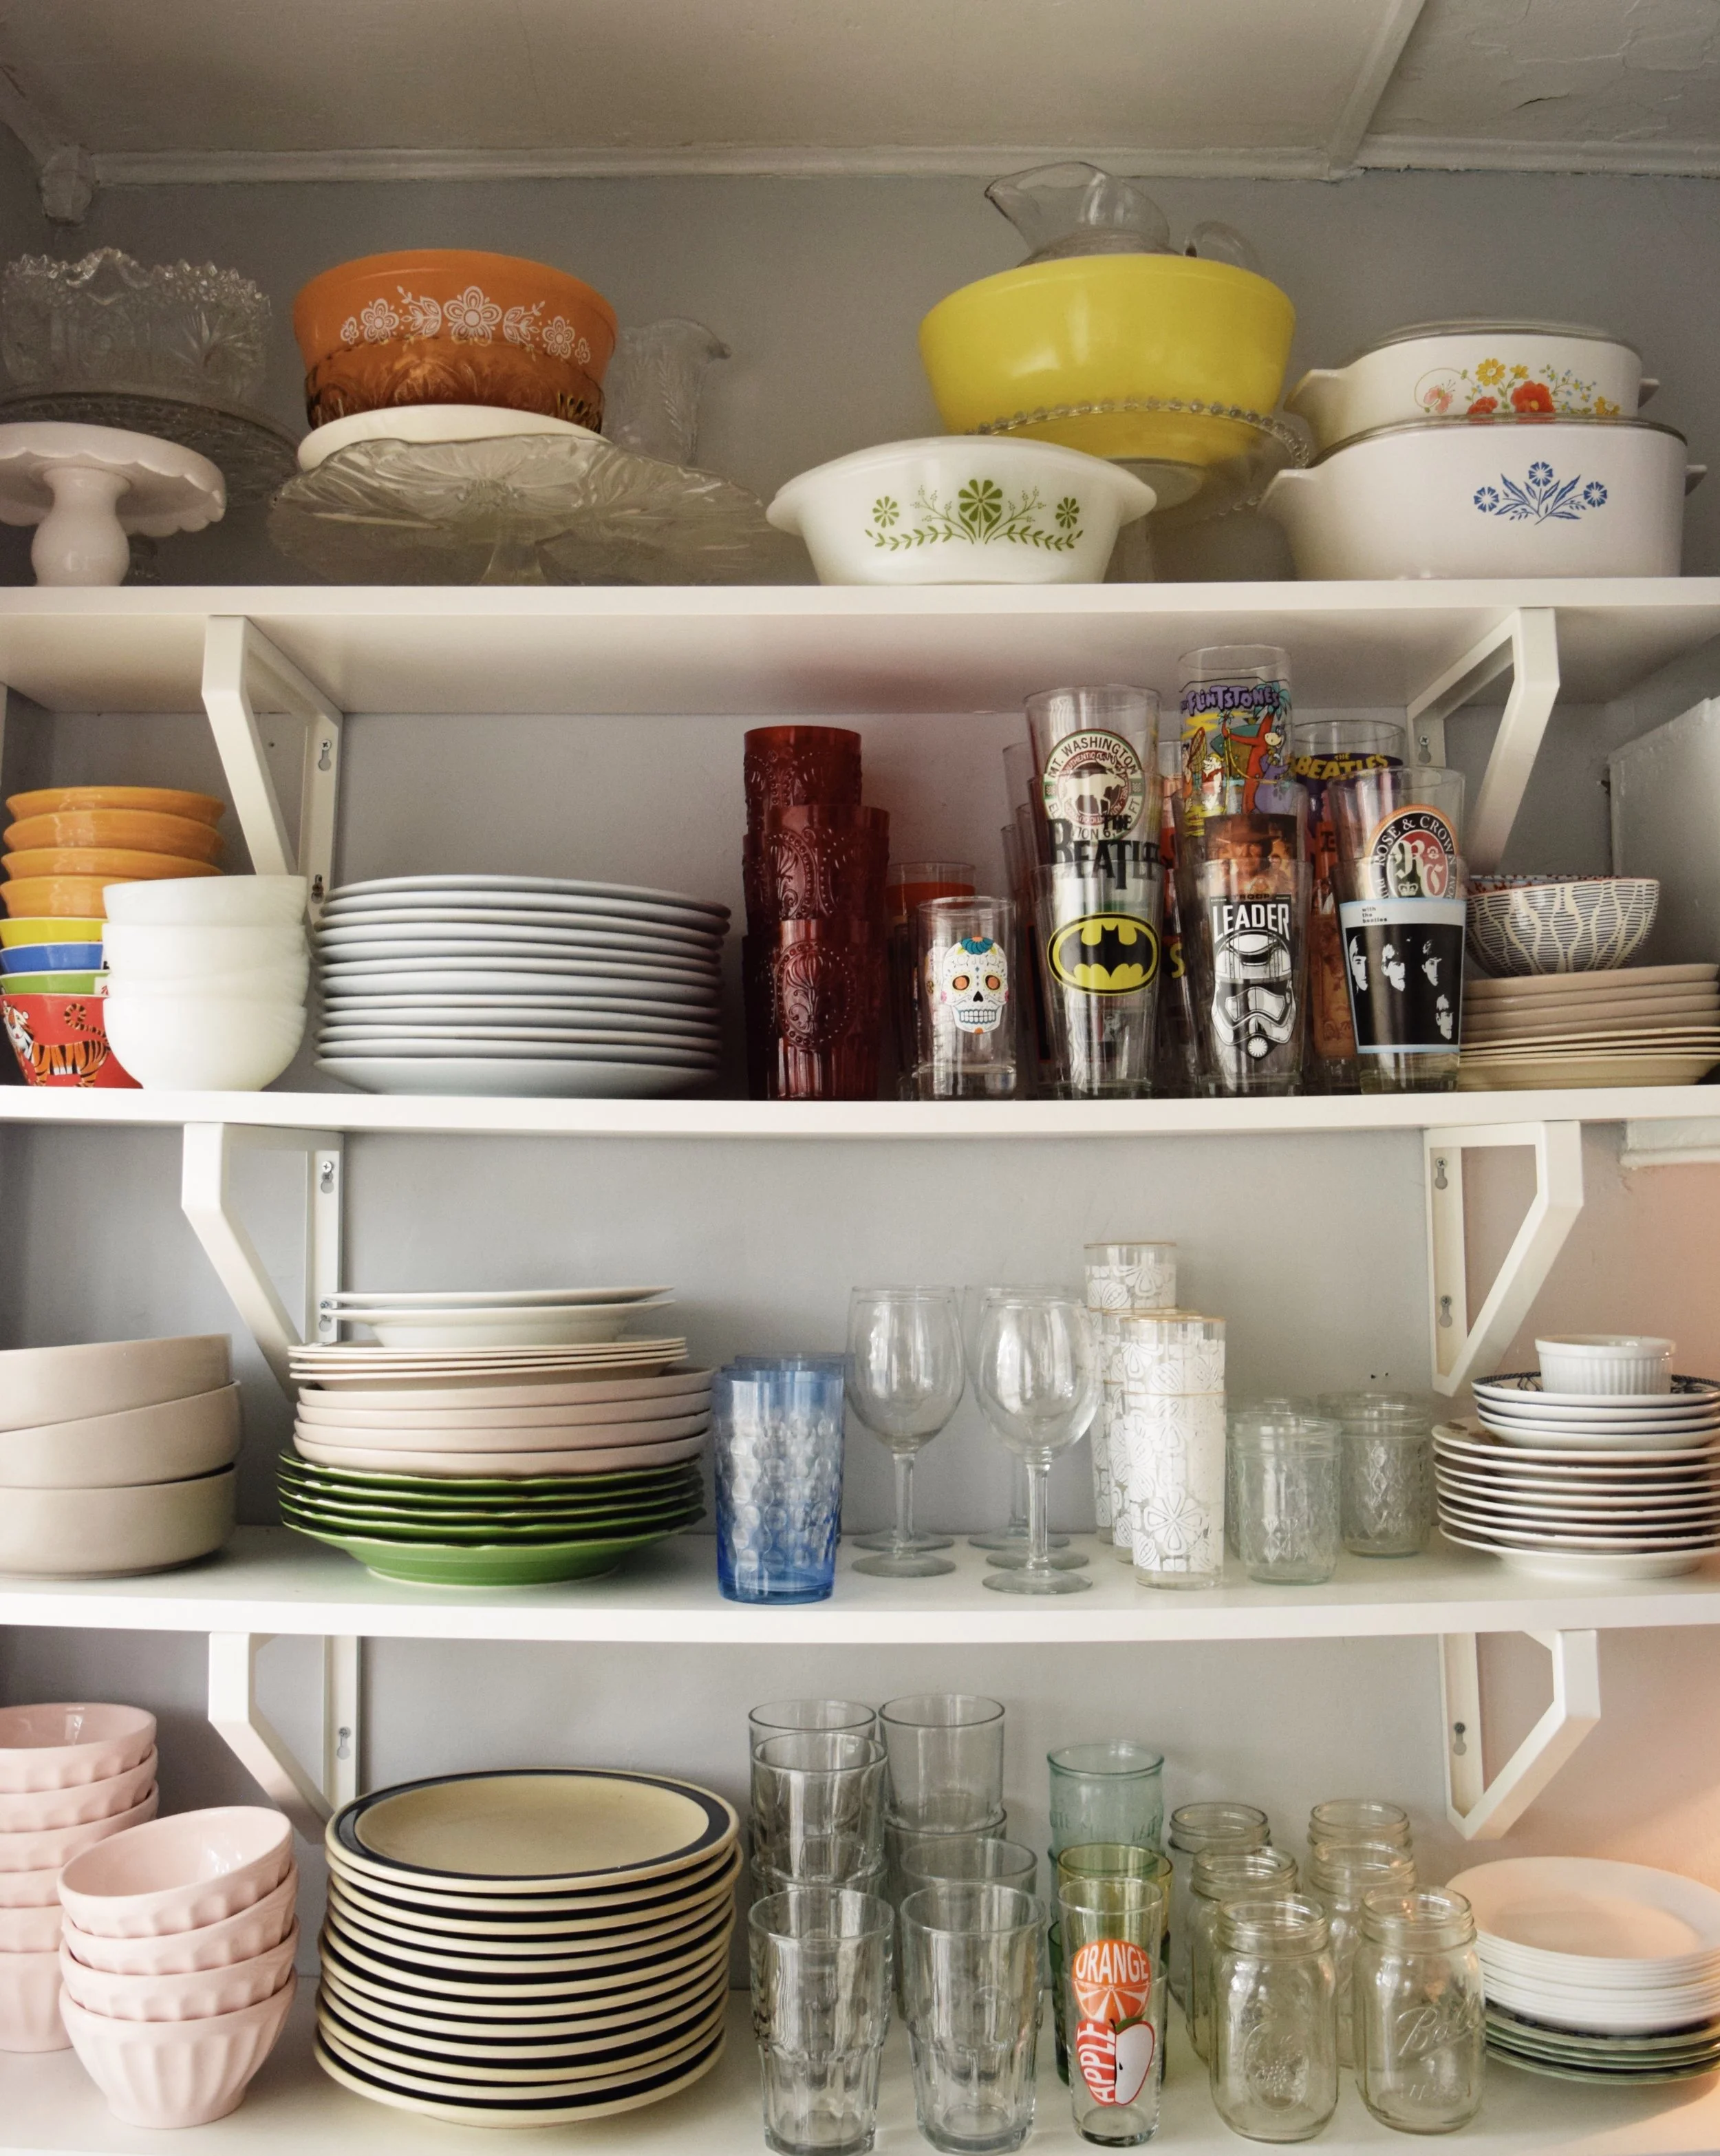
We used the EKBY LERBERG brackets and the EKBY ÖSTEN shelves for our cups, plates, and serving dishes.
We also used the color Gravity on all the walls in the kitchen and in the breakfast nook. This was the main color we used throughout the house and complemented it with a semi-gloss white for the trim.
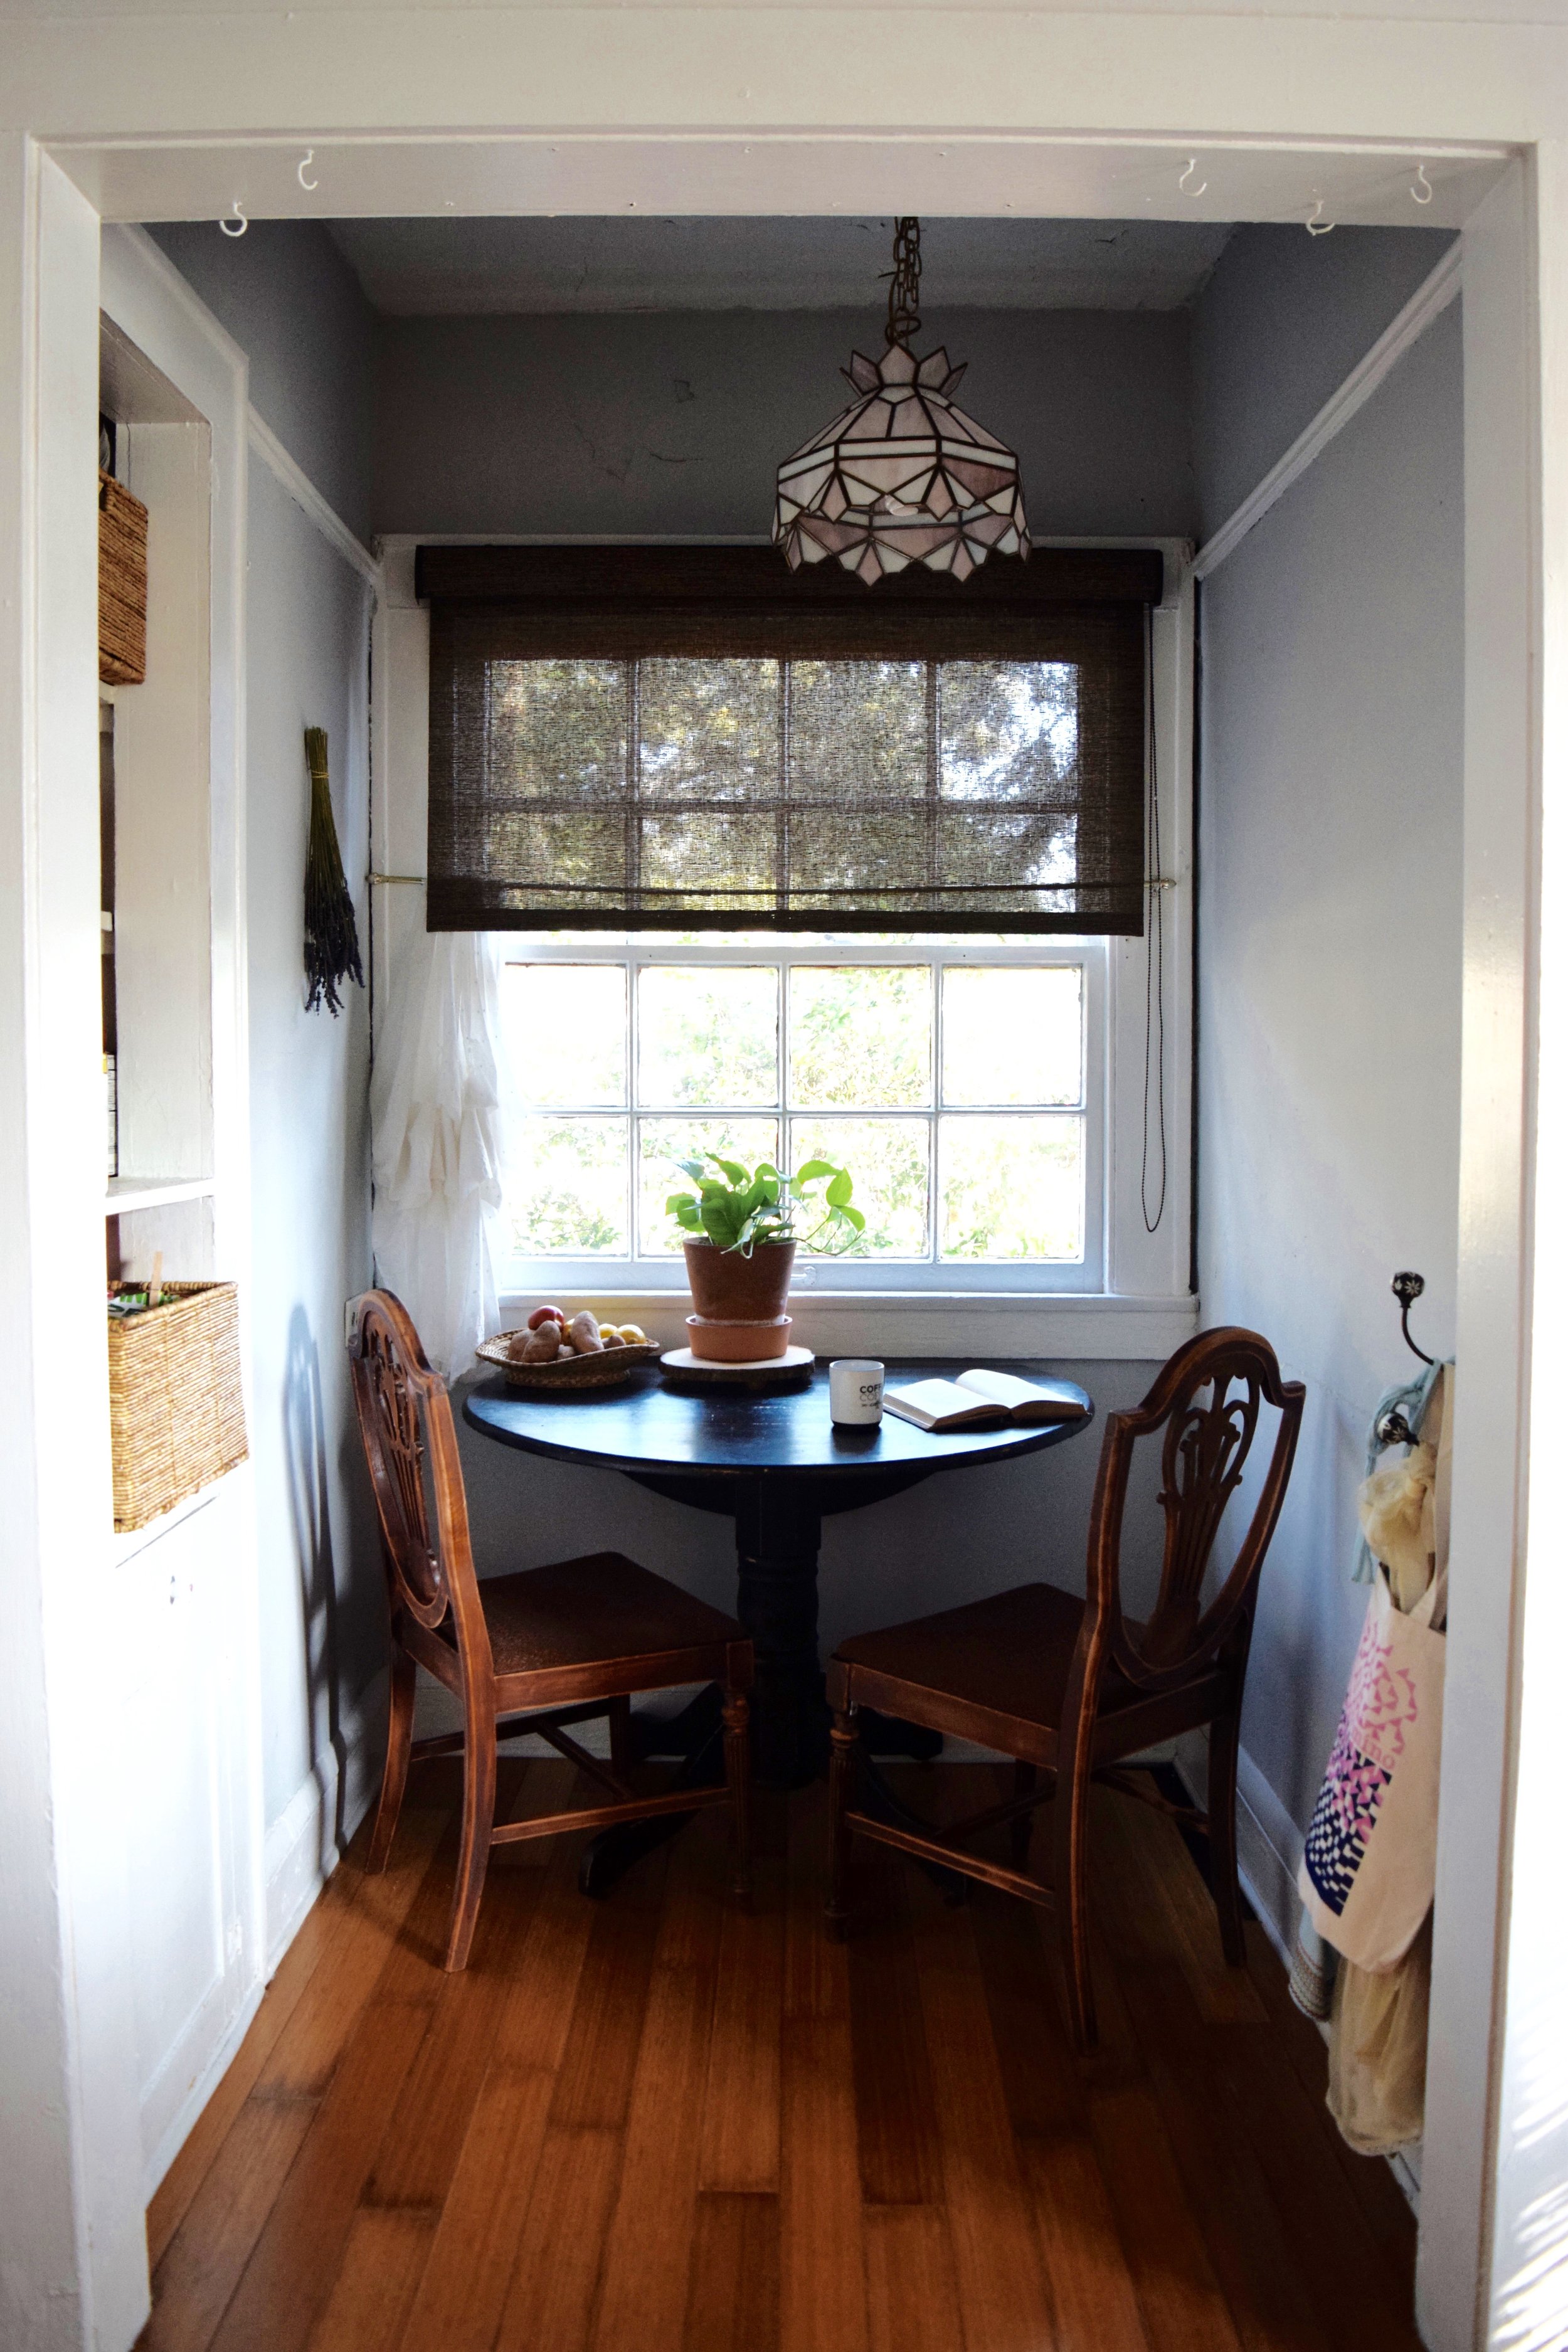
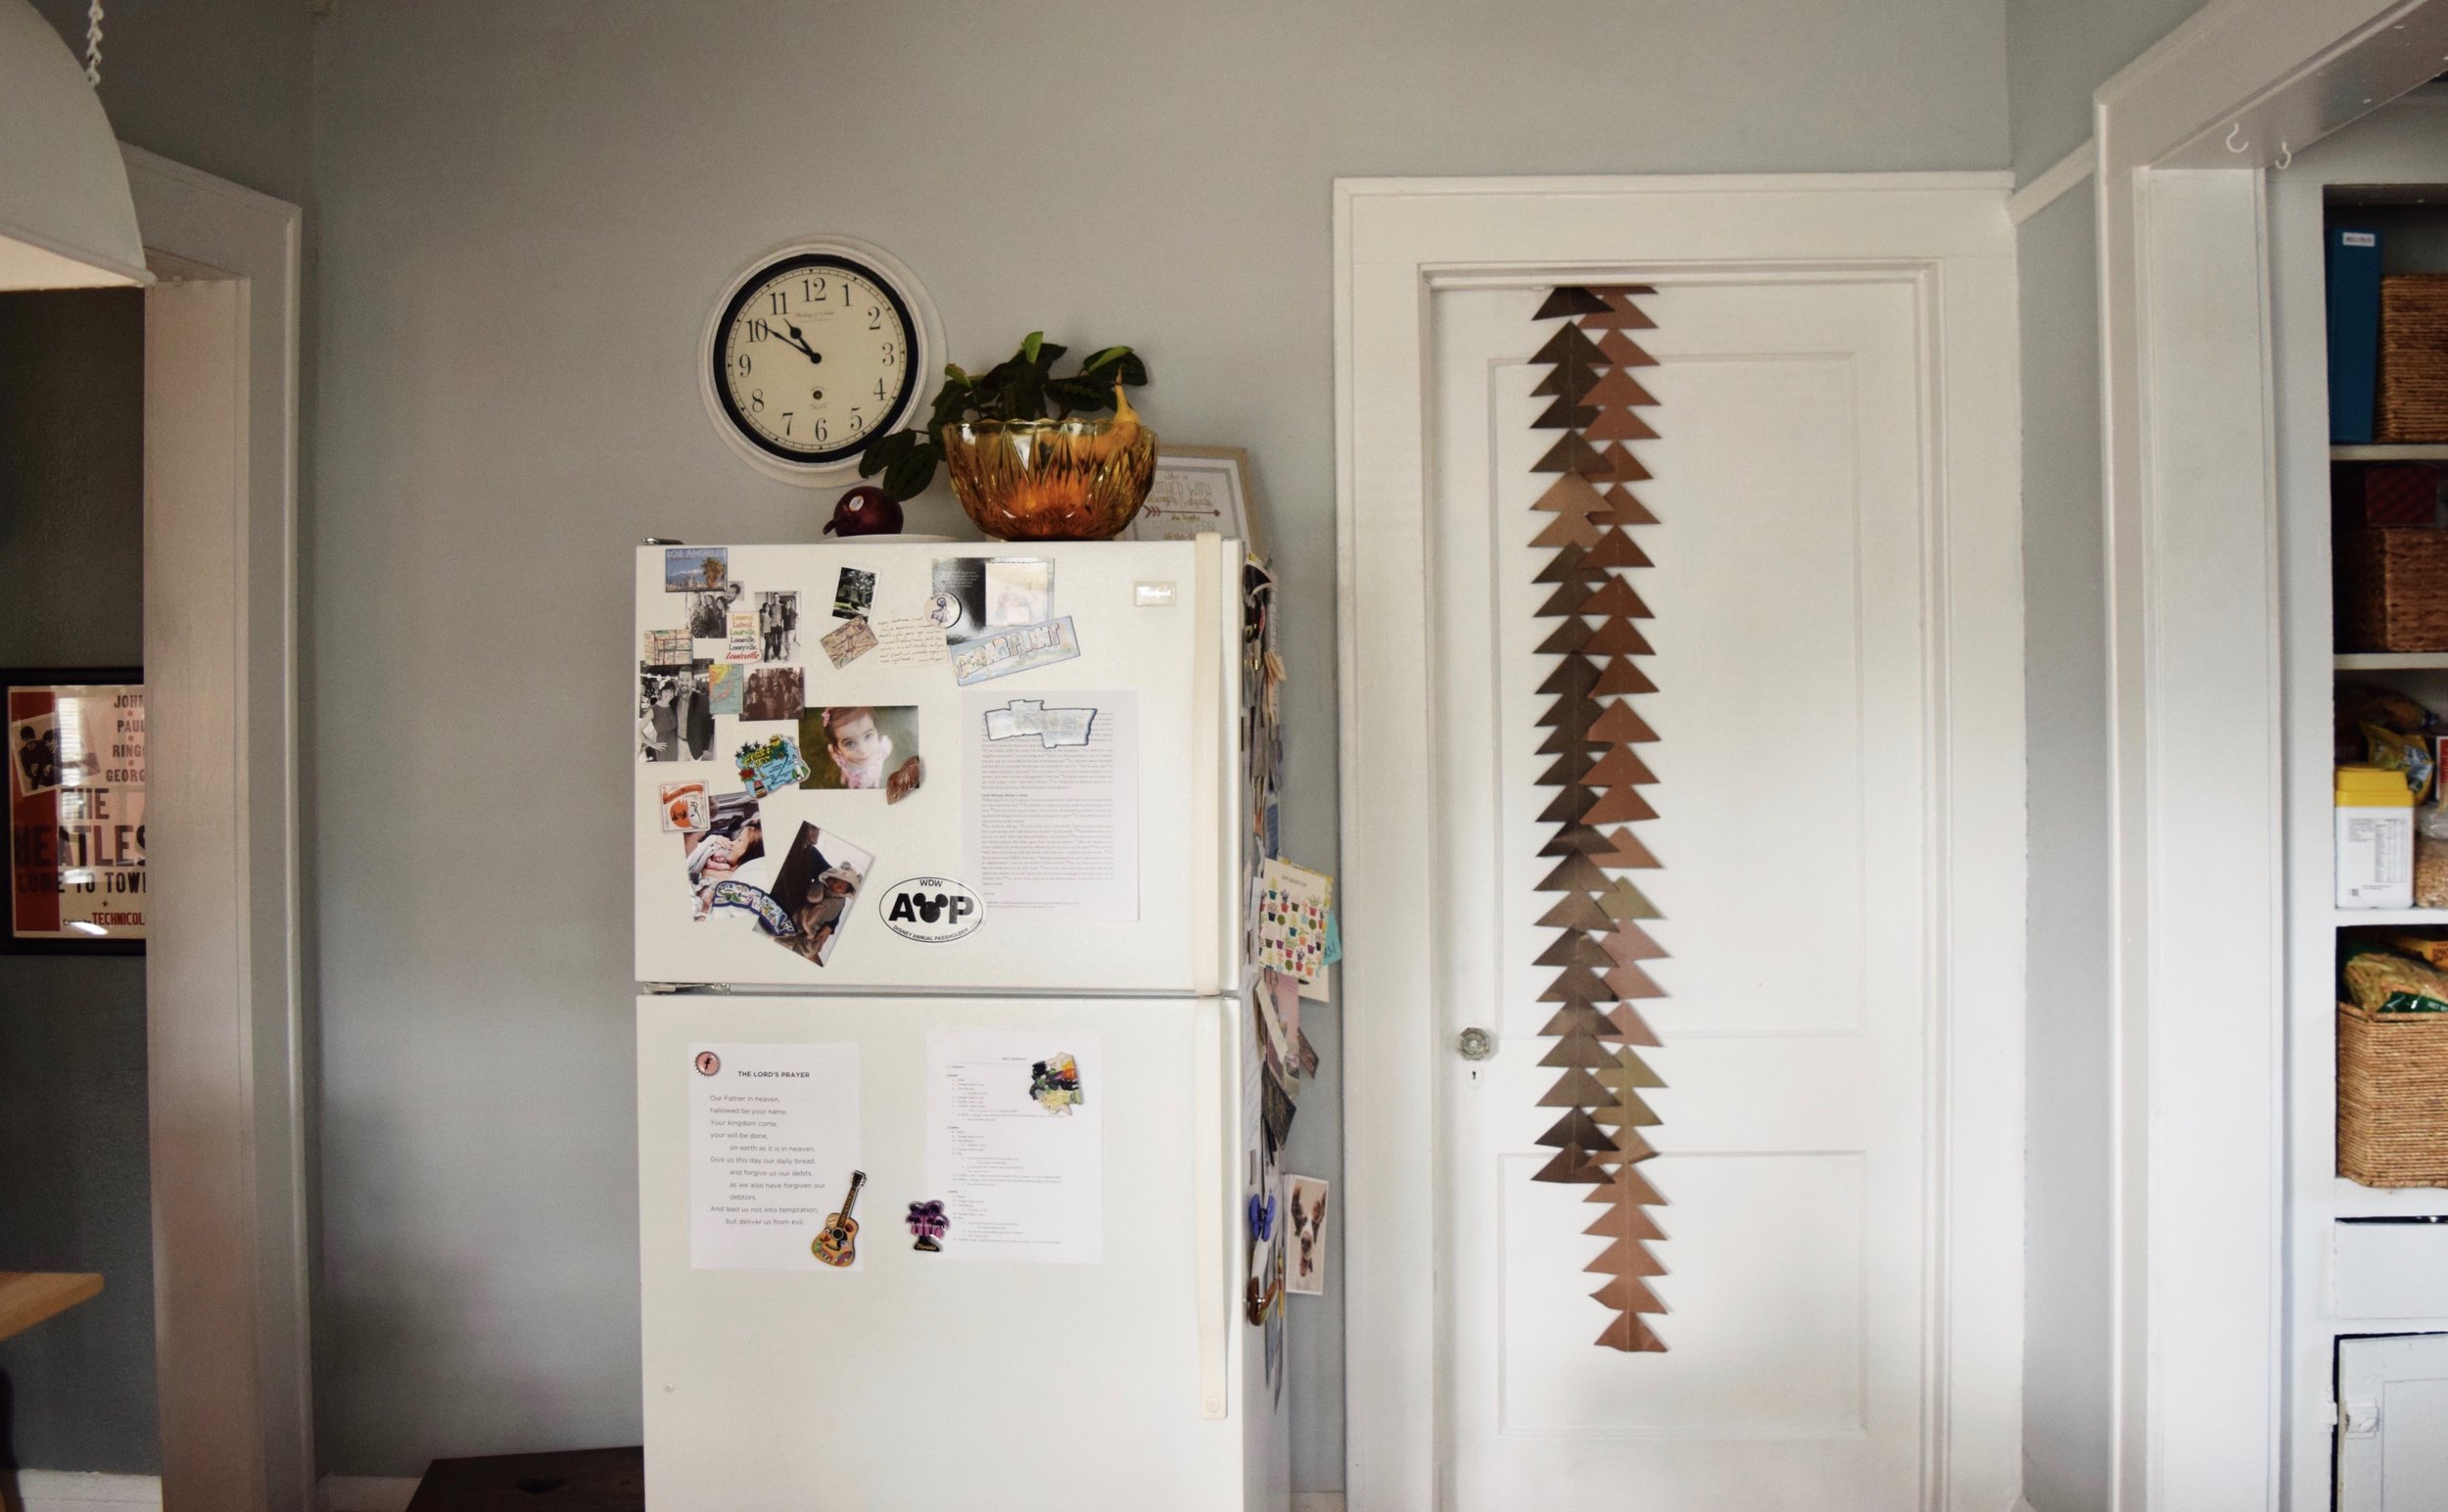
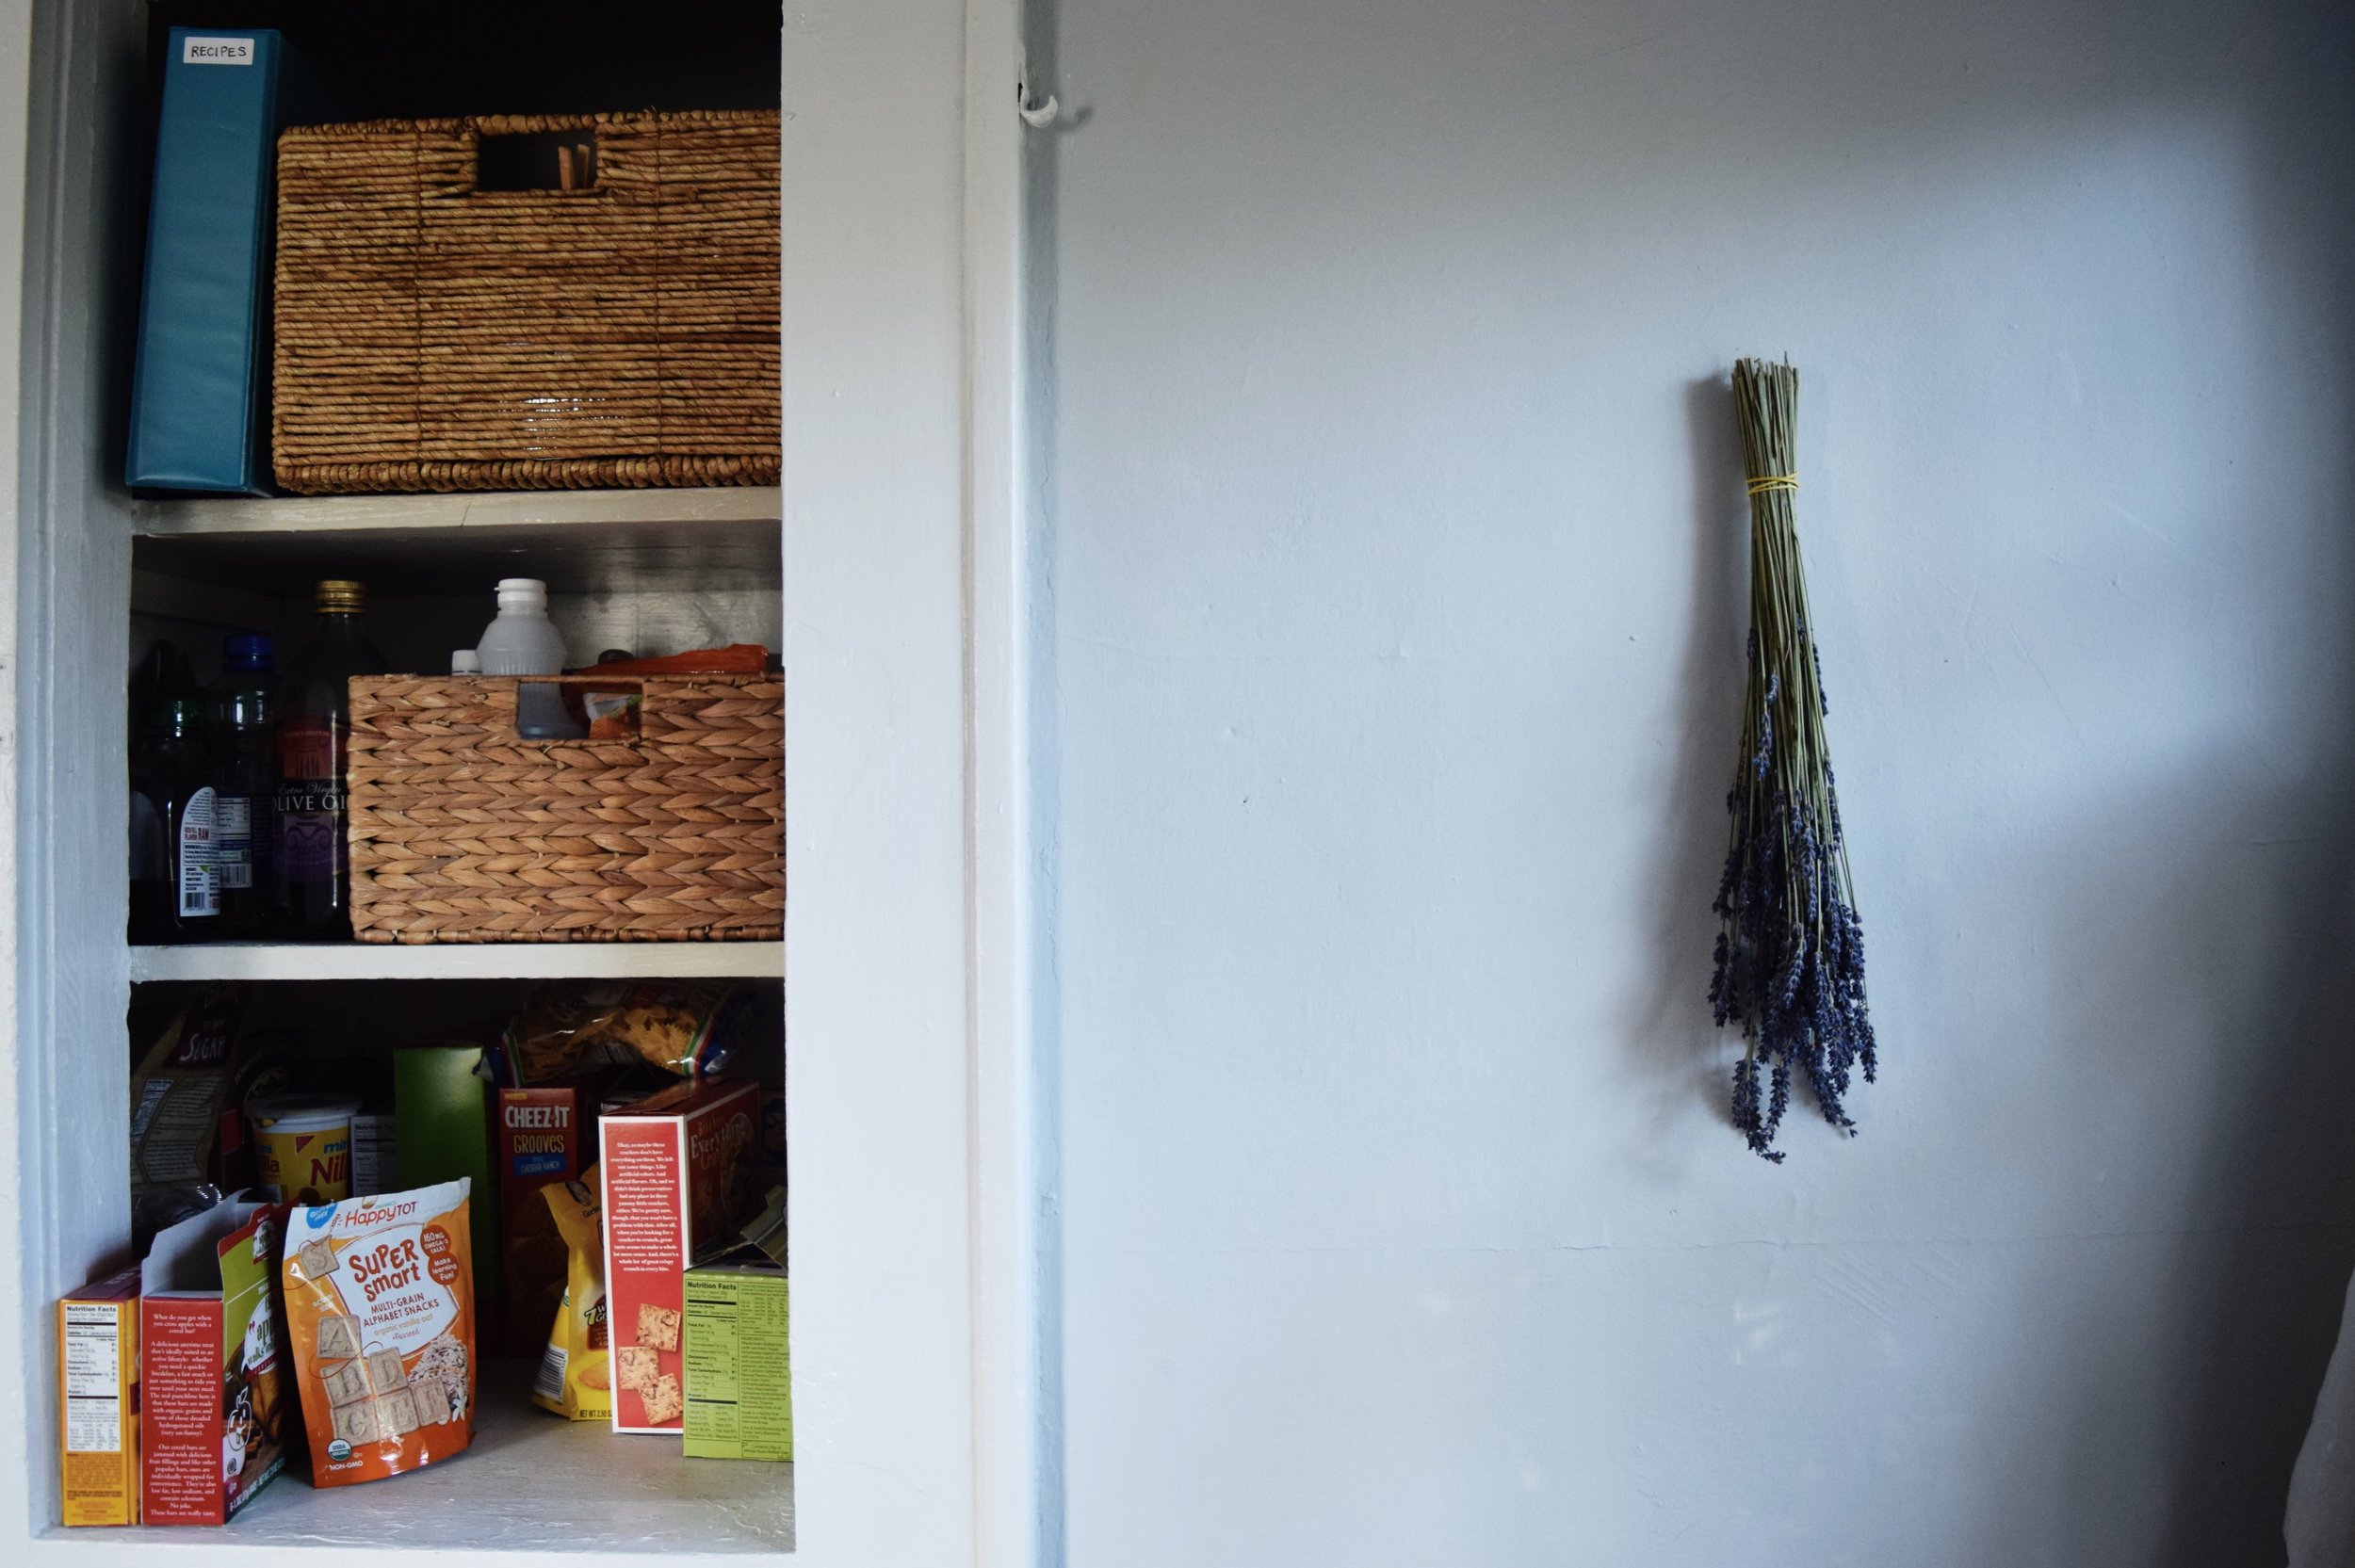
We moved the refrigerator out of the breakfast nook and placed it on a free wall. I also placed a round table (with one of the leaves collapsed) up against the window, which I often use for reading and enjoying some quiet time in the morning. There was shelving on the left hand side that I use for pantry items. The shelving is very deep, so I use baskets to help keep things organized and easy to access.
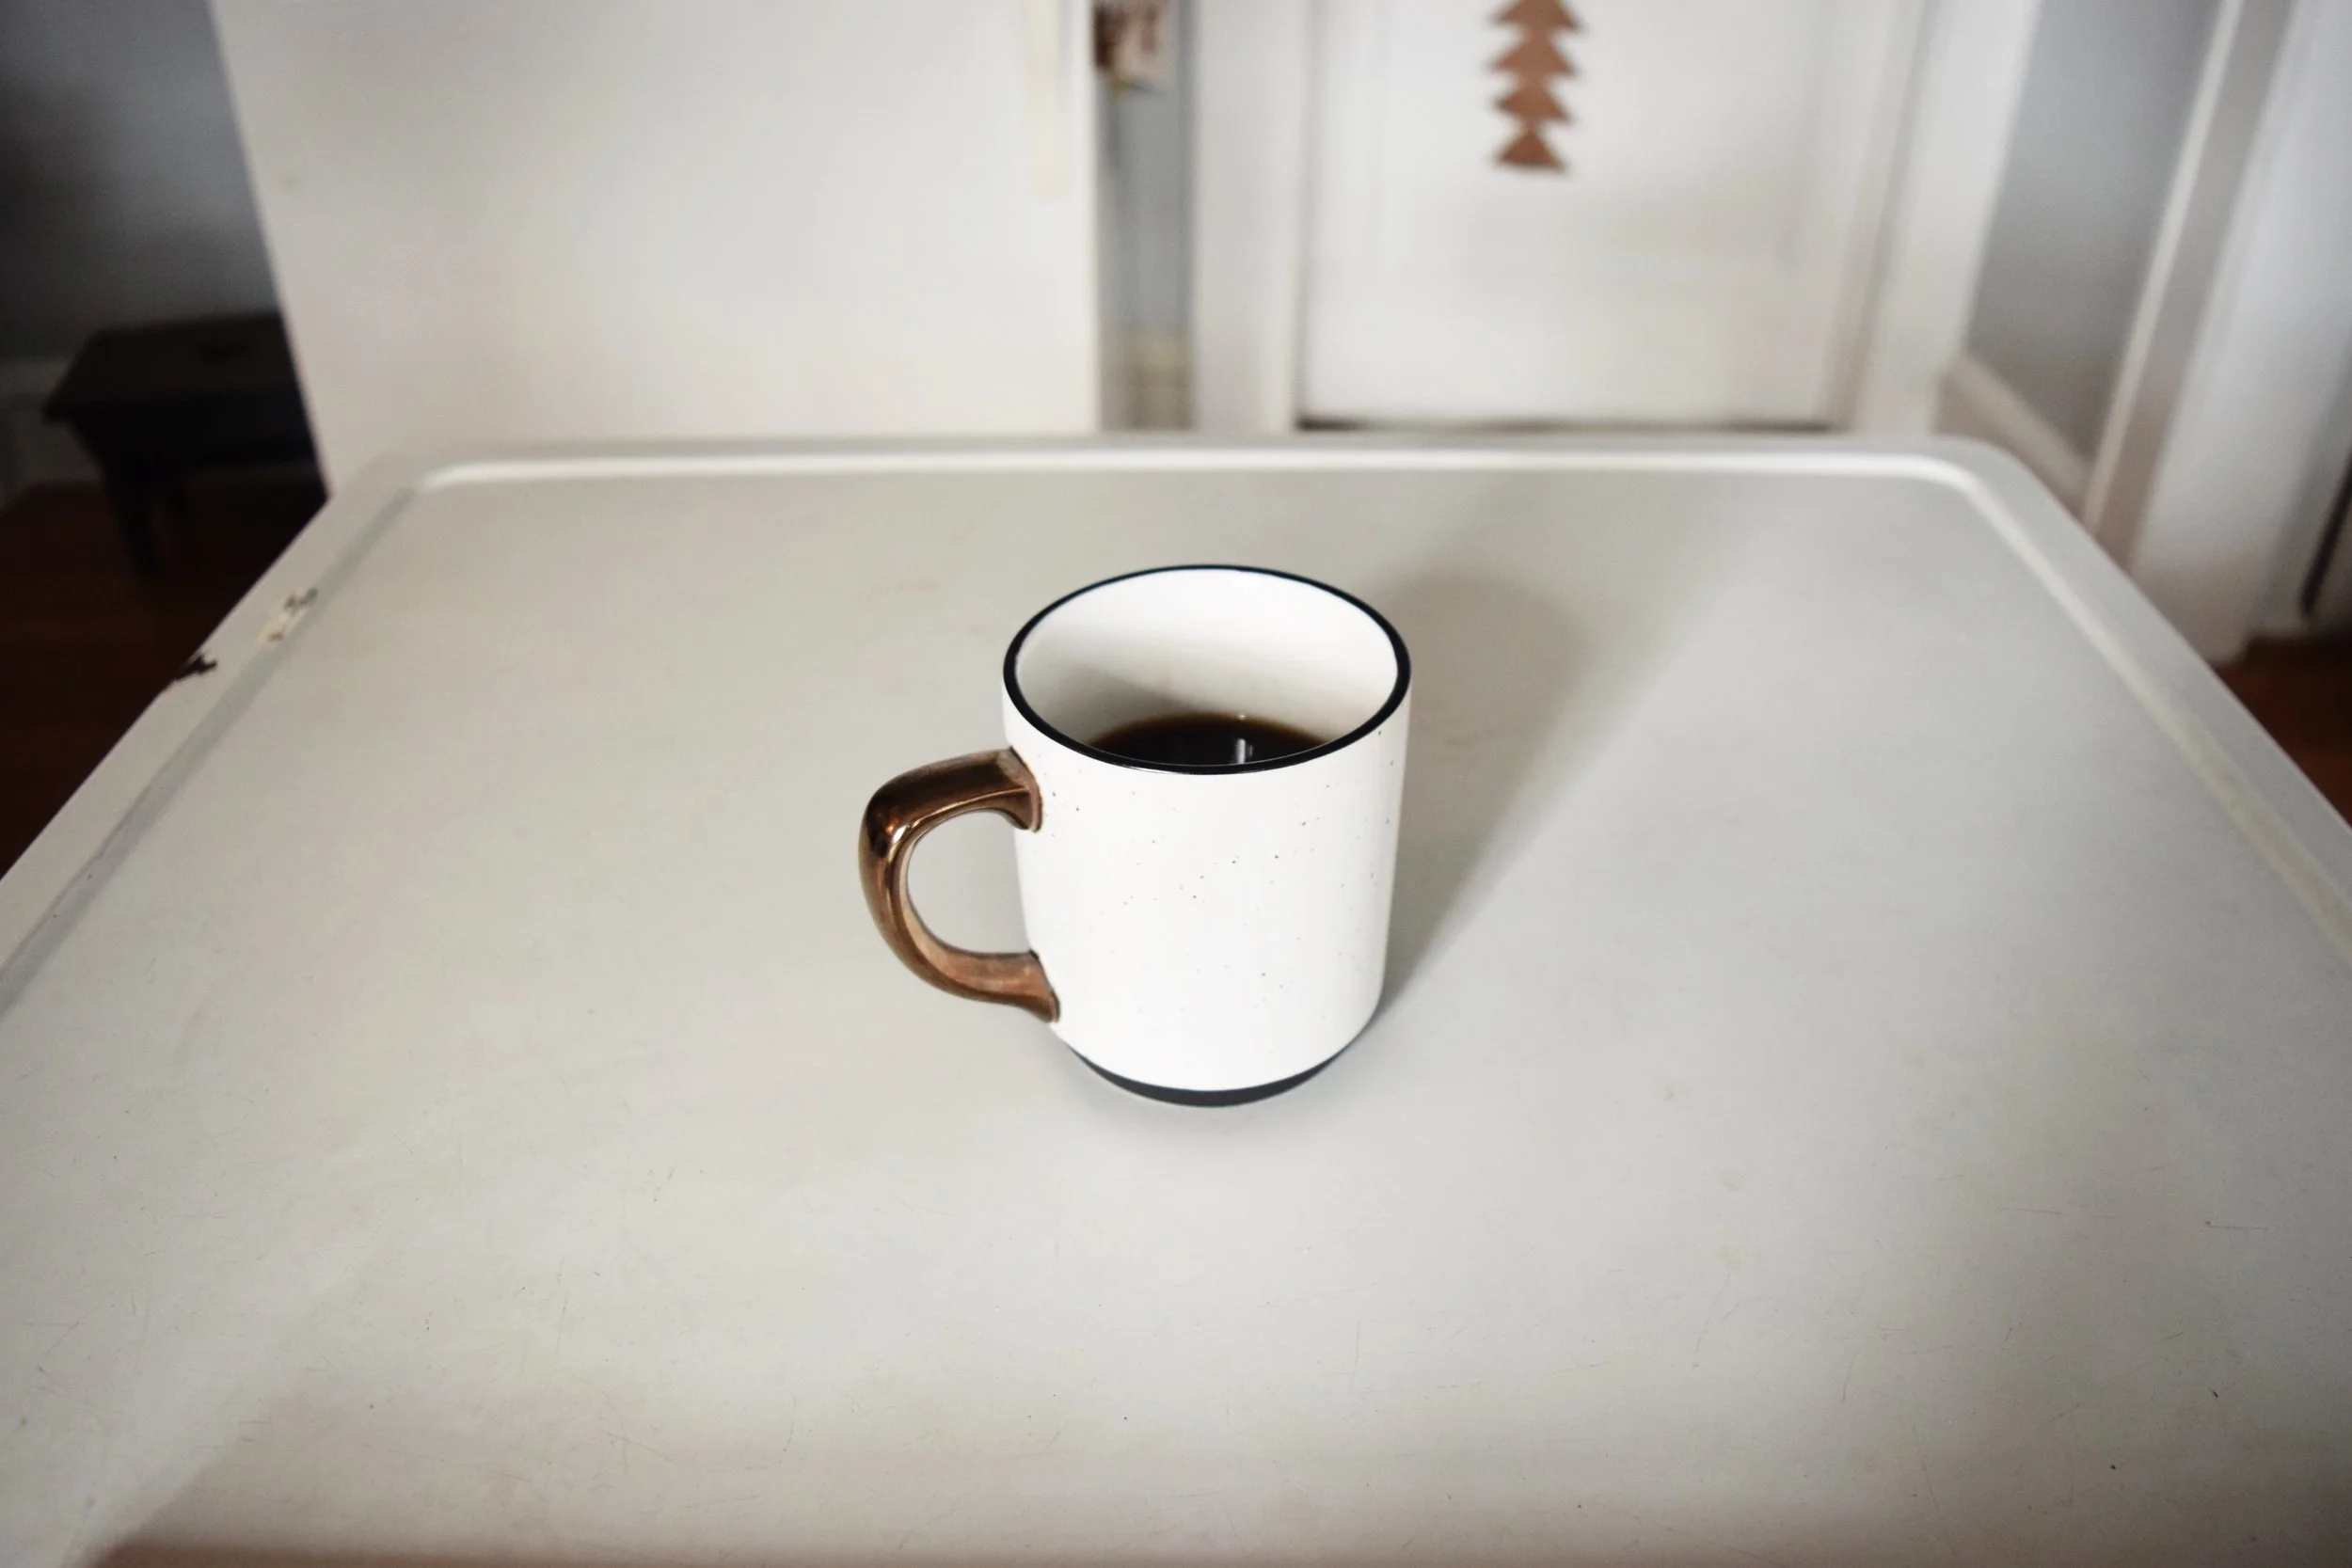
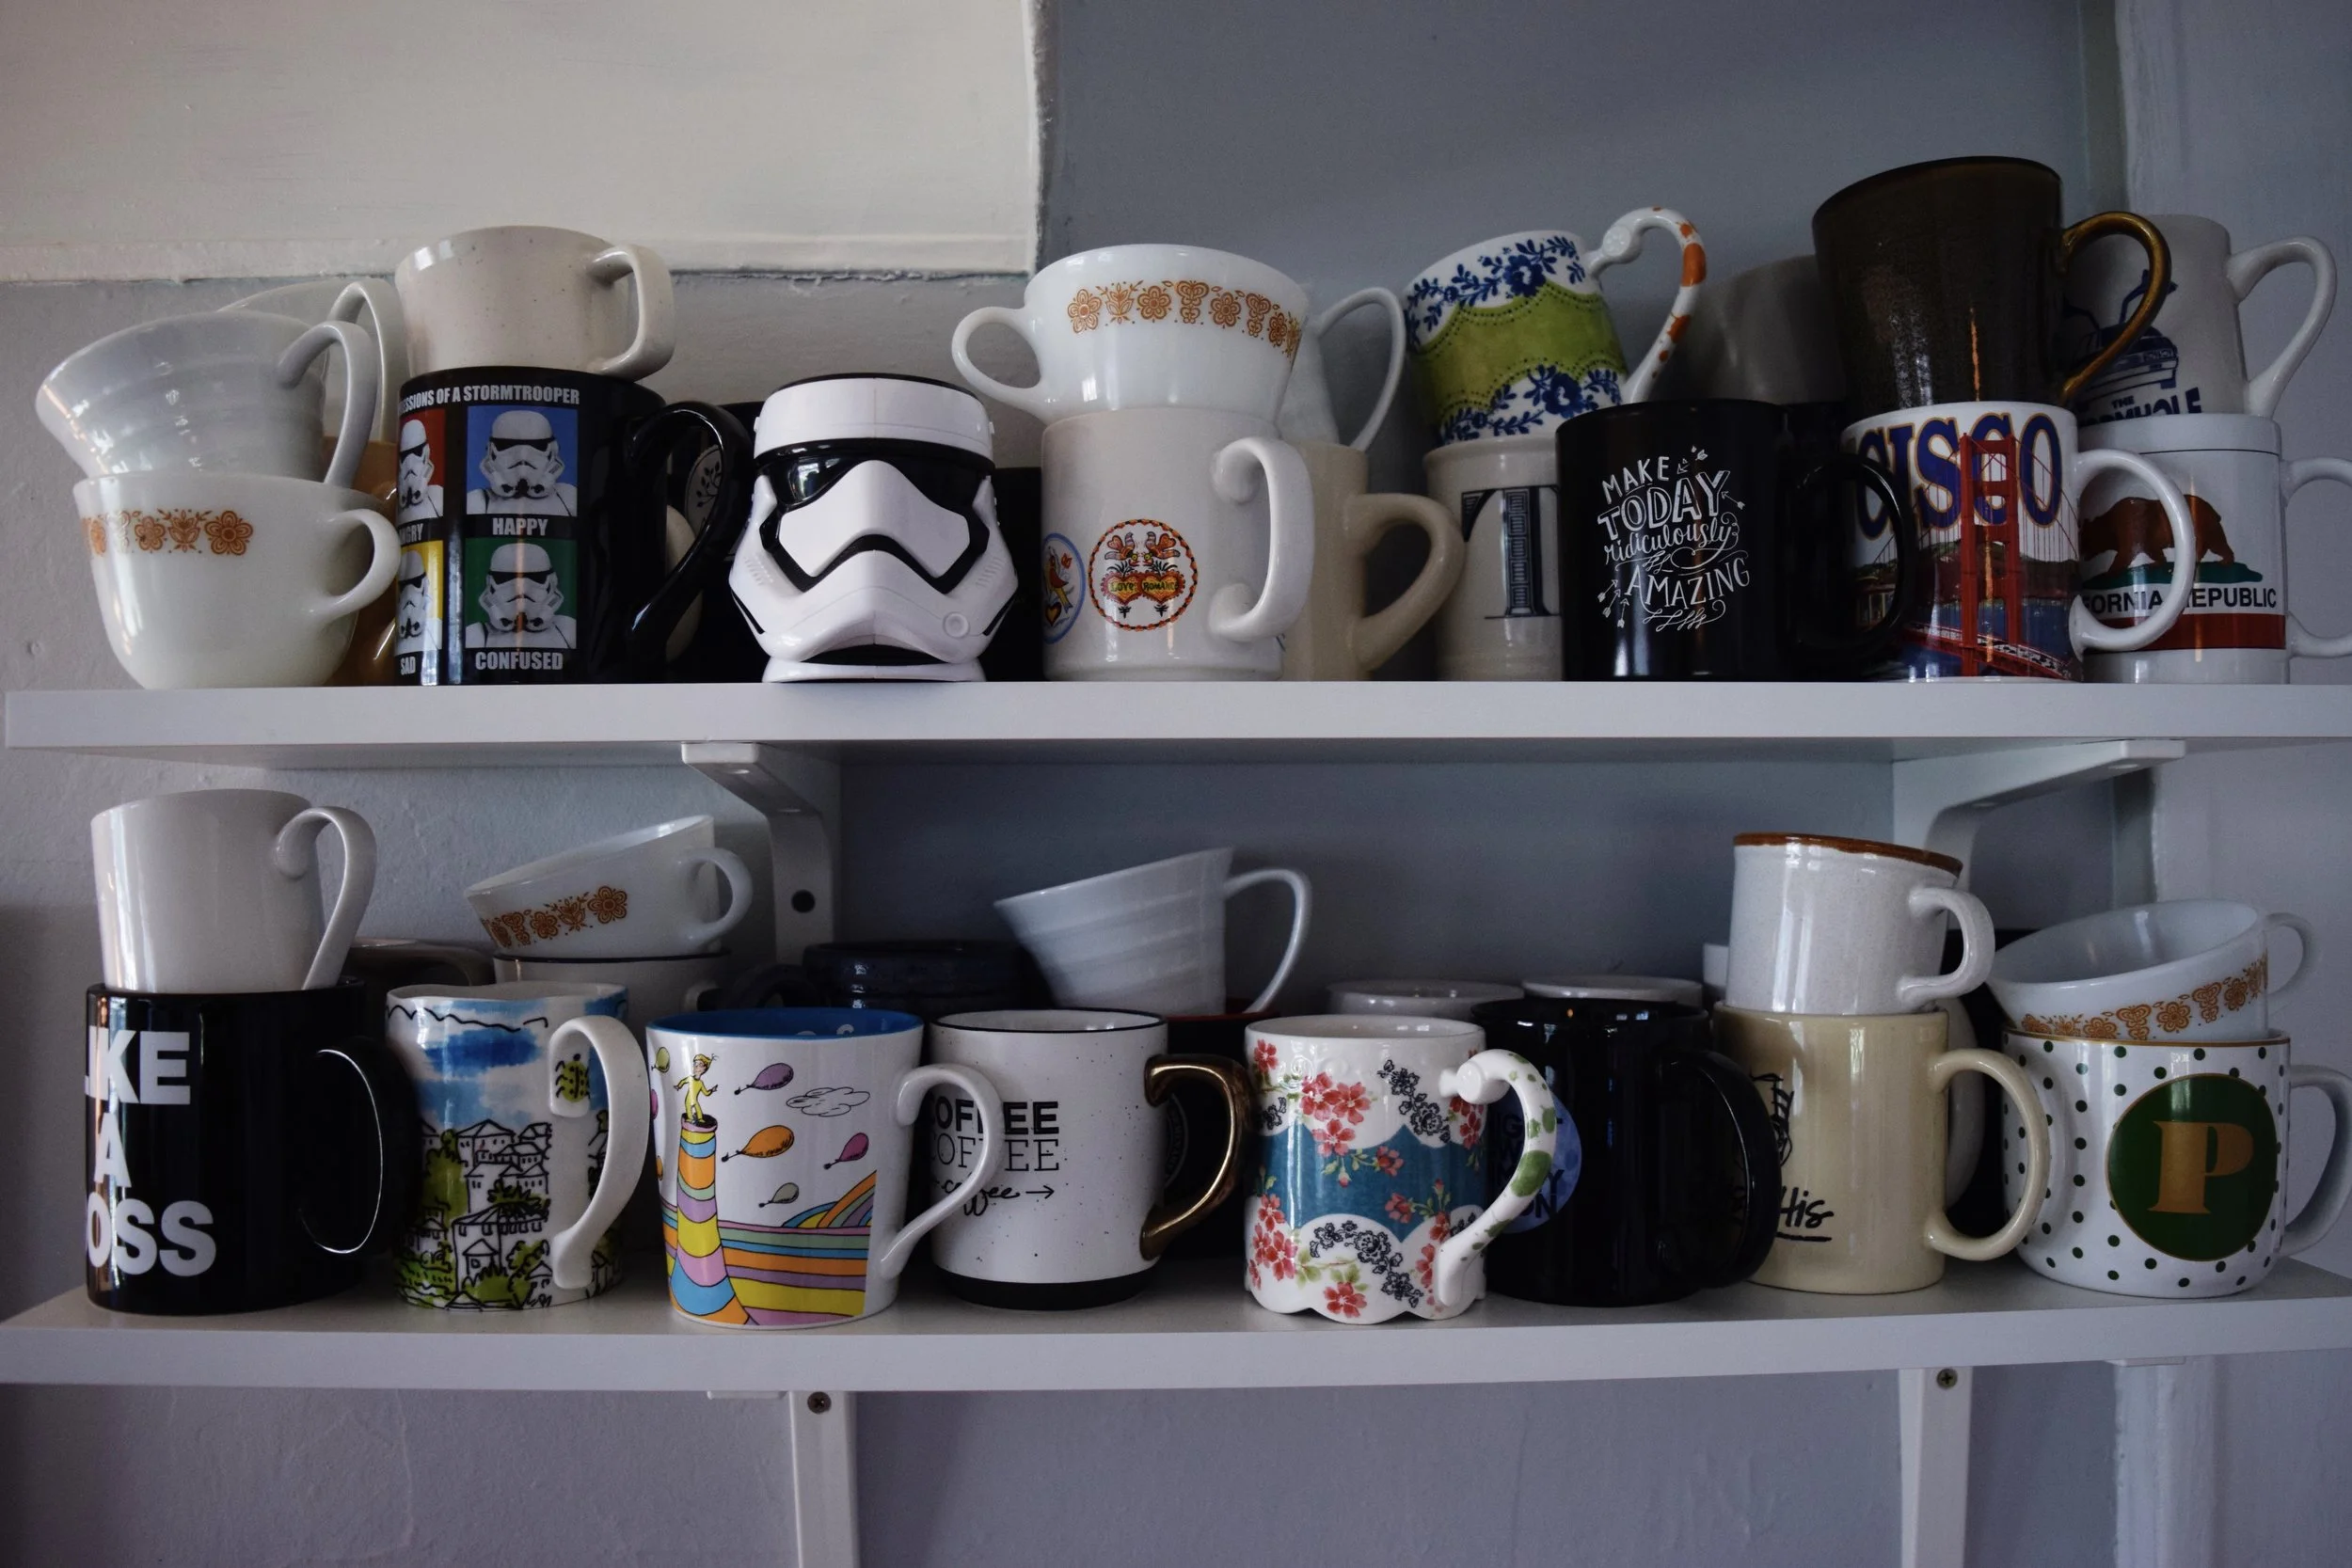
We ended up removing both of the dishwashers and we put up a coffee station in it's place. We used some of the same shelving to house all of our coffee cups and other supplies for creating caffeinated beverages.
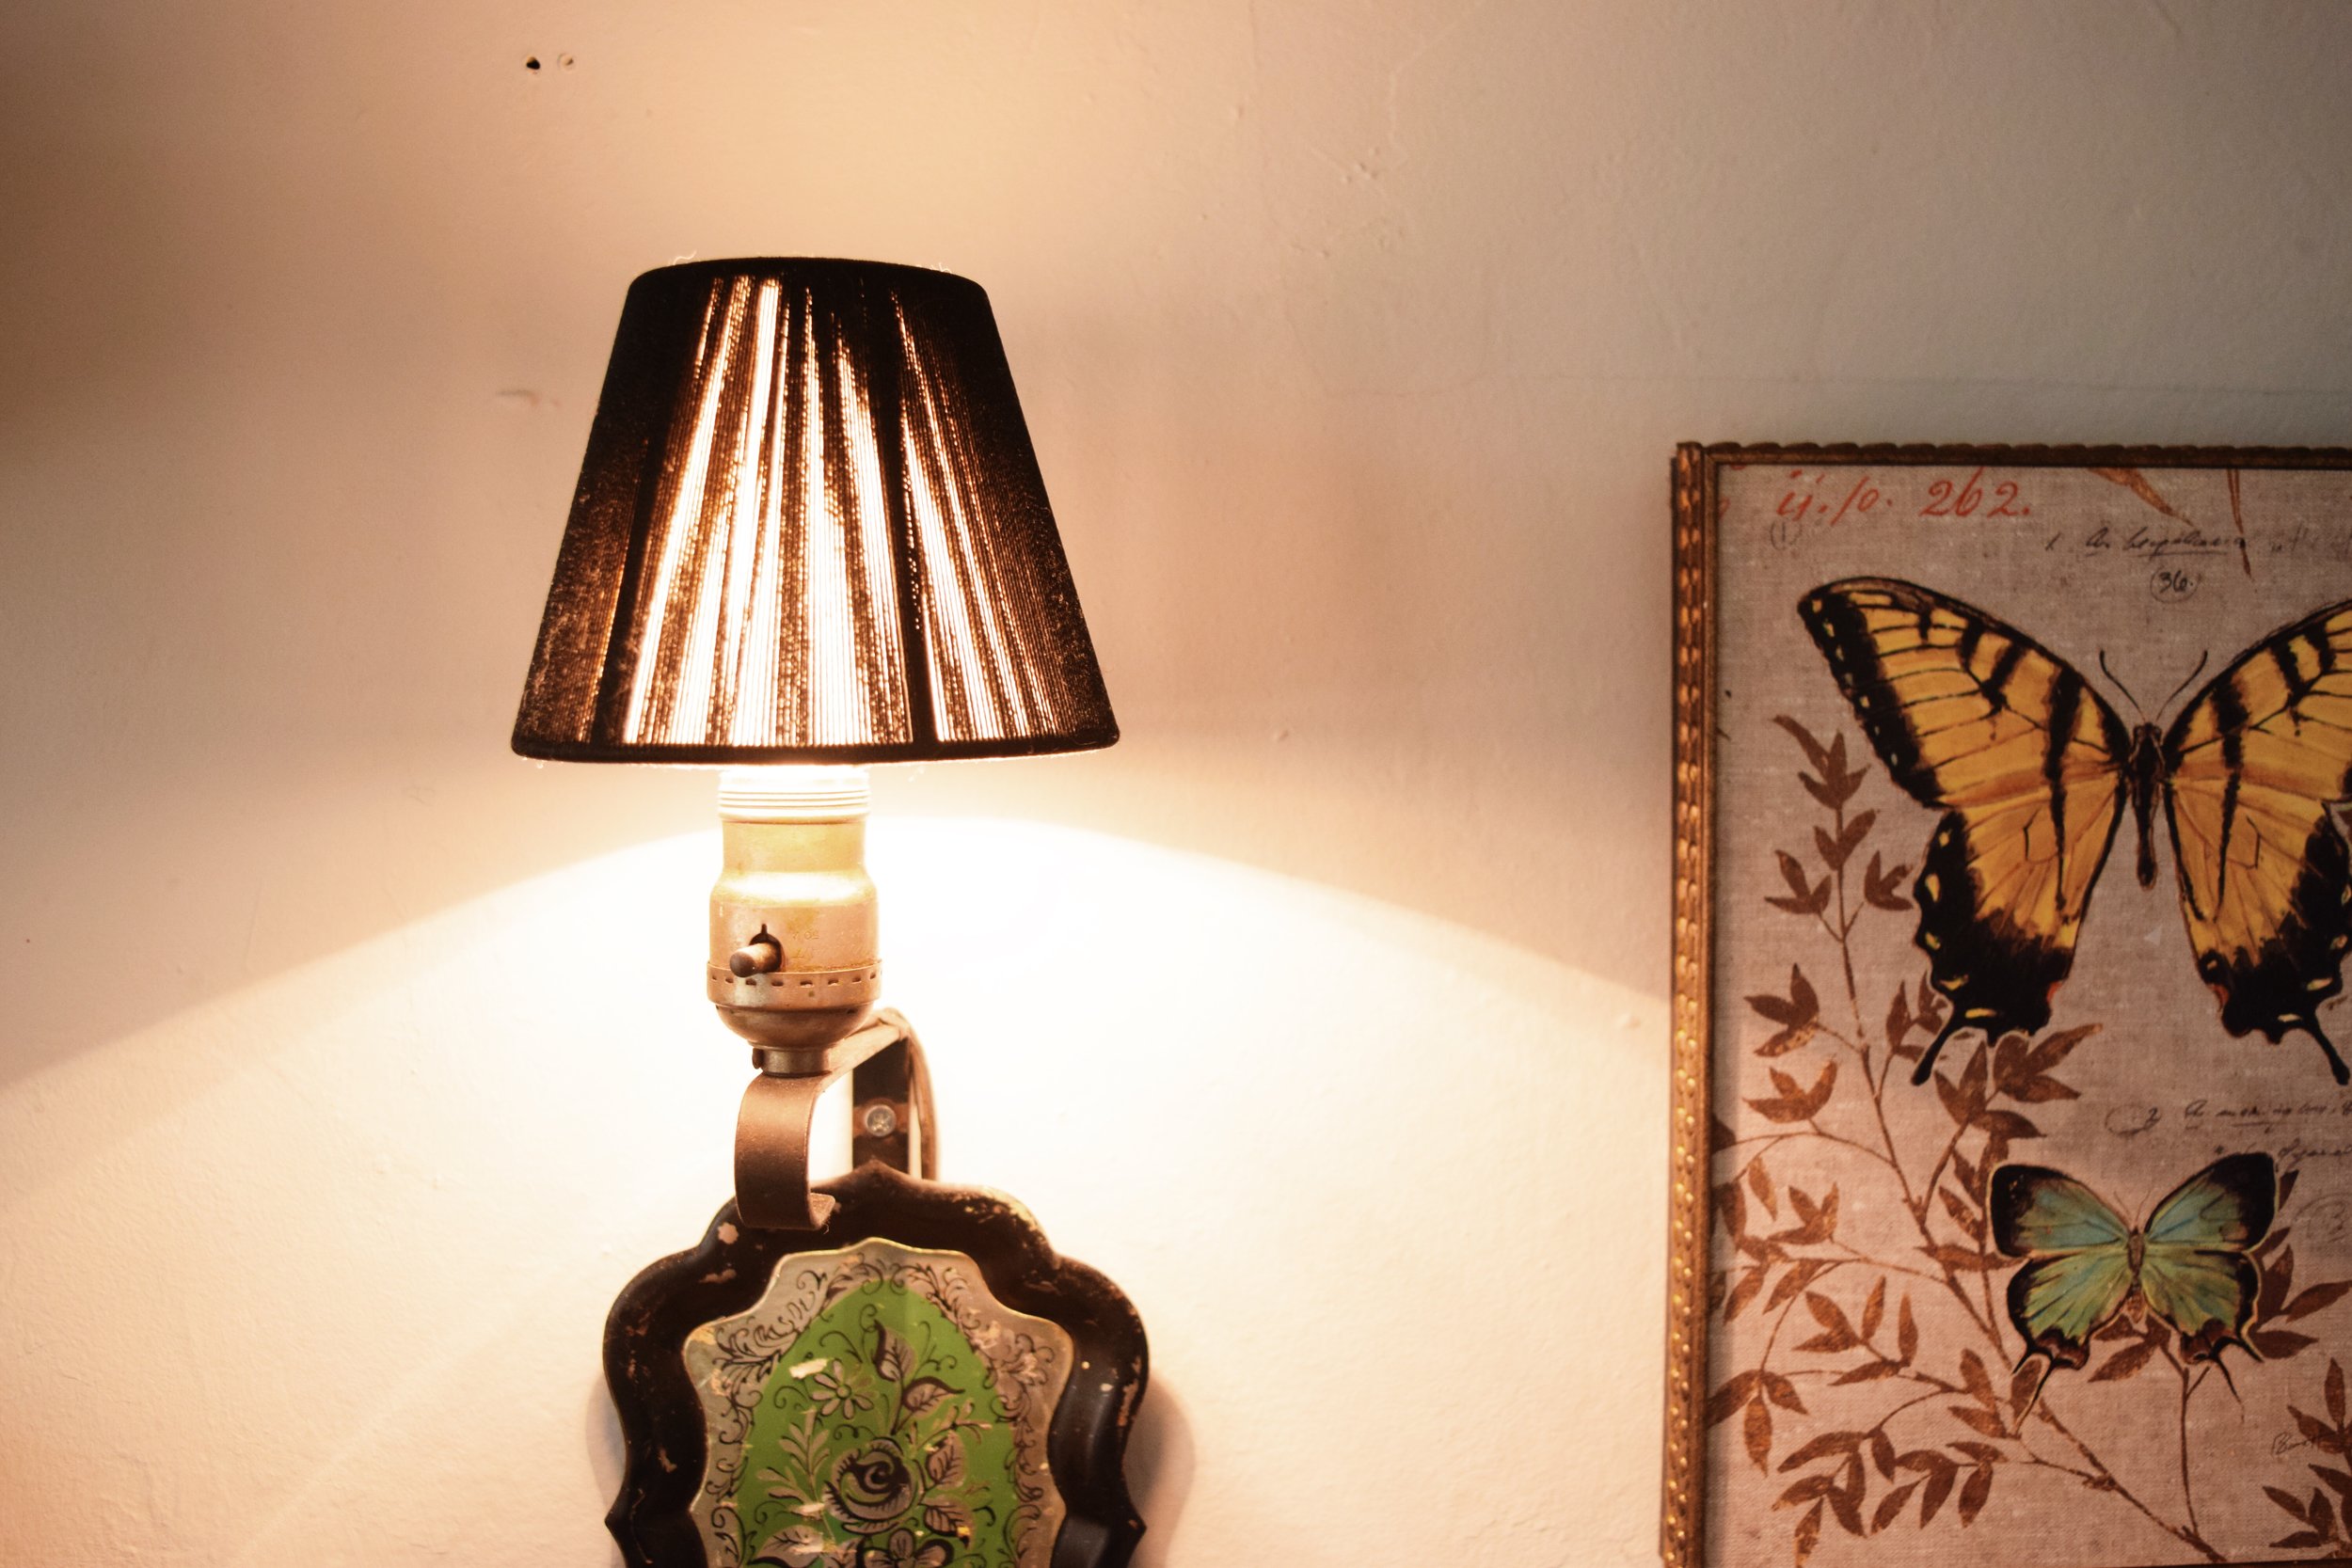
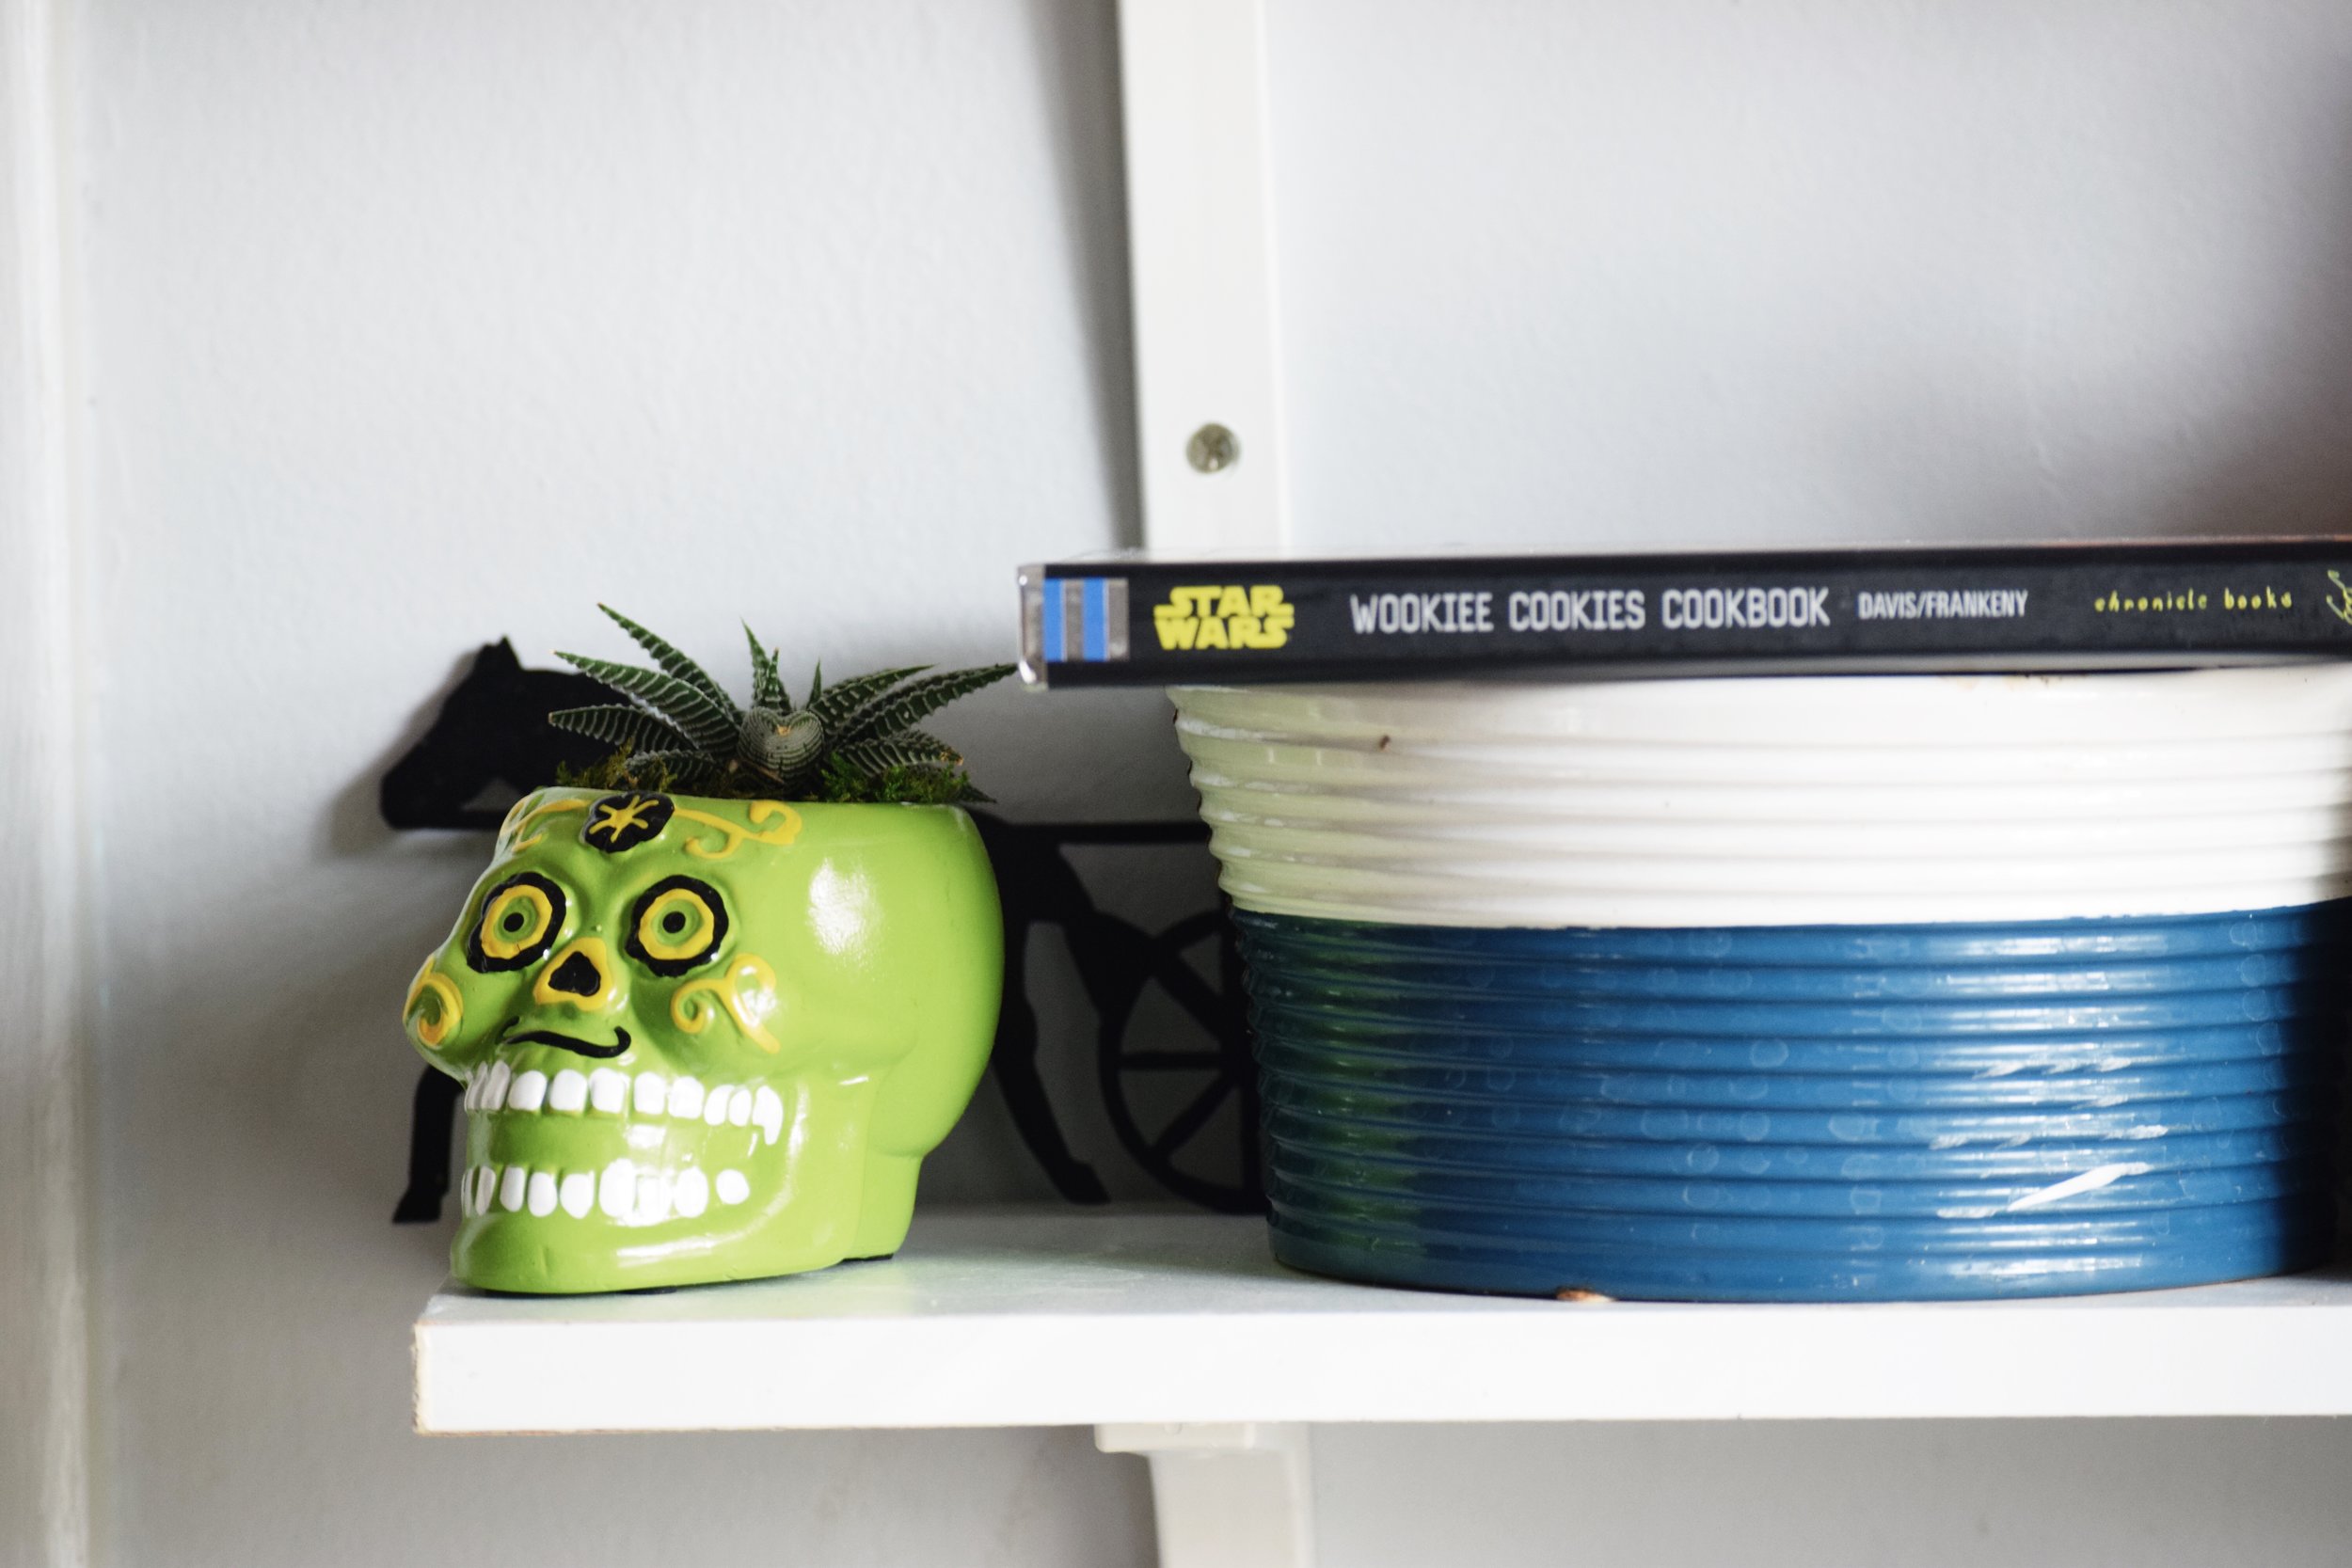
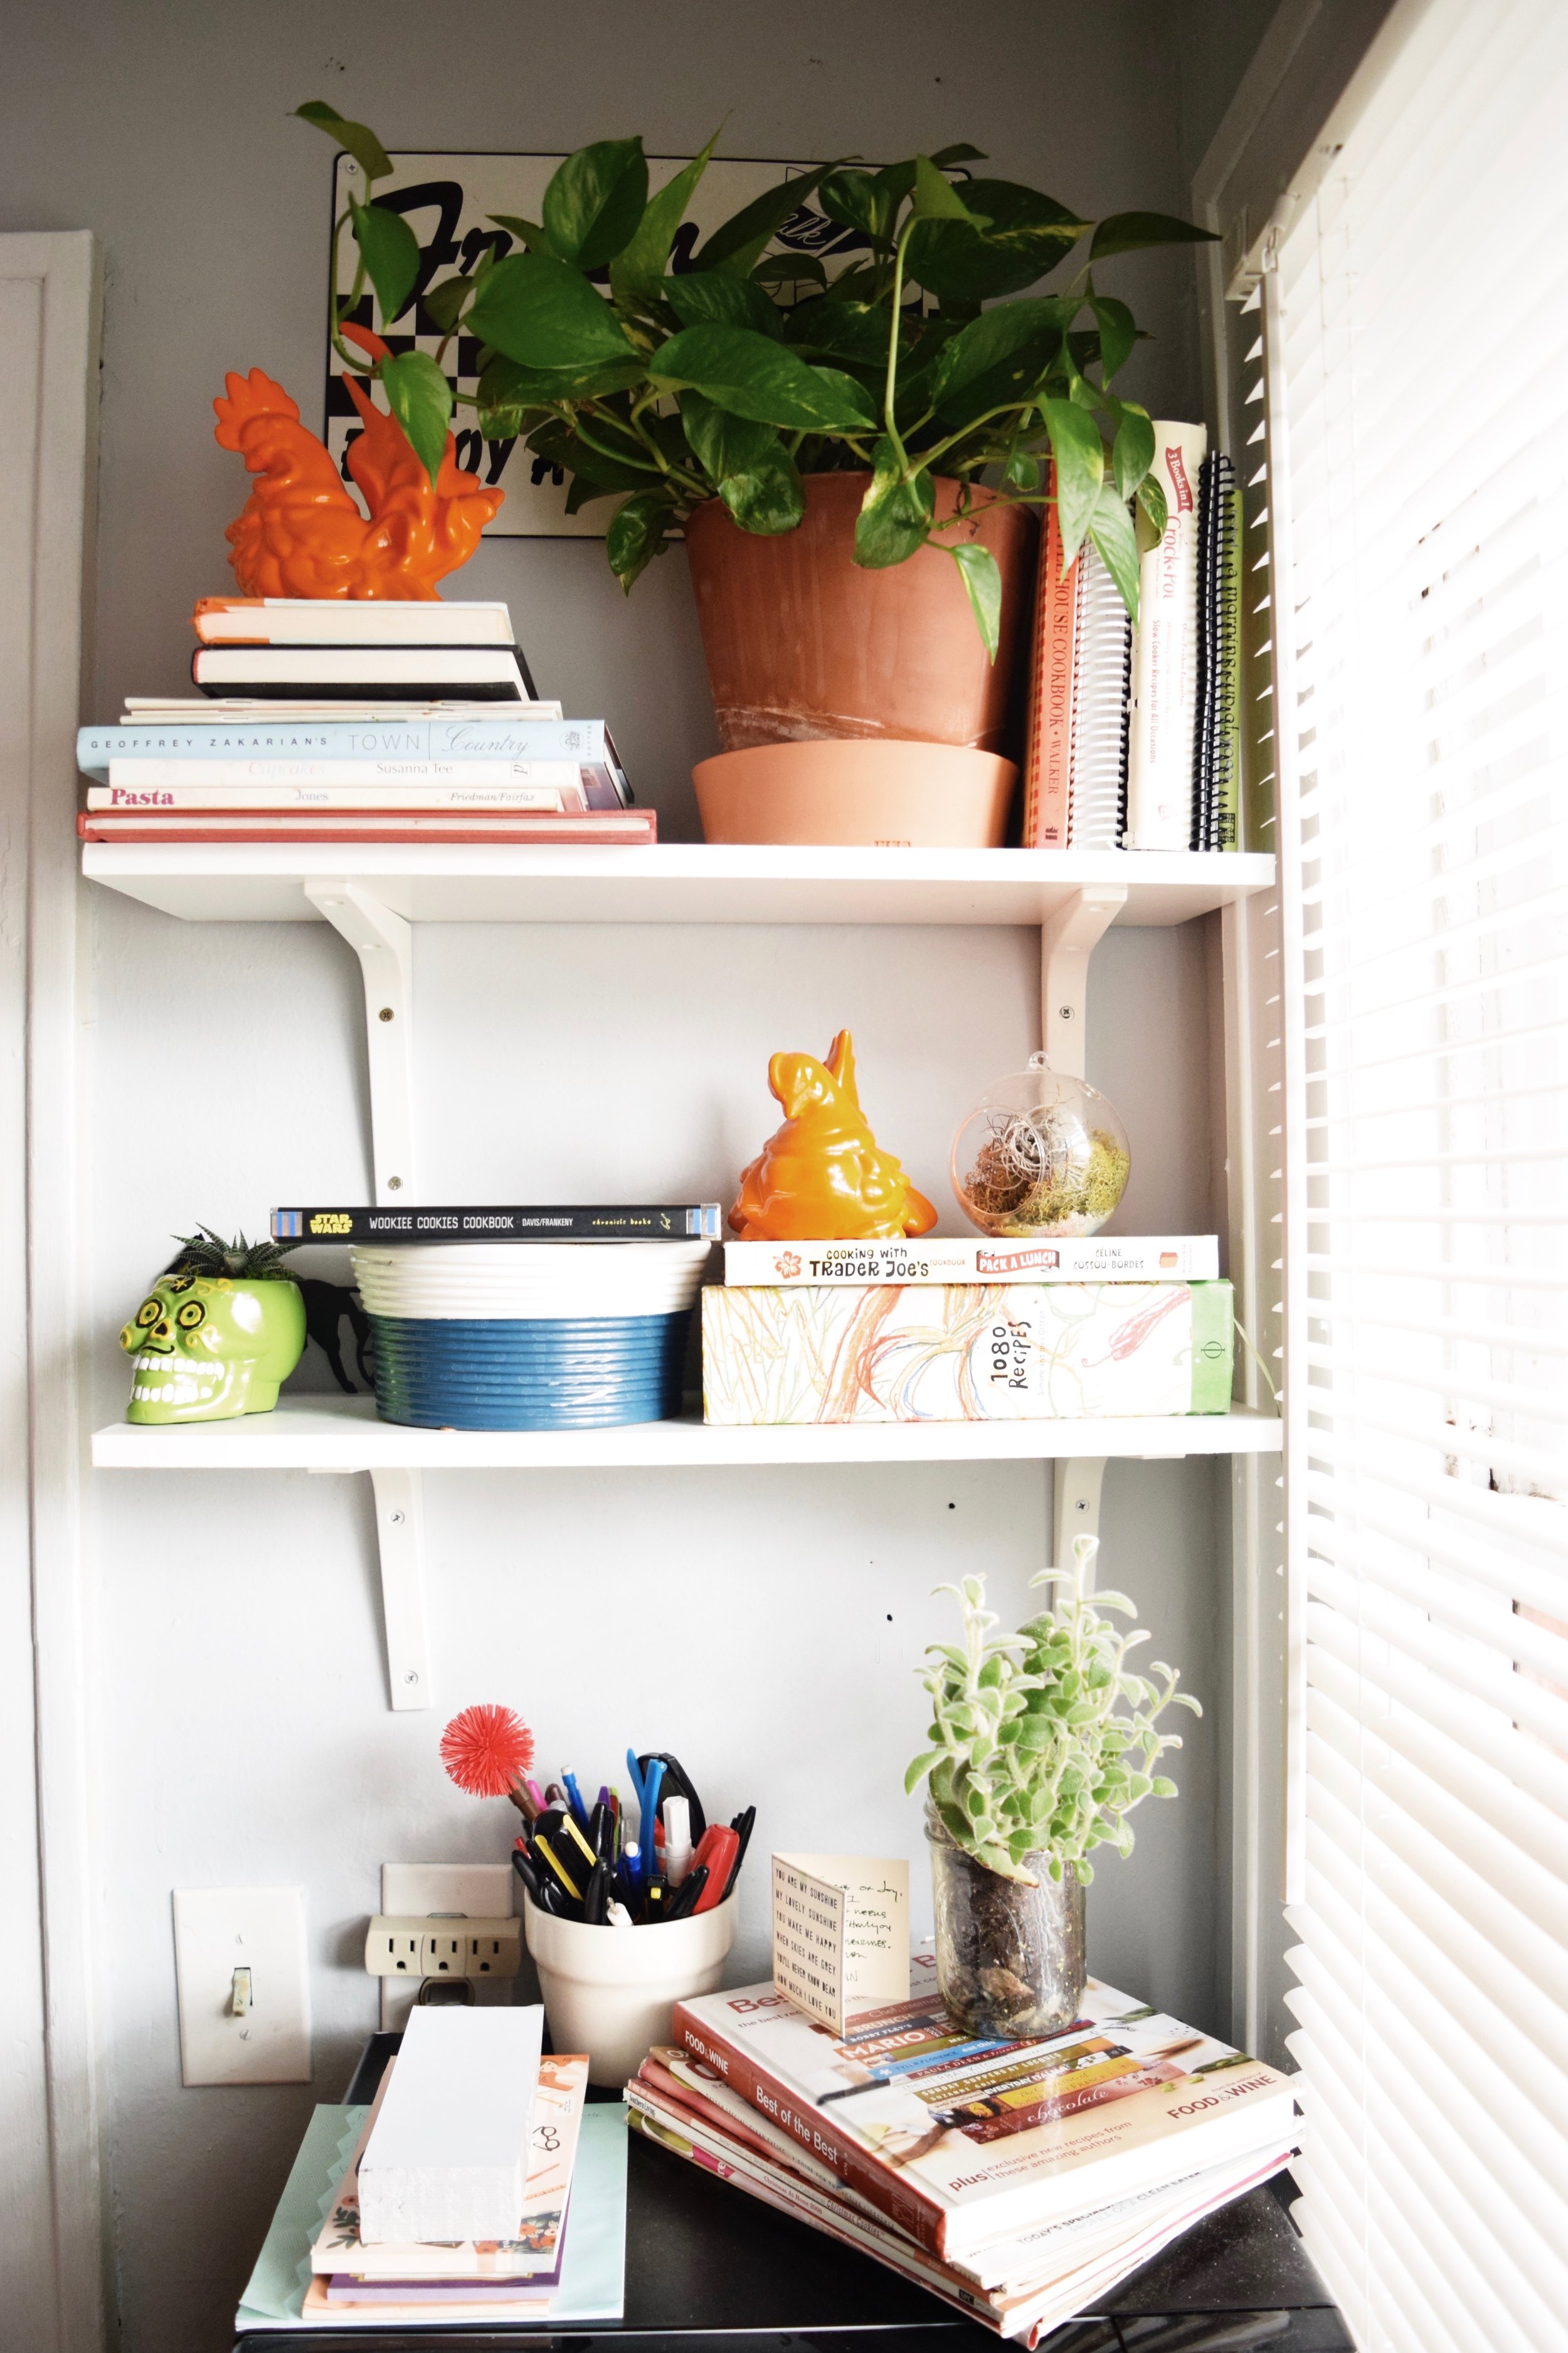
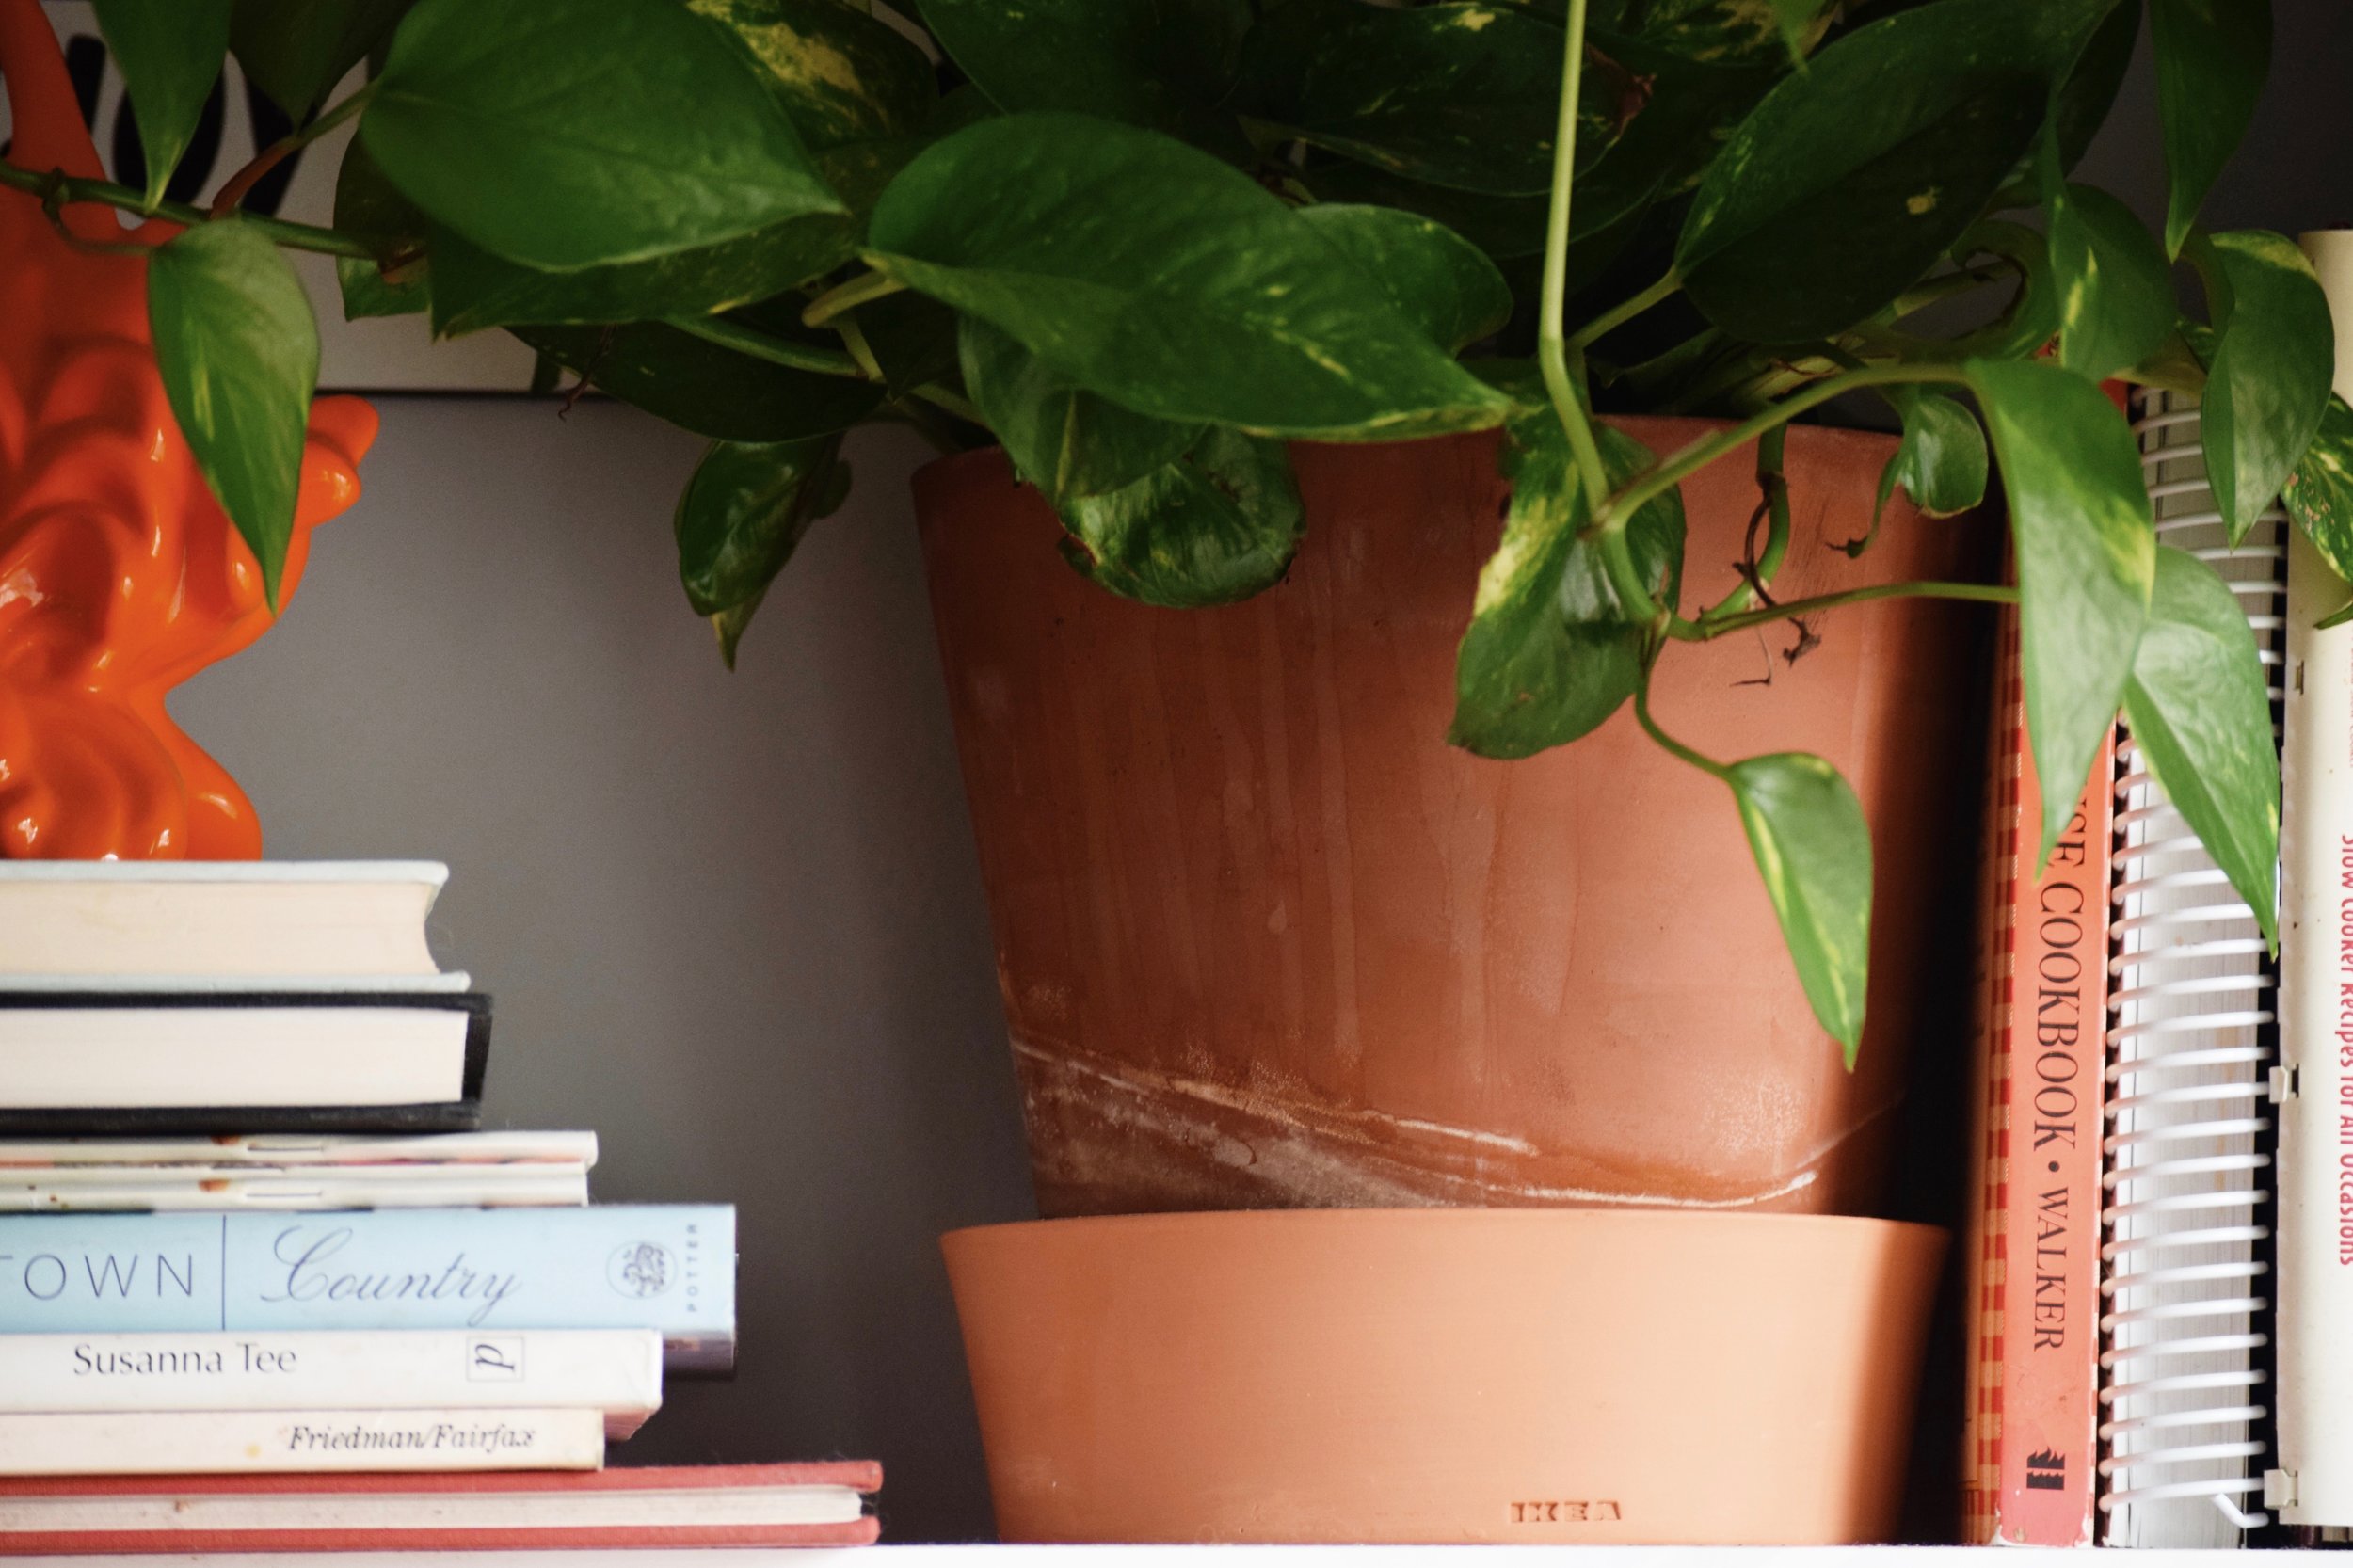
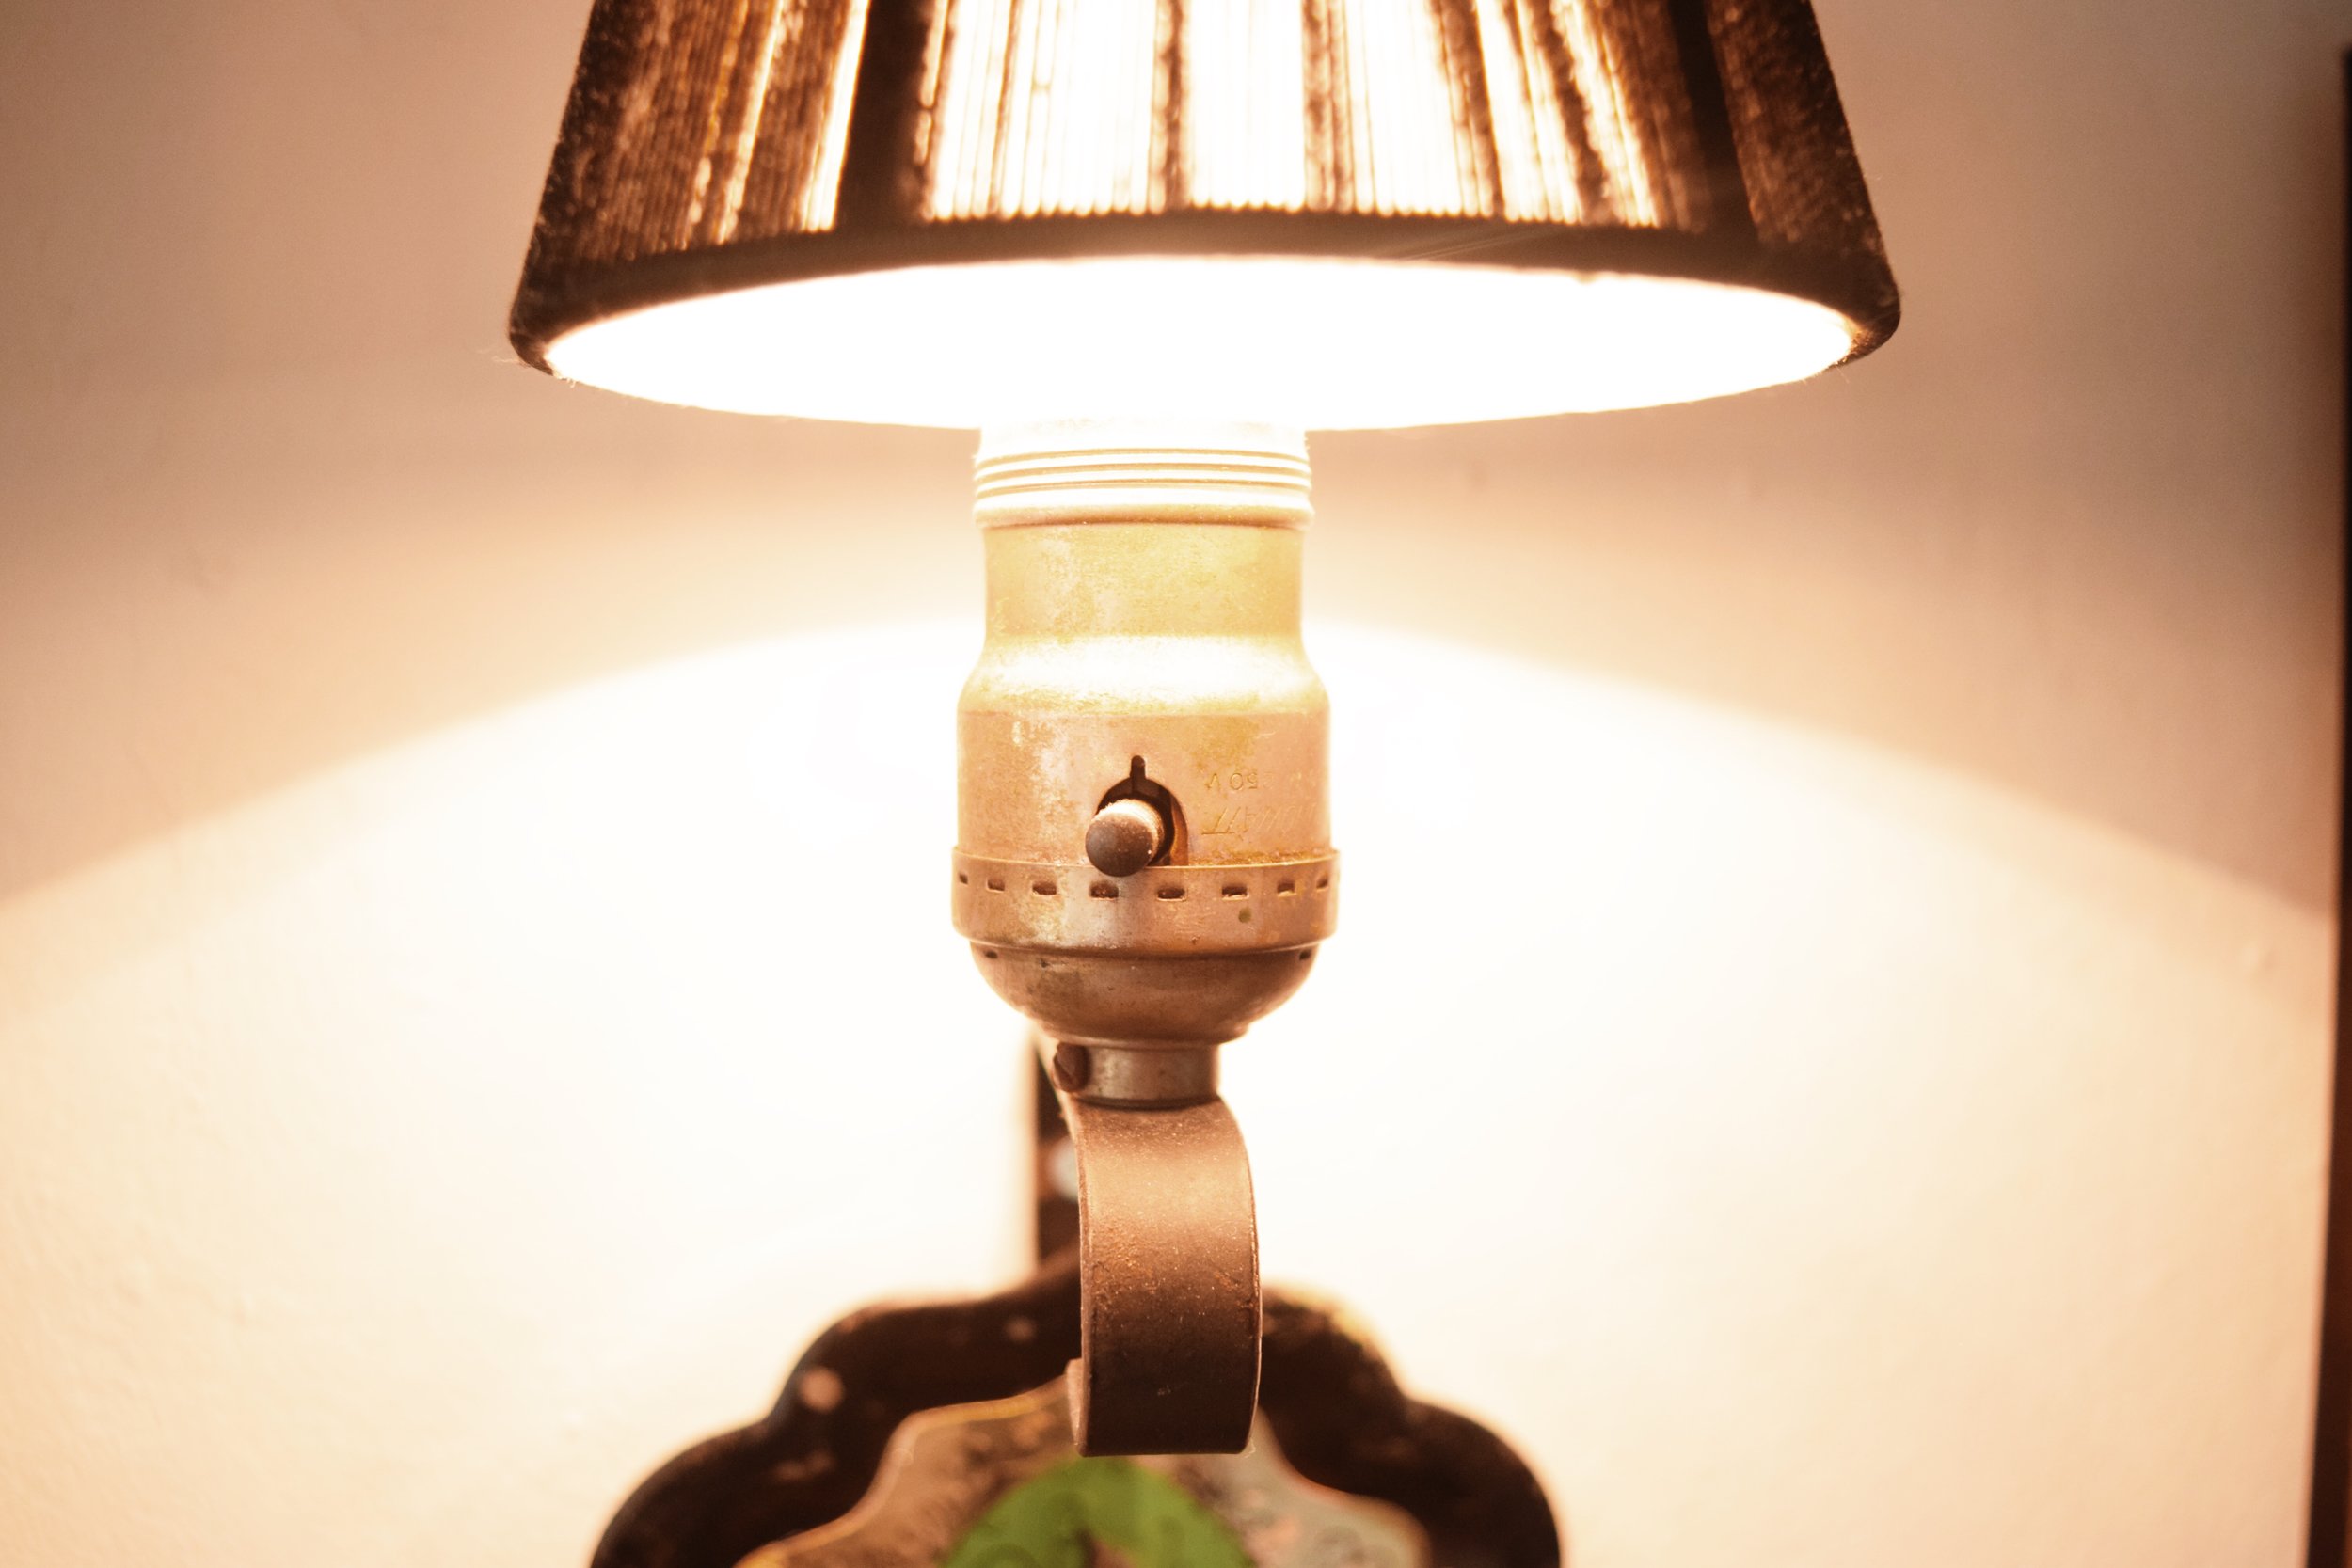
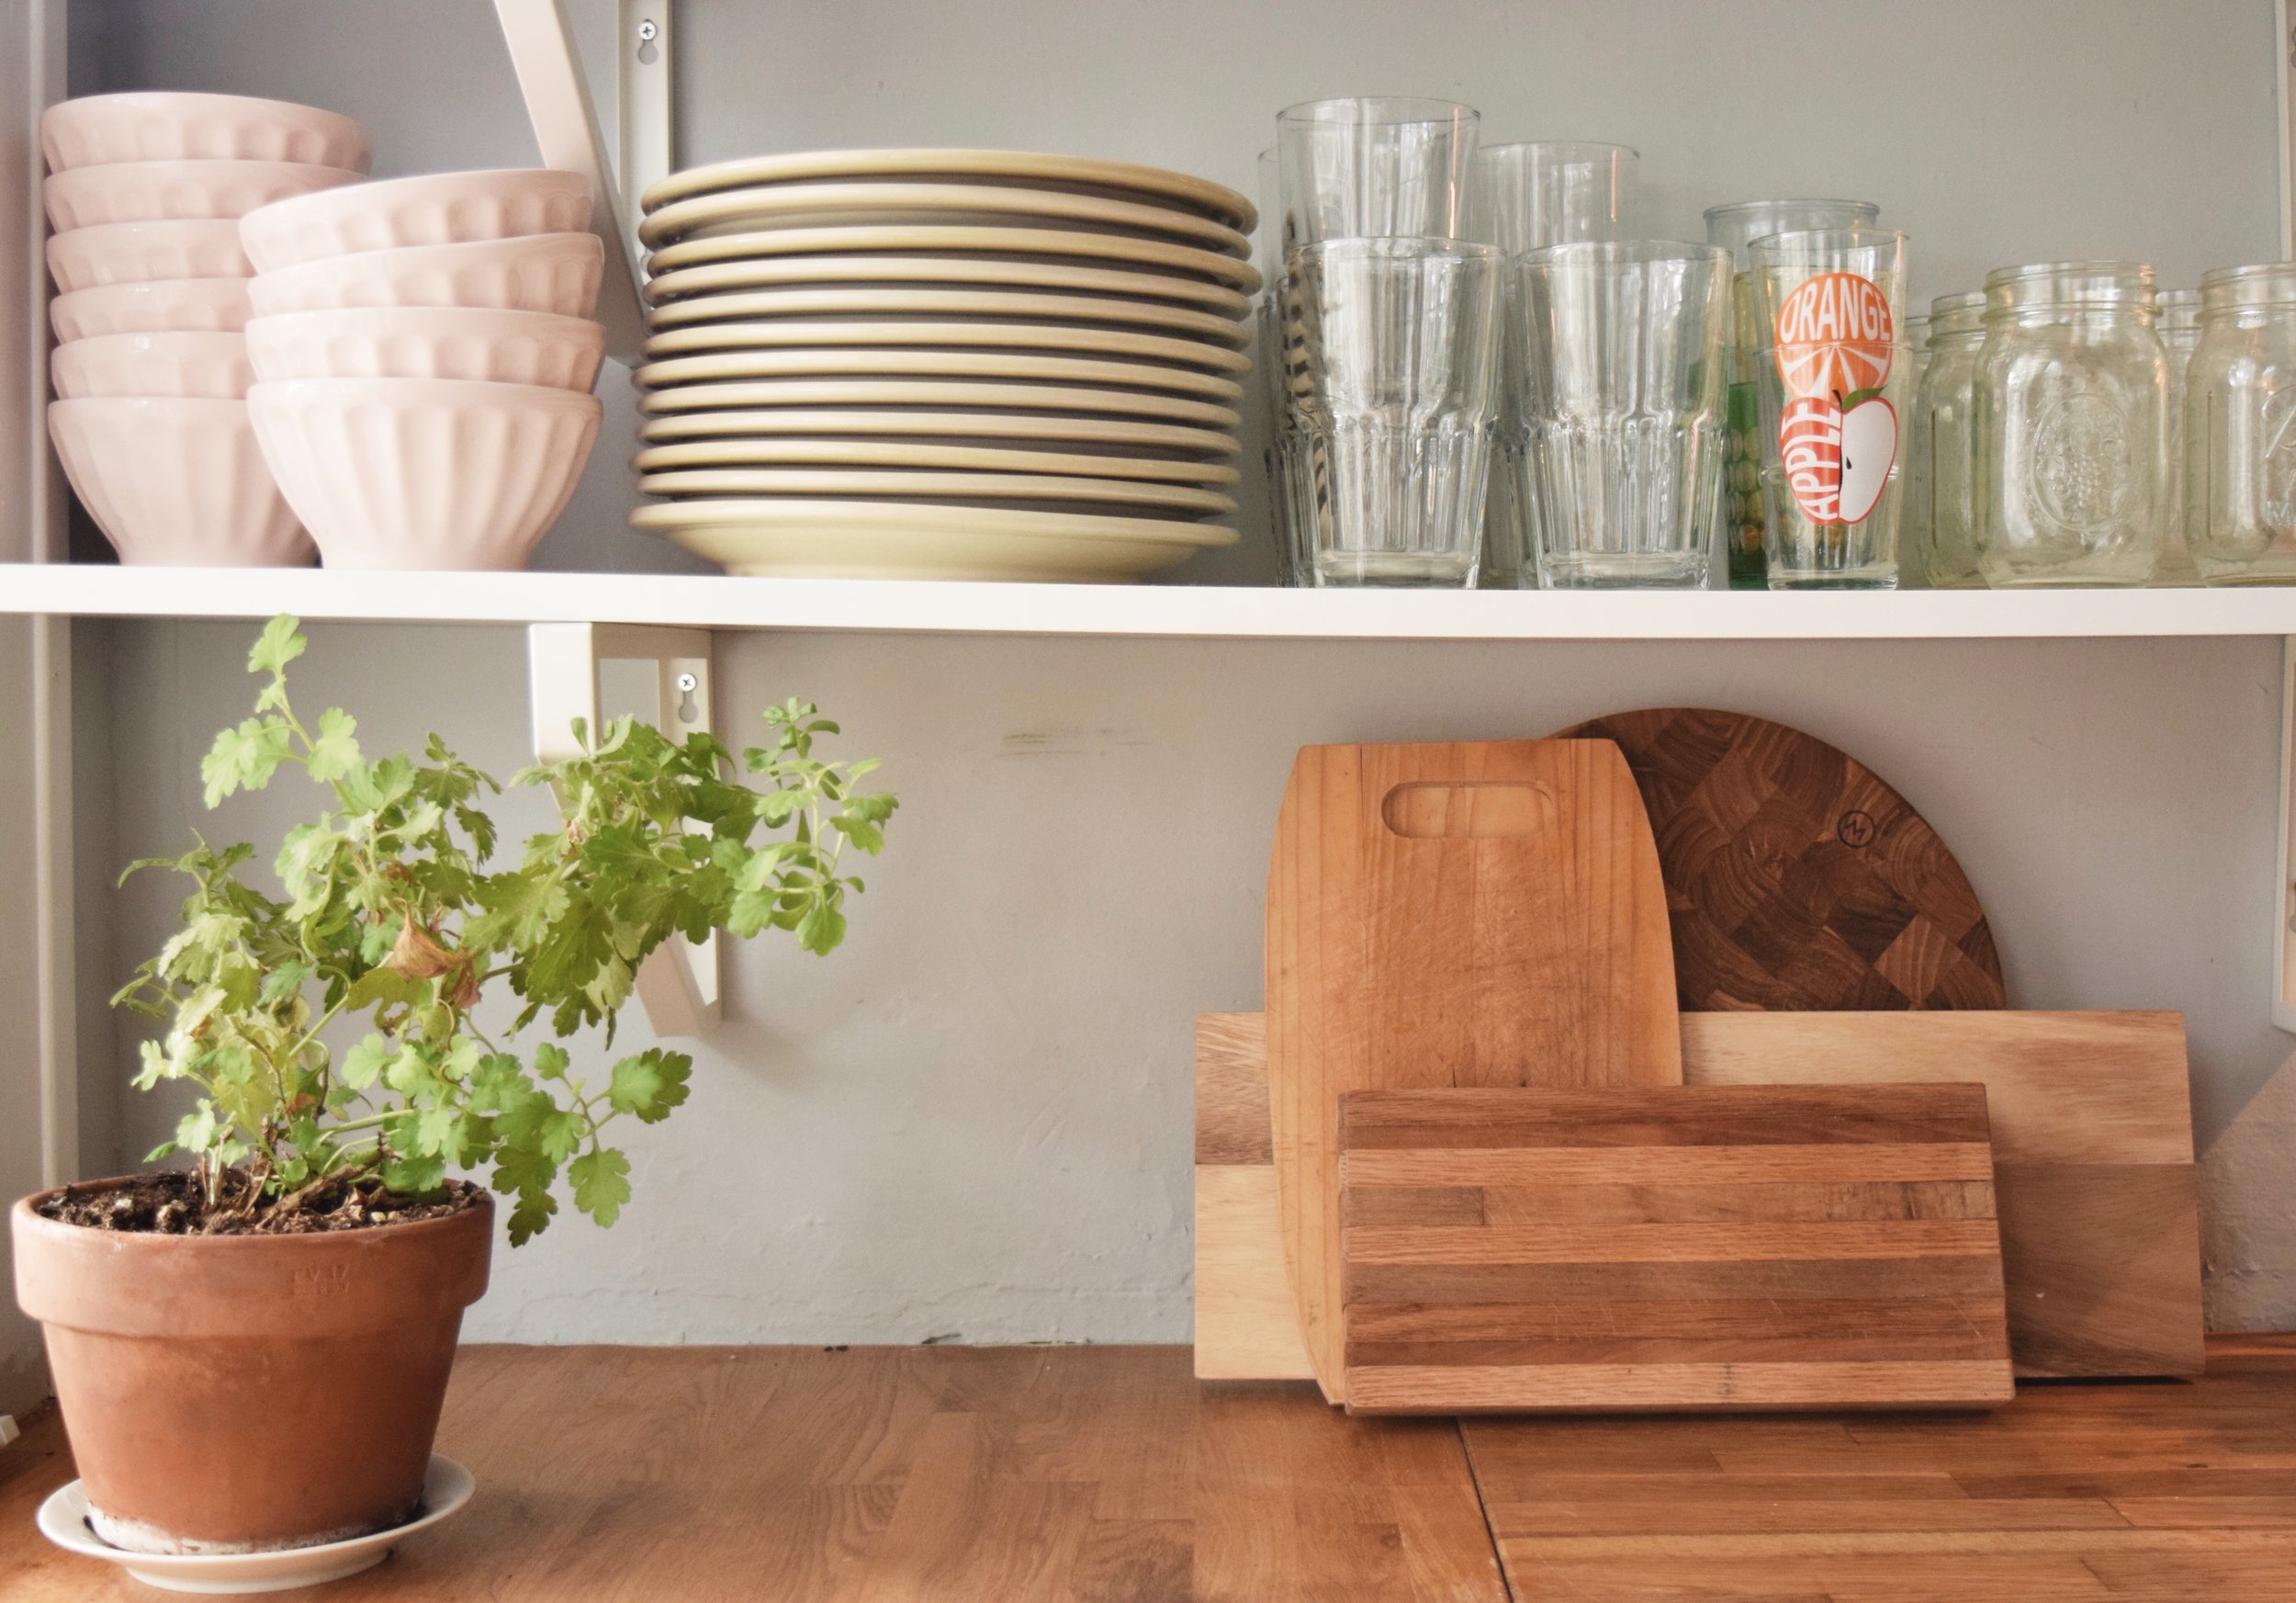
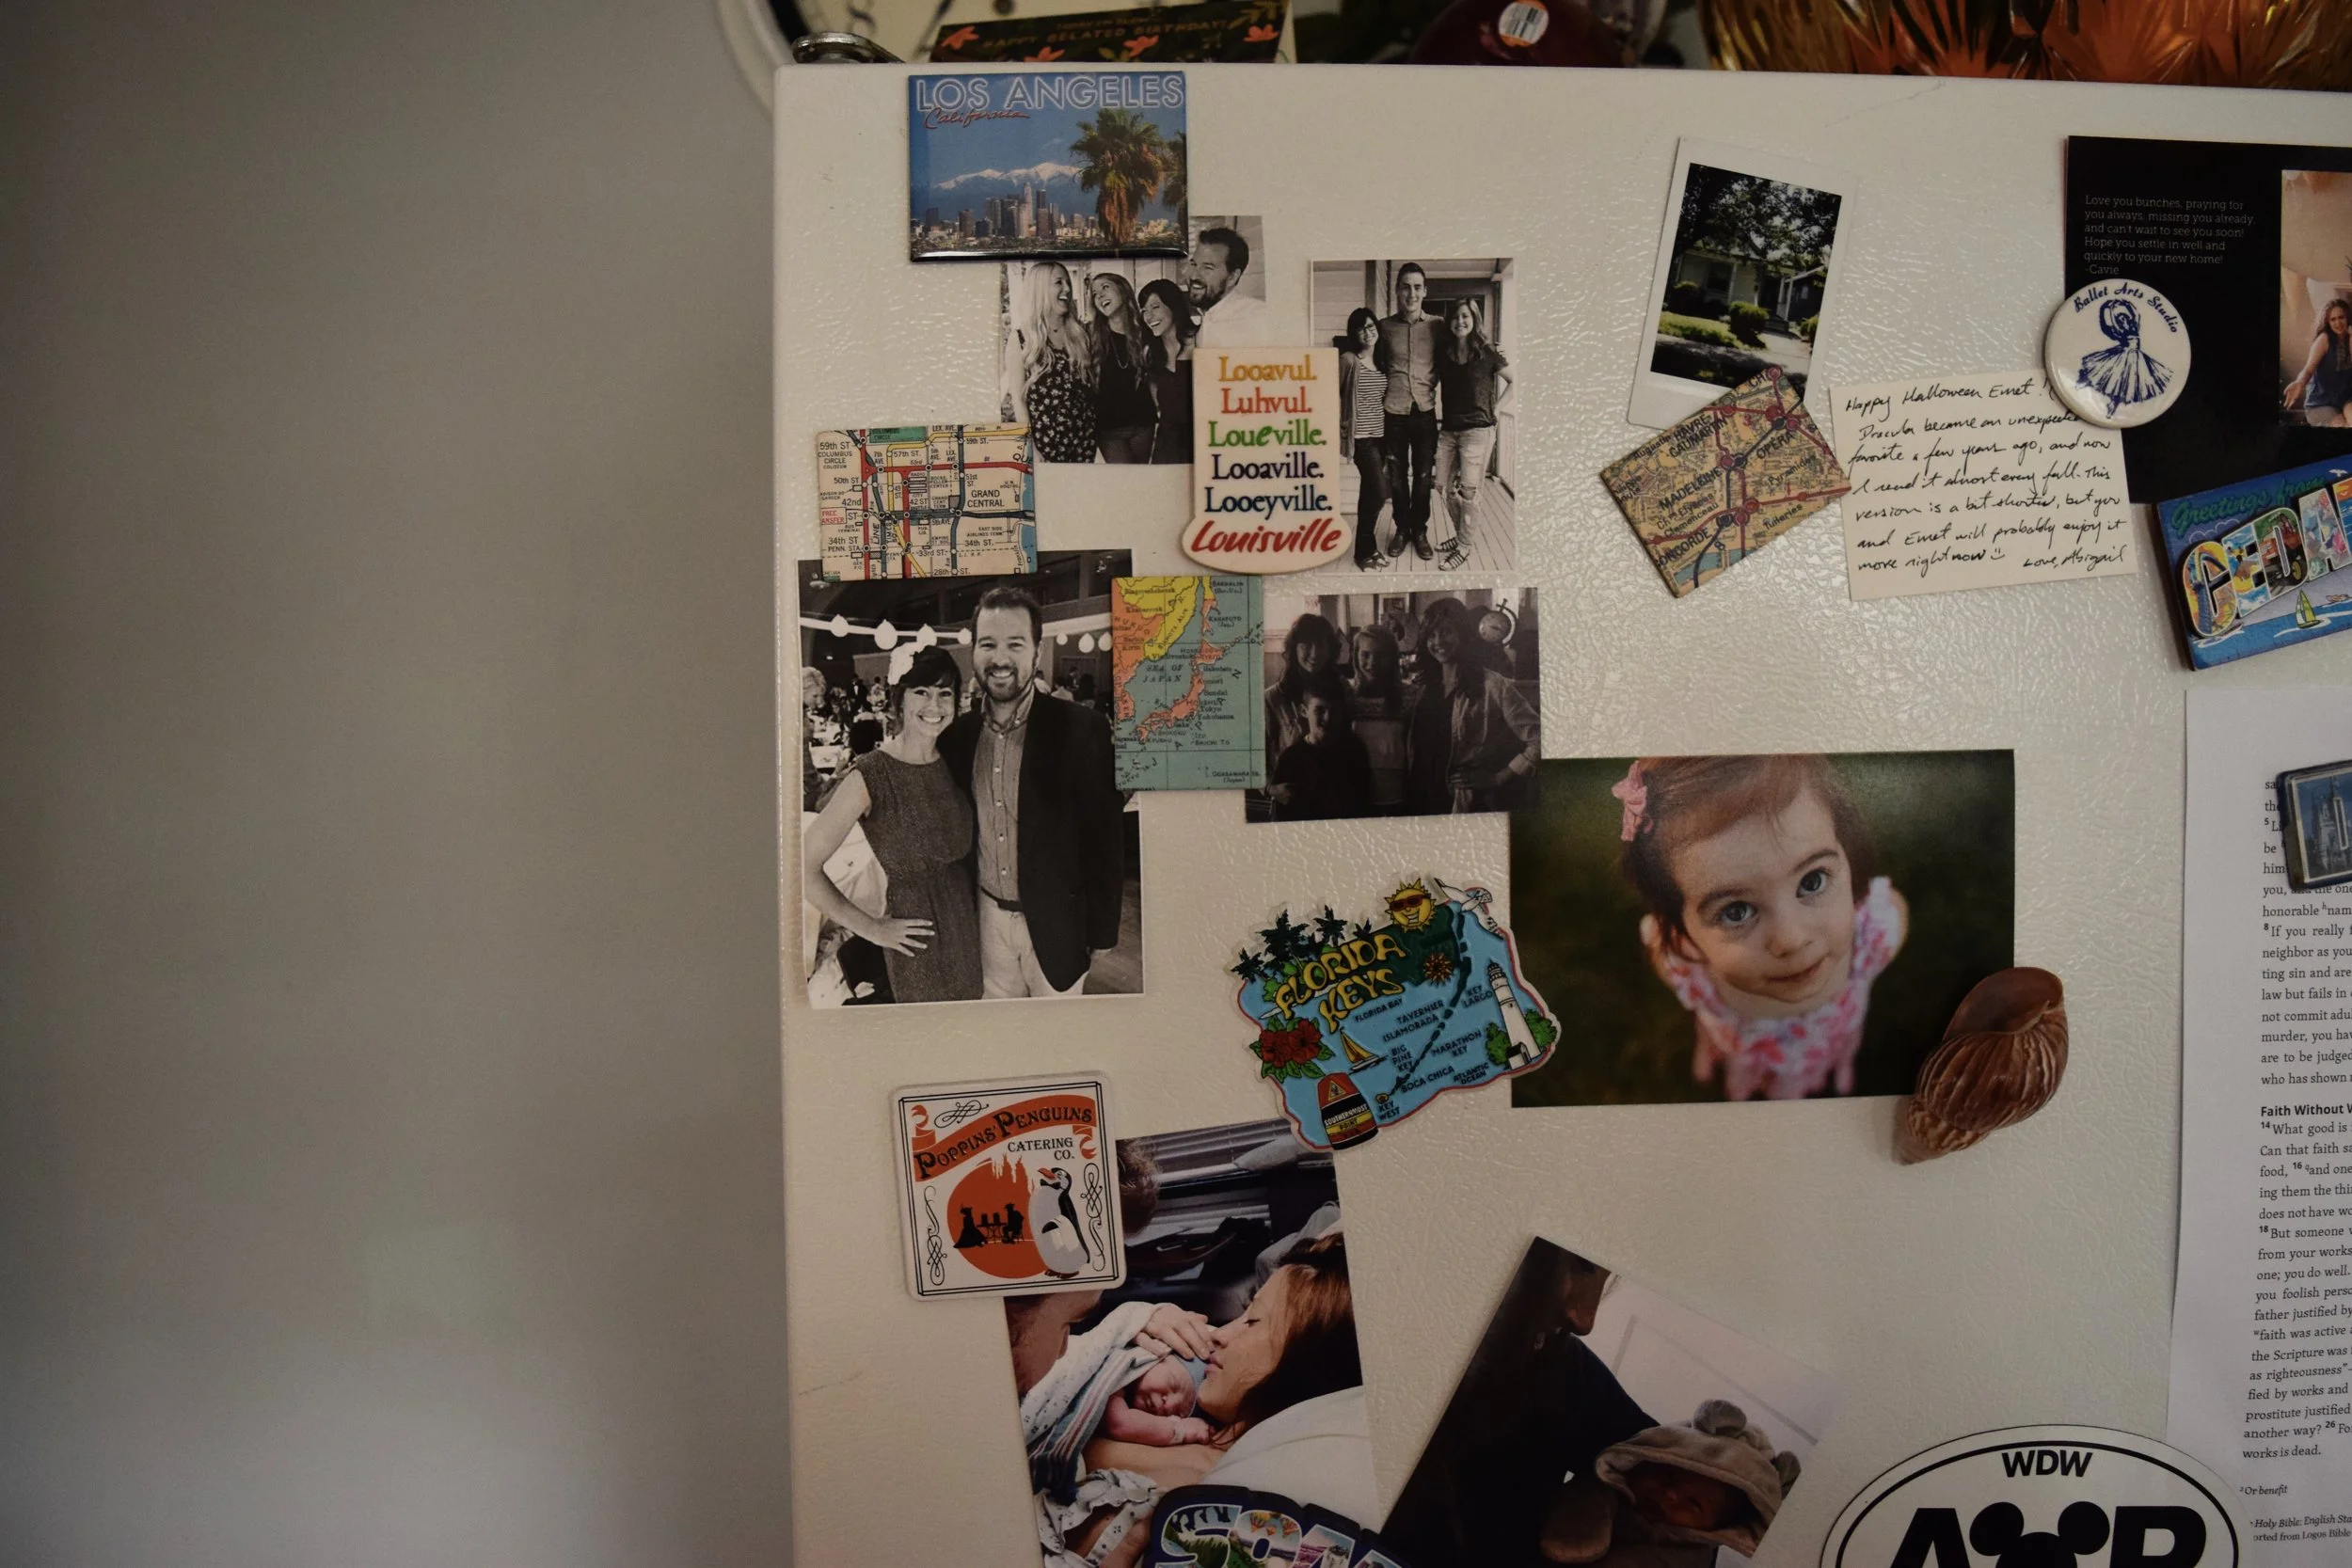
Making a room your own is all about putting your personal touches in the room - even if you are renting (like we are right now). For me, this involves lighting, plants, and adding some of my cookbooks to the shelving.
This room had the potential of being scary! Don't let these rooms get to you. Think of them like a puzzle piece. It's just a matter of moving it around until you find how everything fits. In the end, this room has become one of my favorite rooms in the whole house.
What are some stories you have about turning a difficult room into a functional one?

| Credits: Author - Jacintha Payne; Photography - Calvin and Jacintha Payne |