HOW I EDIT MY PHOTOS
I get a lot of questions about how I edit my photos, so I thought I would share it all here for those who are interested. This post has been on the cycle of blogs that I have been working on for the last two weeks and I'm excited to finally get it out to you to you today. I hope you enjoy!

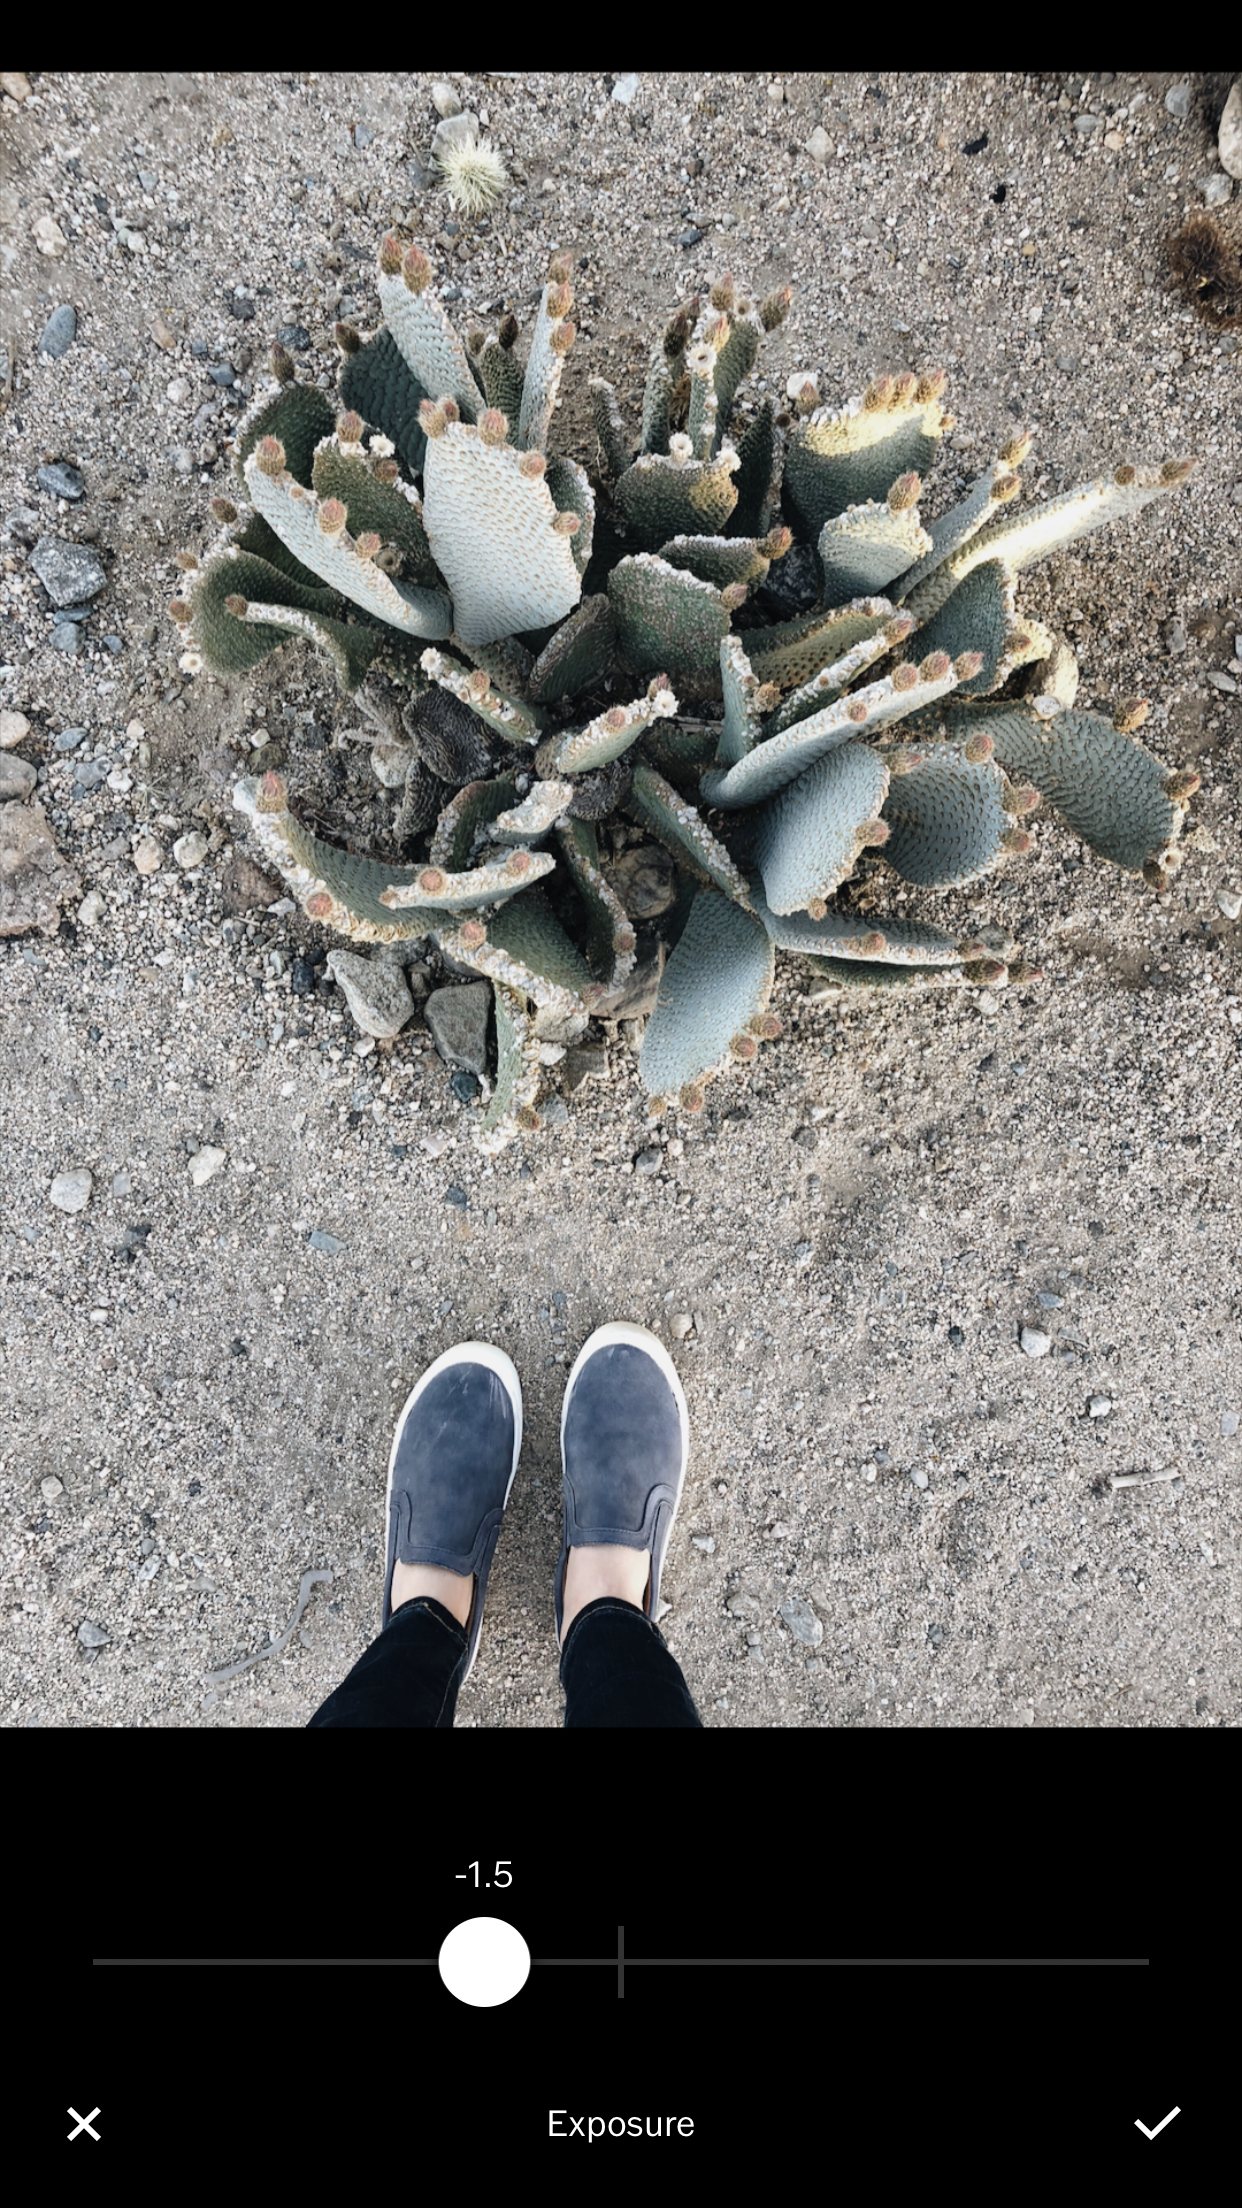
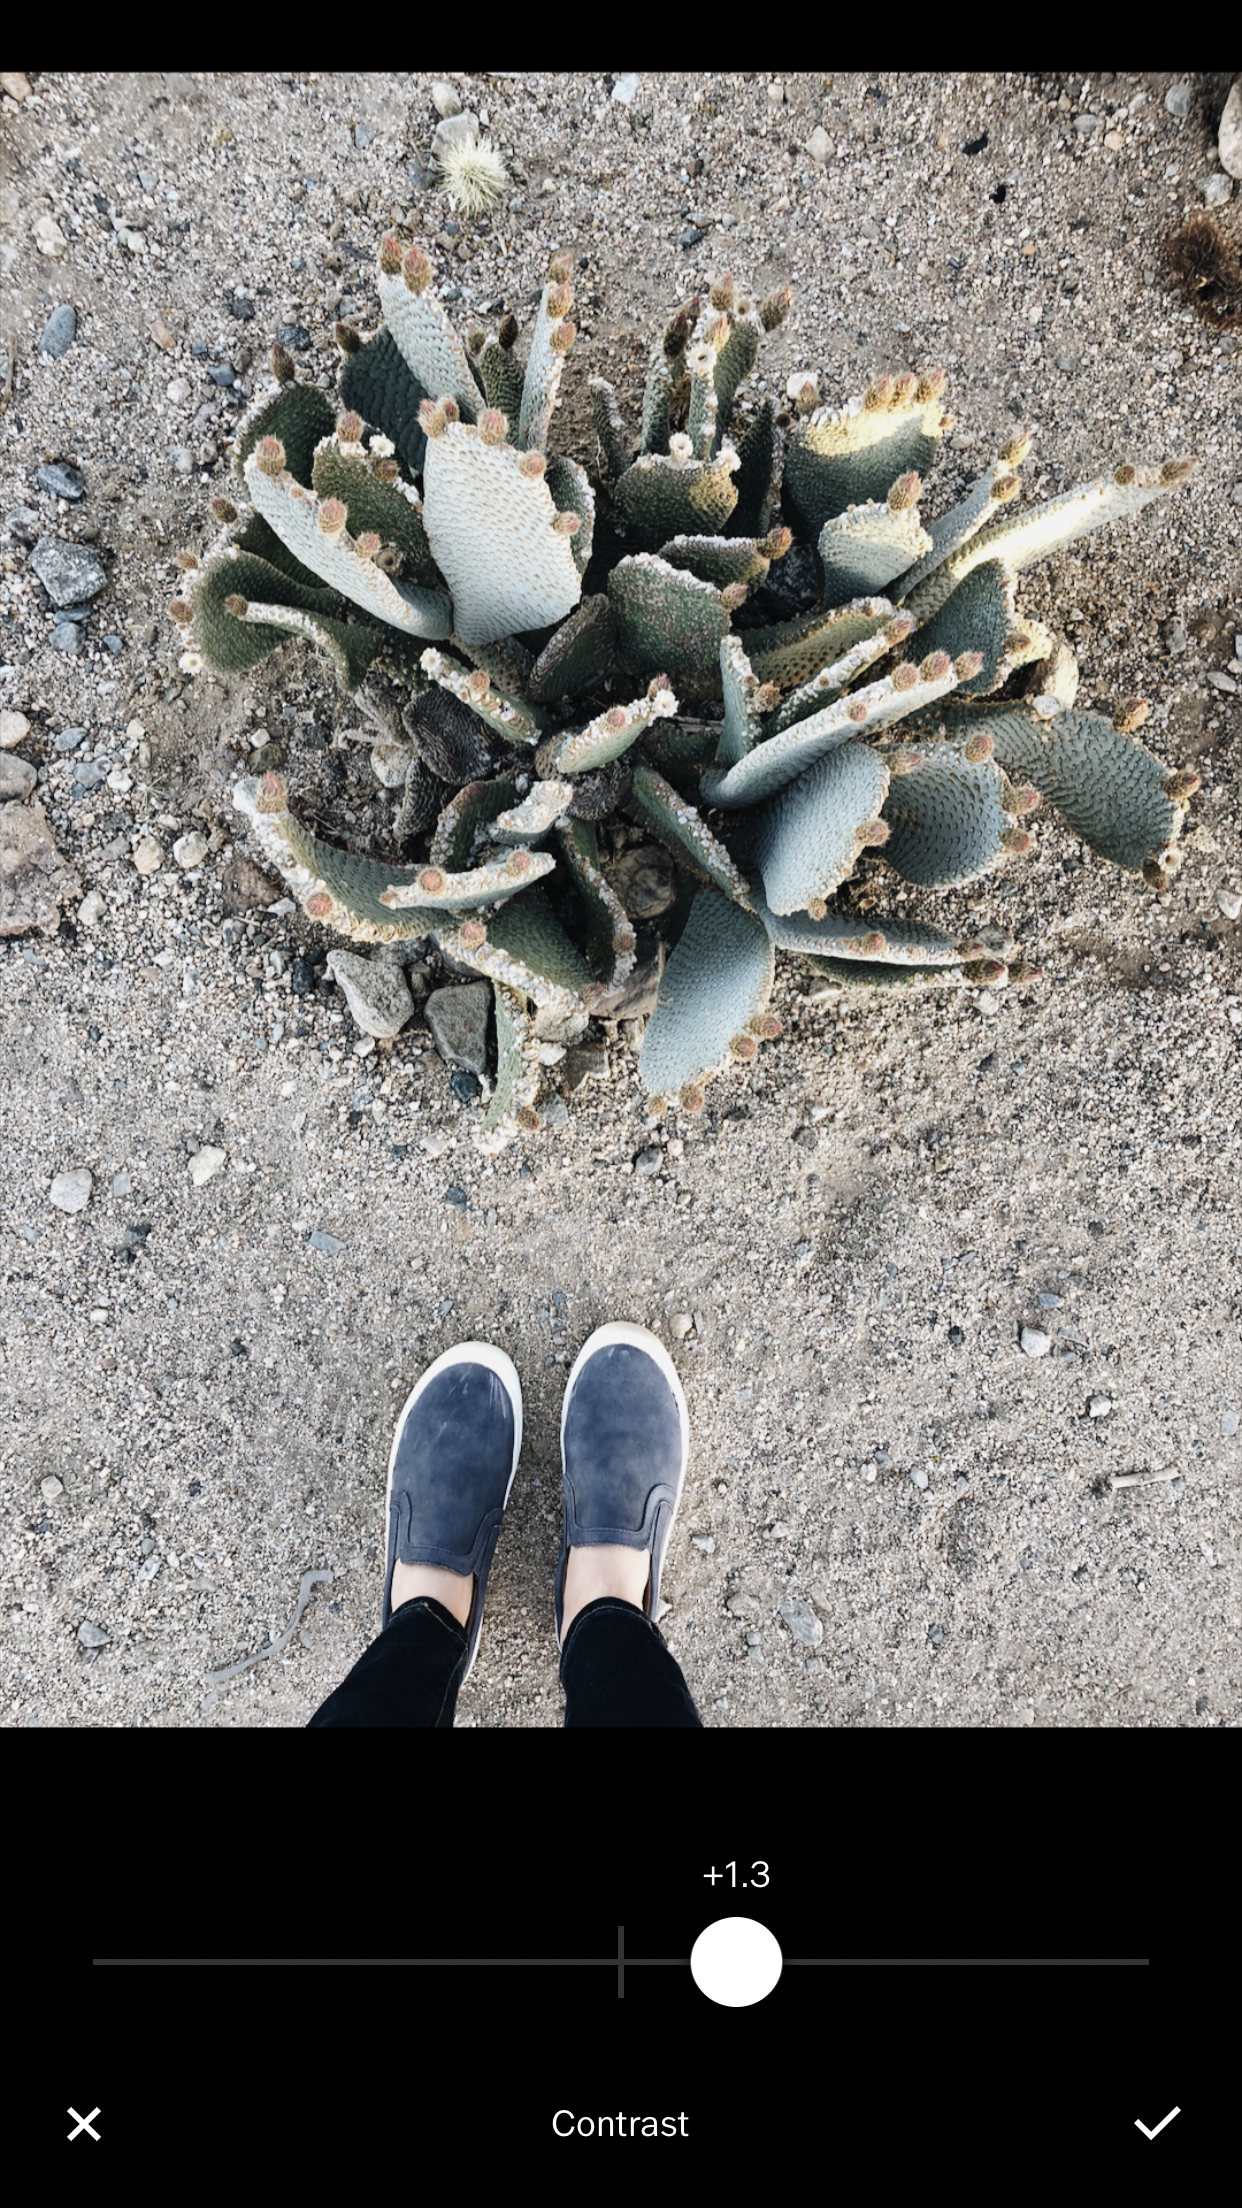
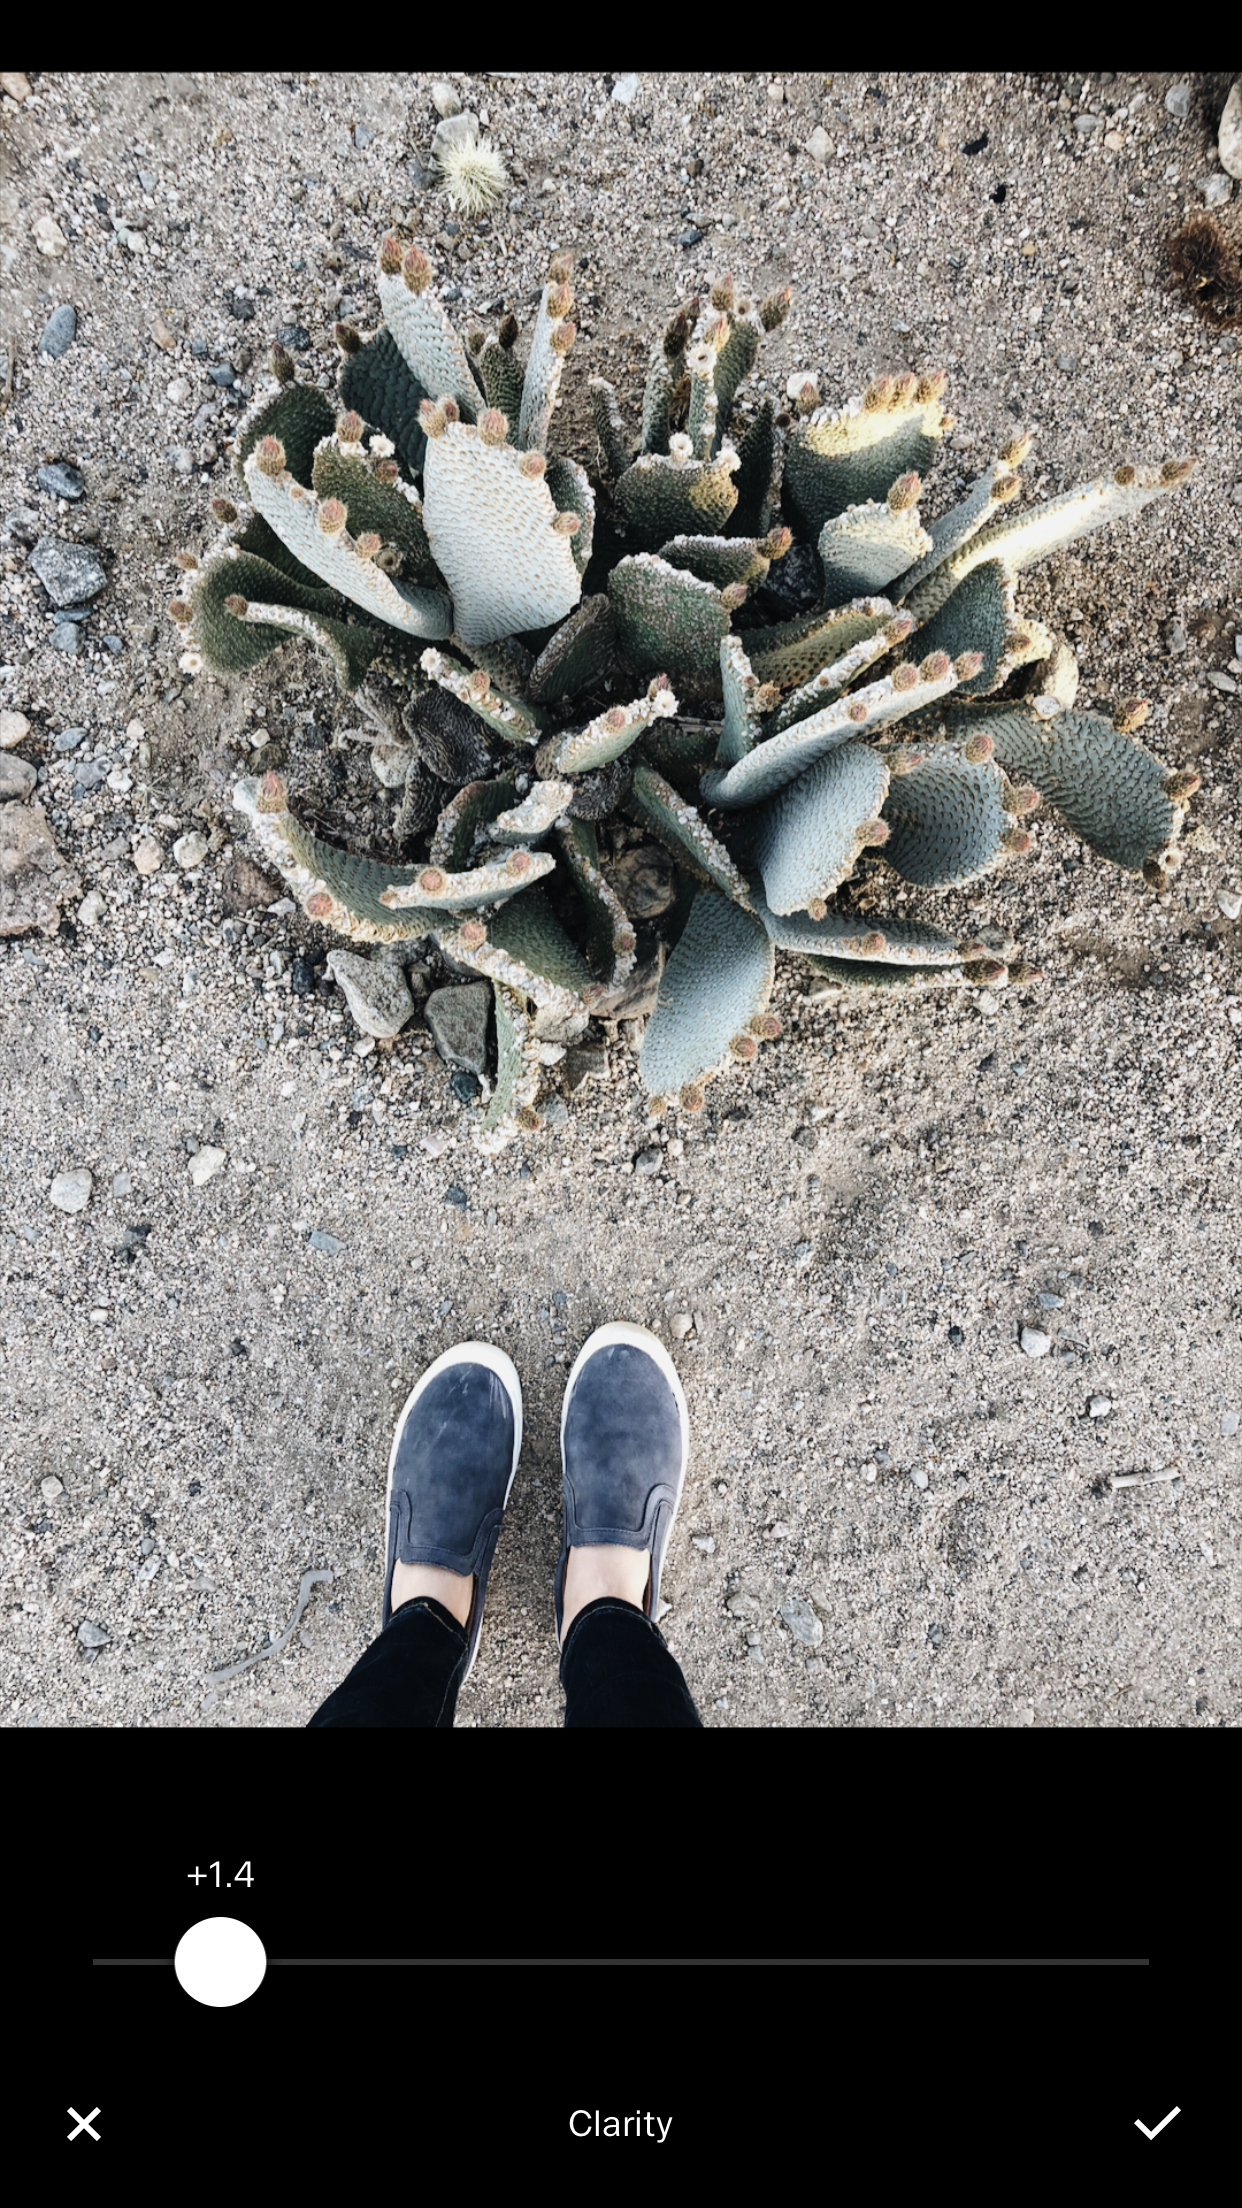
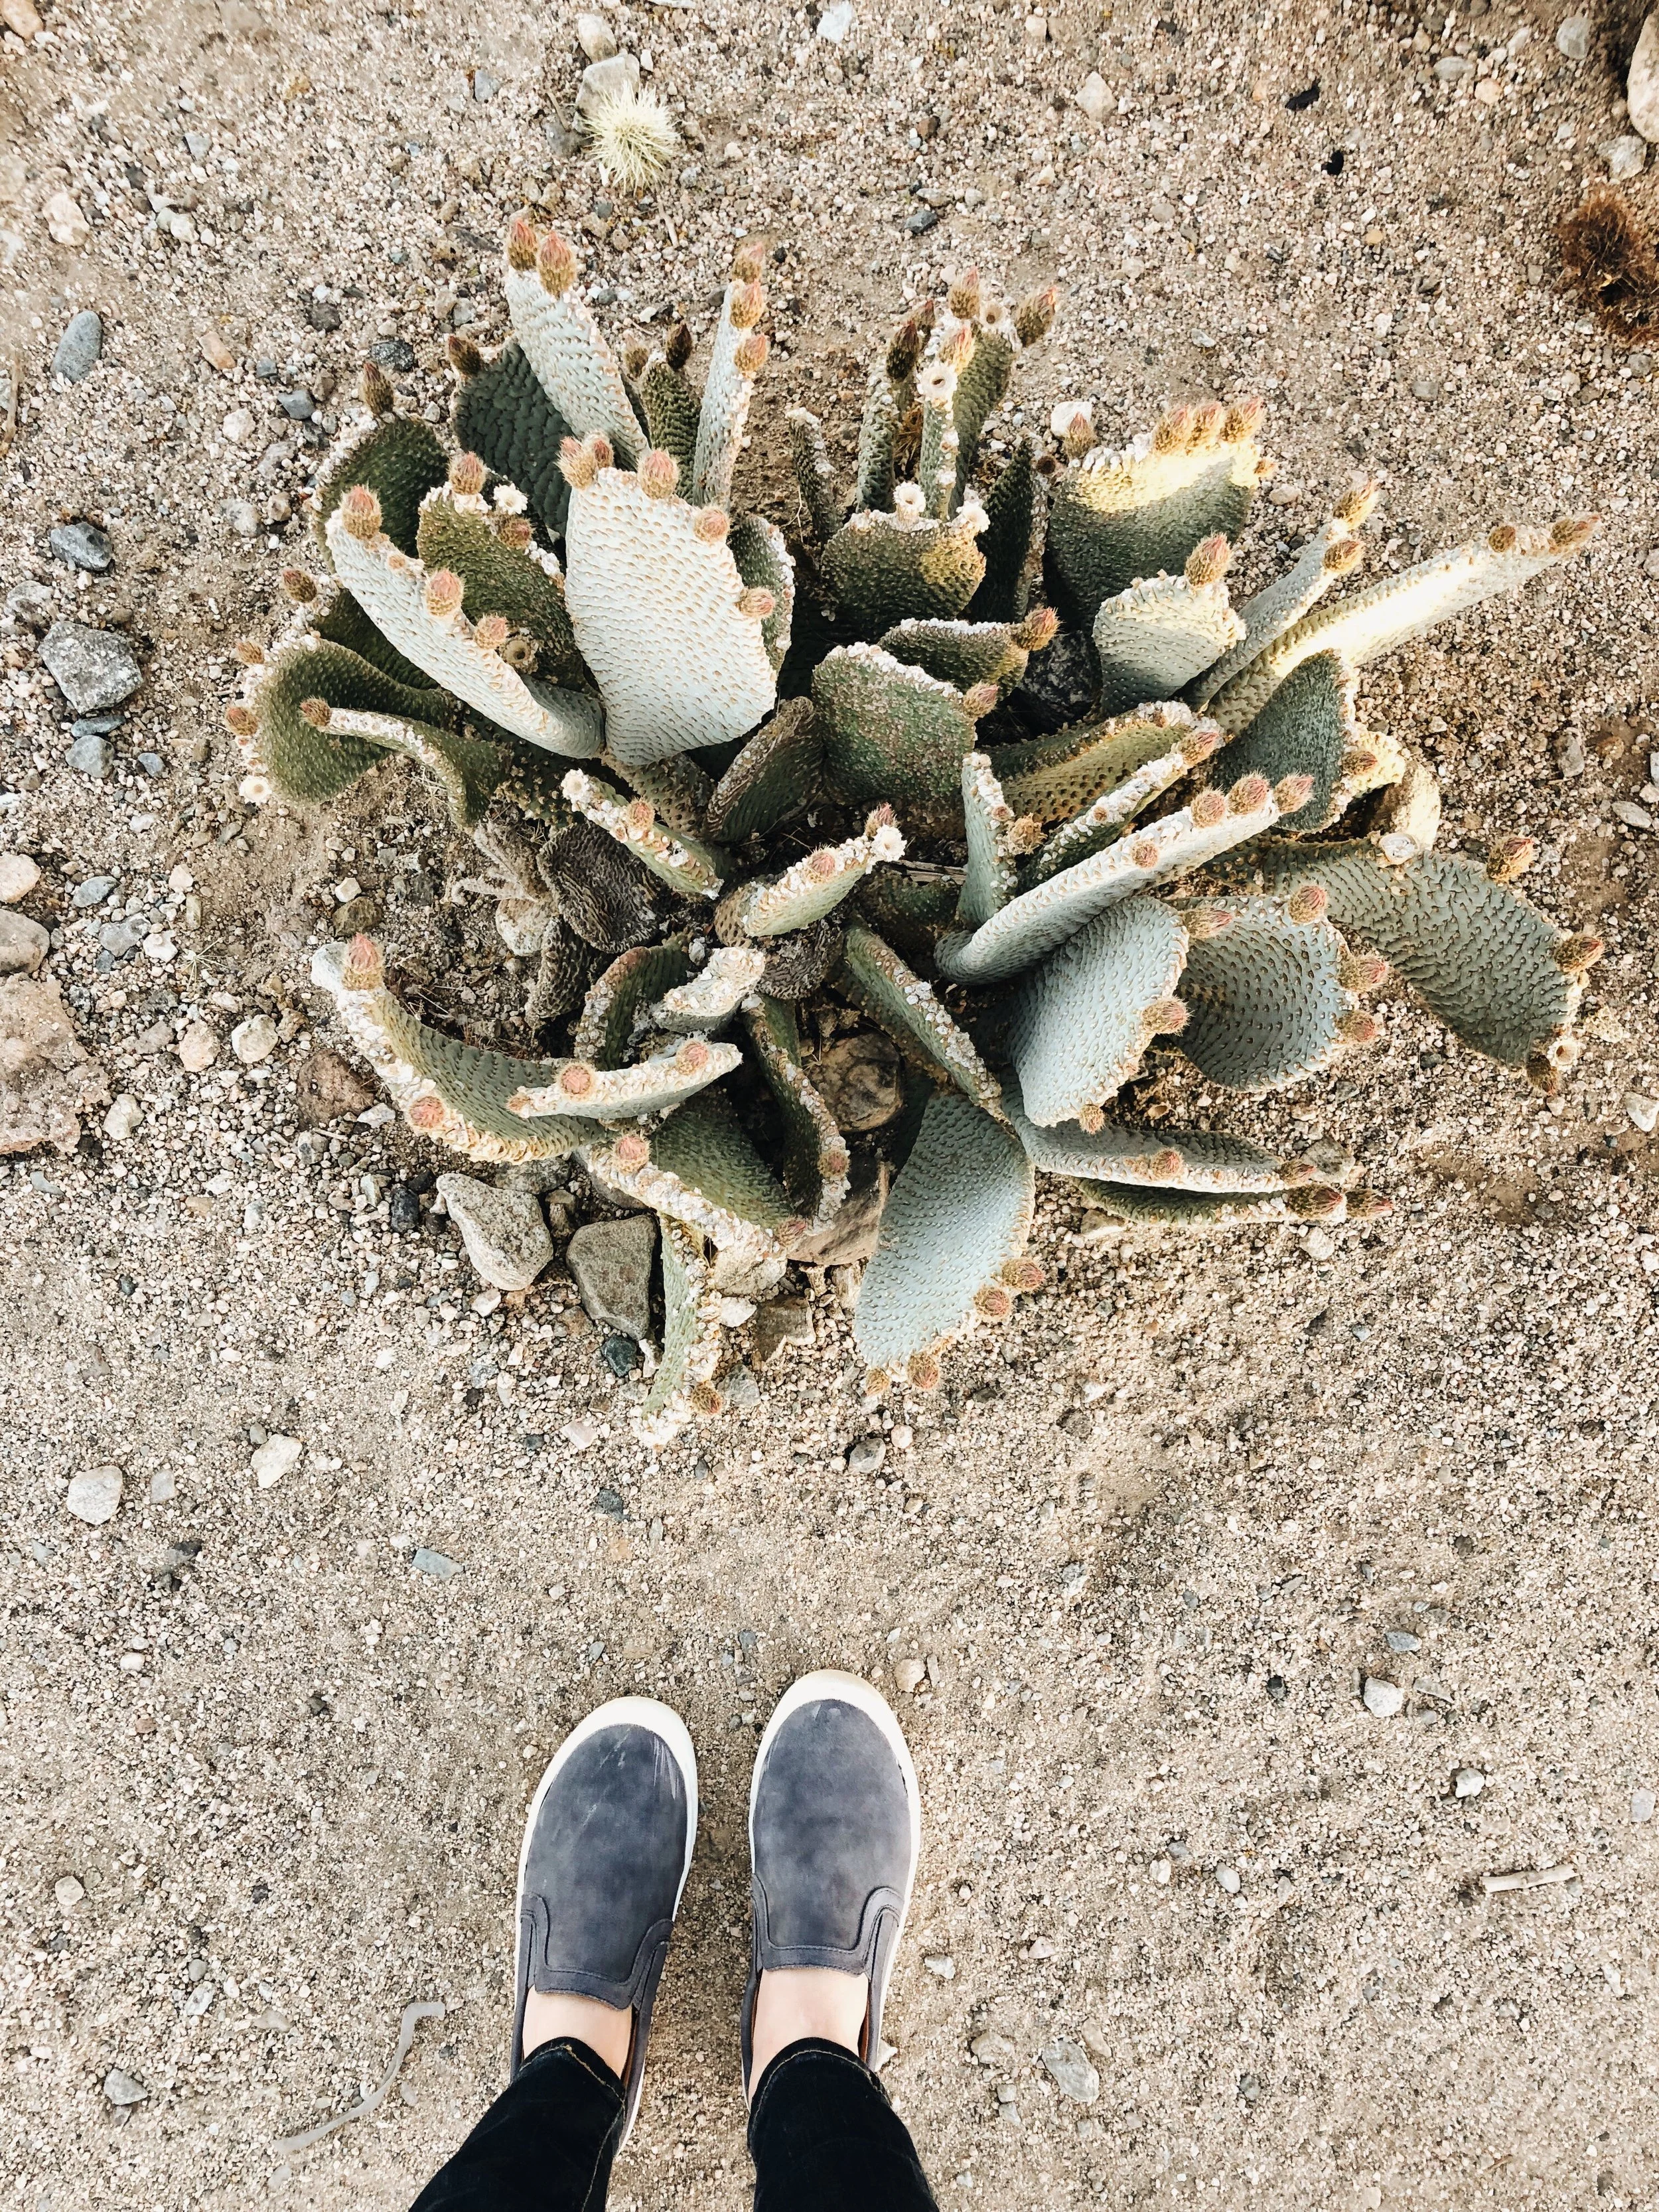
I took this photo while in Joshua Tree, CA. Two immediate thoughts about this photo:
1. It feels a little flat.
2. There's too much of a cool blue hue.

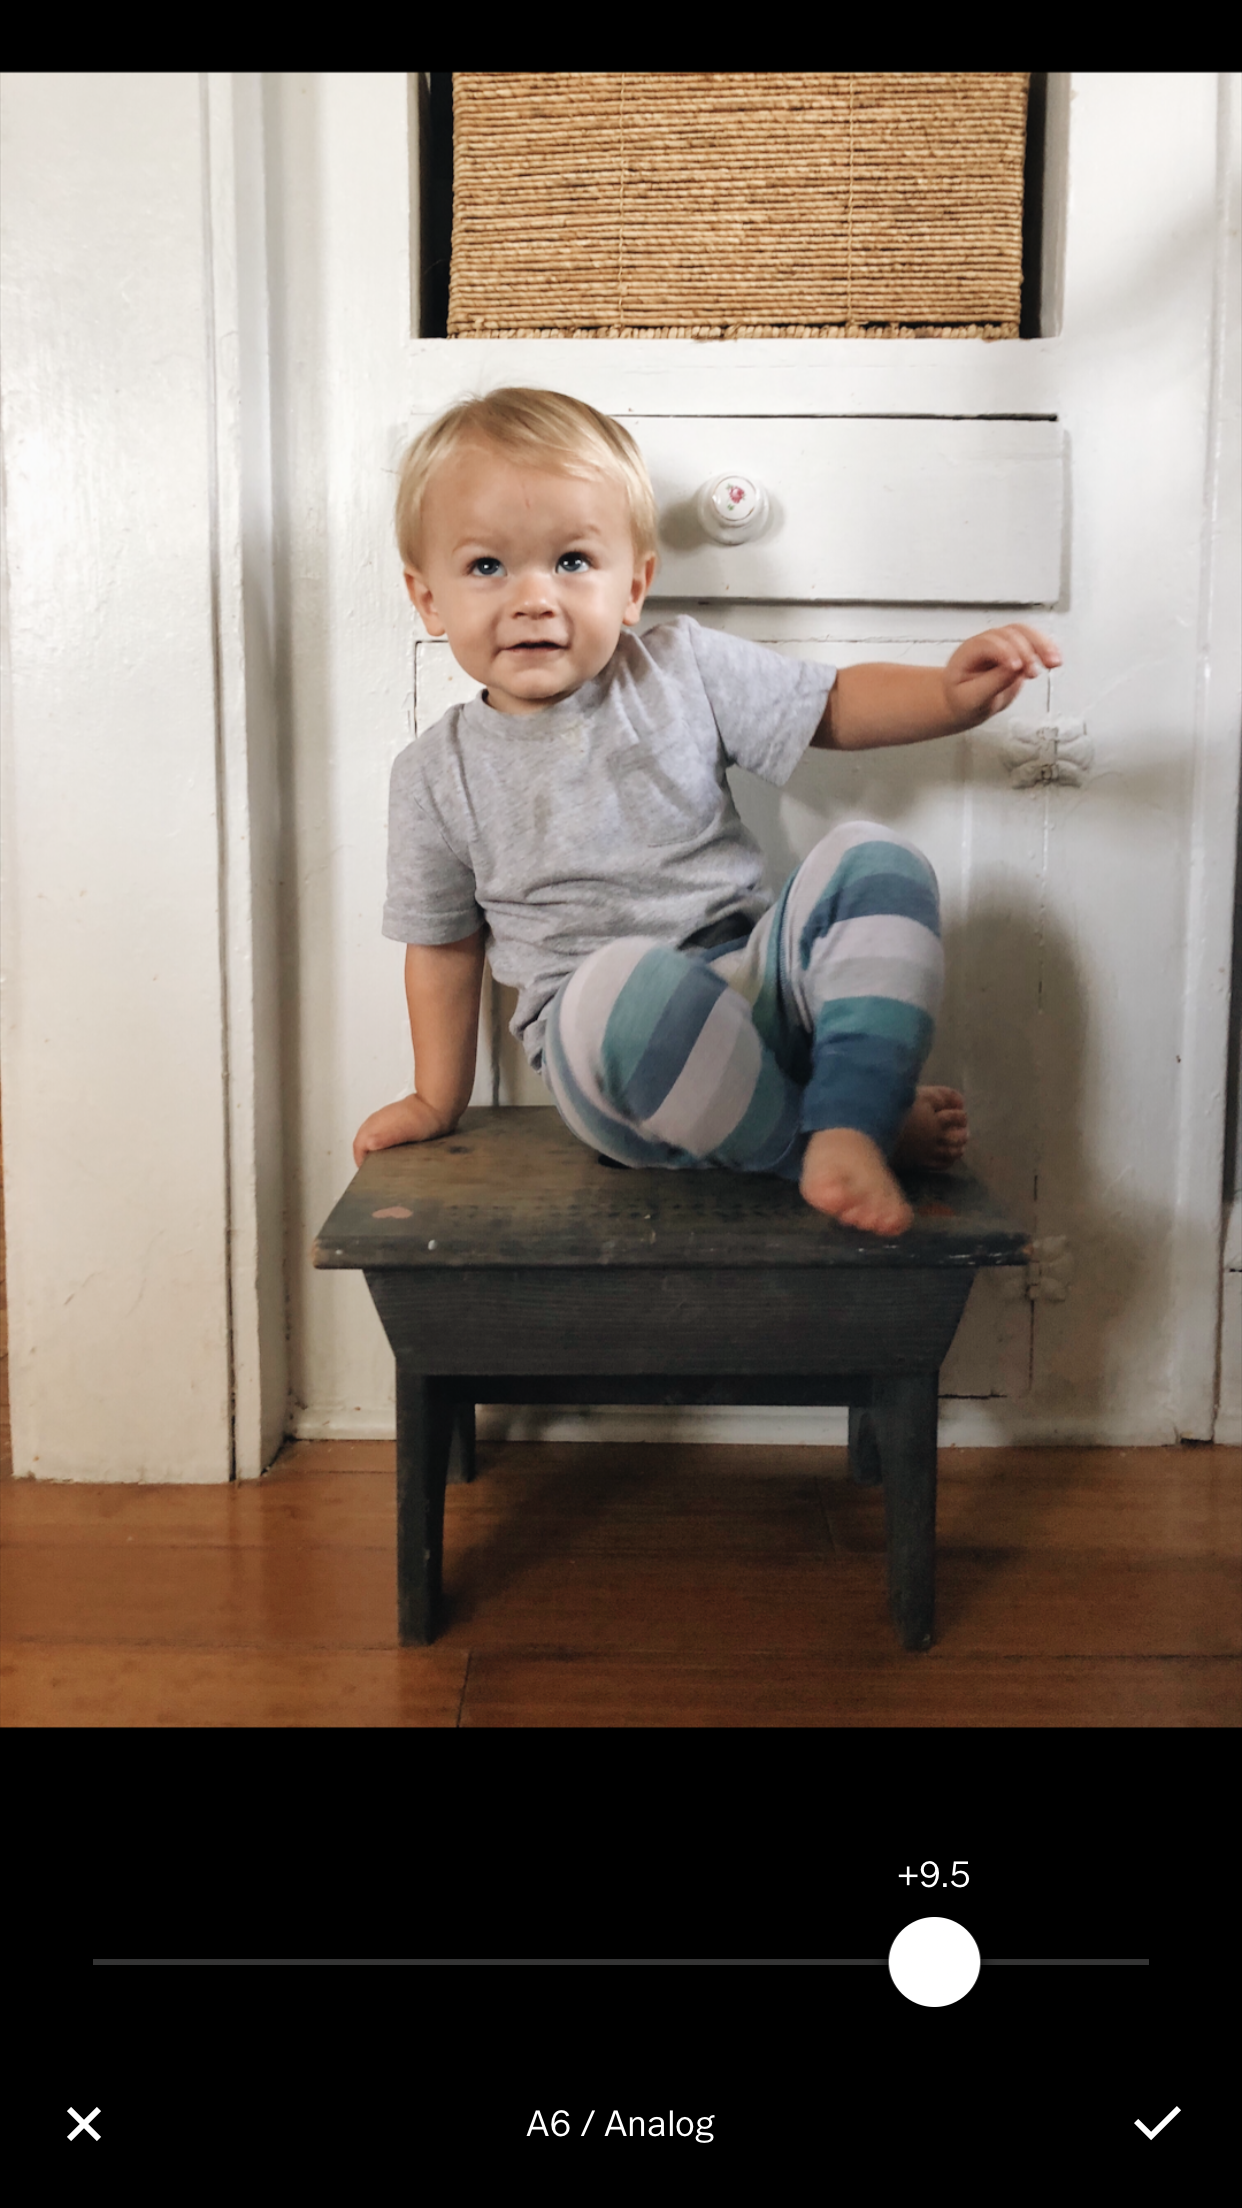
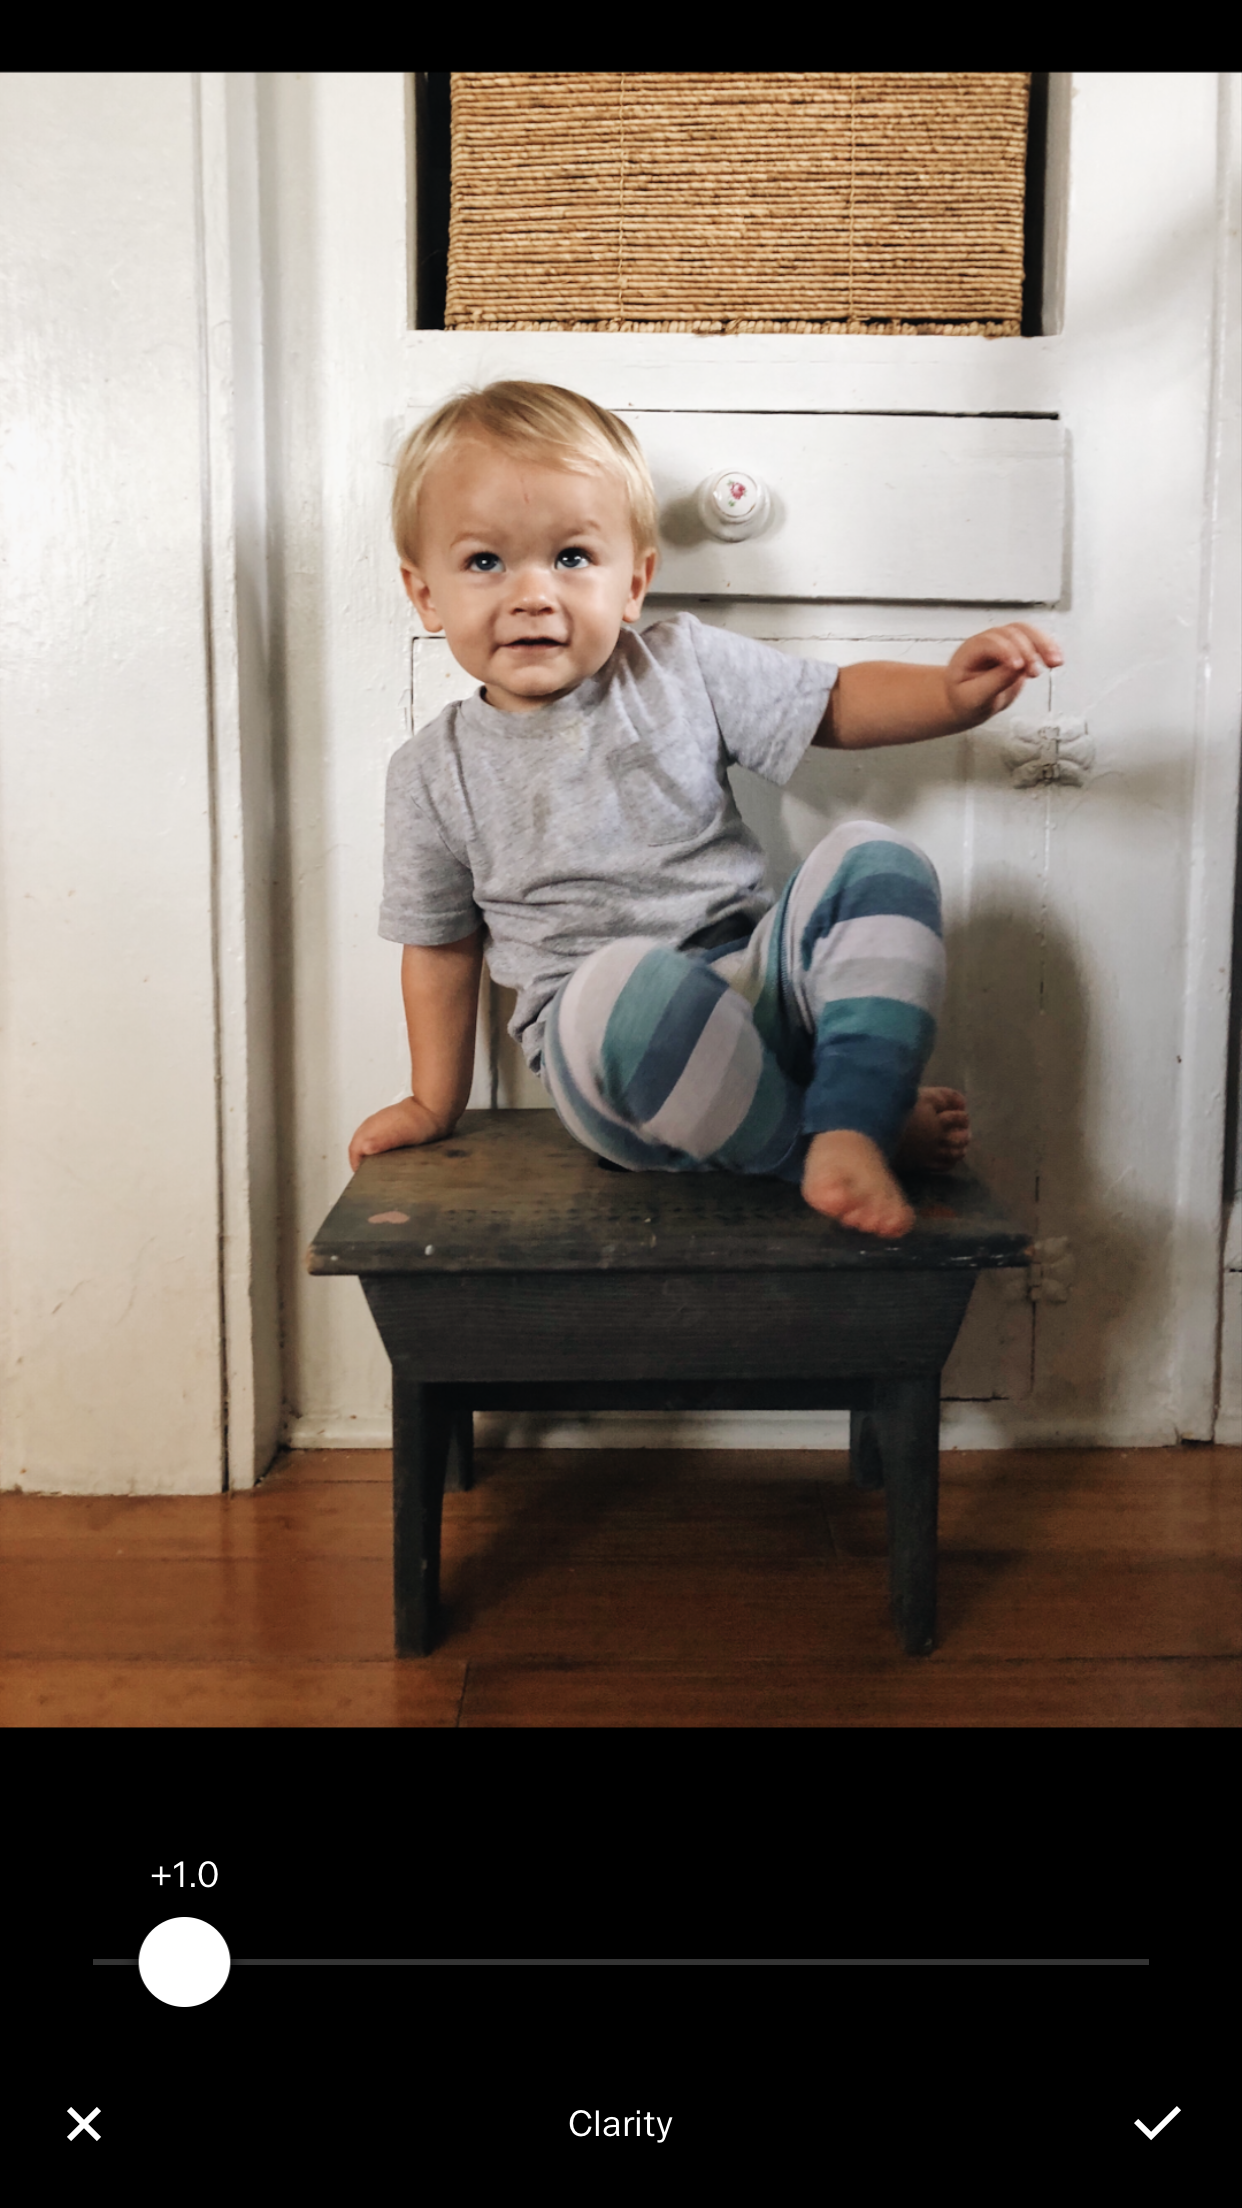
This is one of the final photos I took of Emet at our old home in Florida. We loved spending time in this nook. But there are a few things that need some work:
1. It's too dark and shadowy.
2. The alignment is a little off.
3. He's a moving toddler, so his foot is a little blurry.
SNAPSEED
The first app that I take my photos over to is Snapseed. There are several tools I use all of the time that are unique to this app. My main "go to" tool here is the Selective Brightness tool. It allows you to select certain areas of a photo that are dark and give them a little boost.
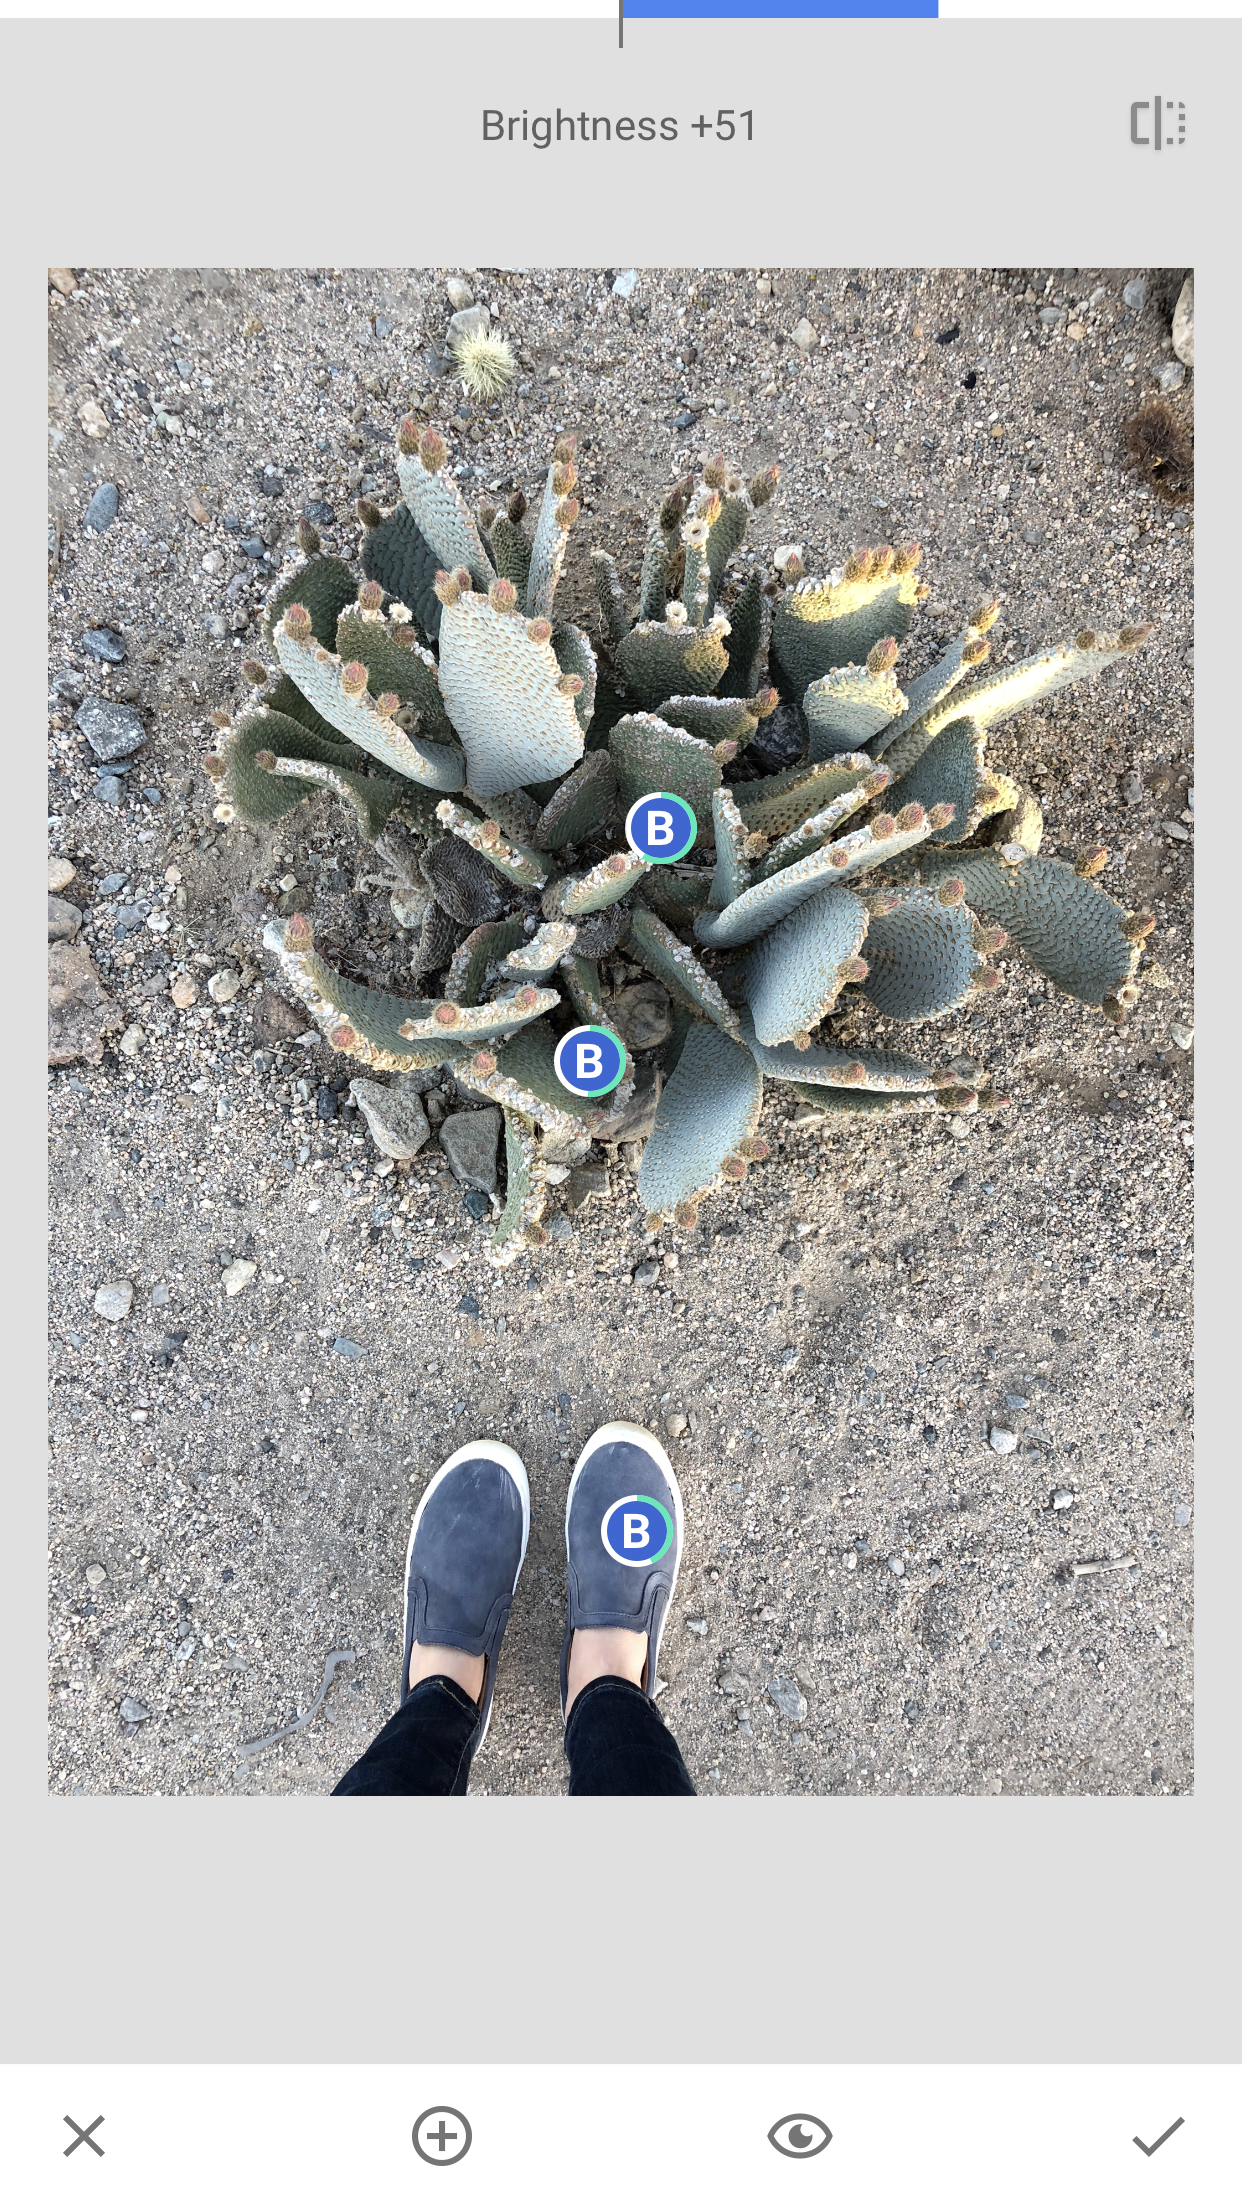
There are three specific areas that were a bit dark and dreary. I brightened them up to help highlight some of the details and textures.
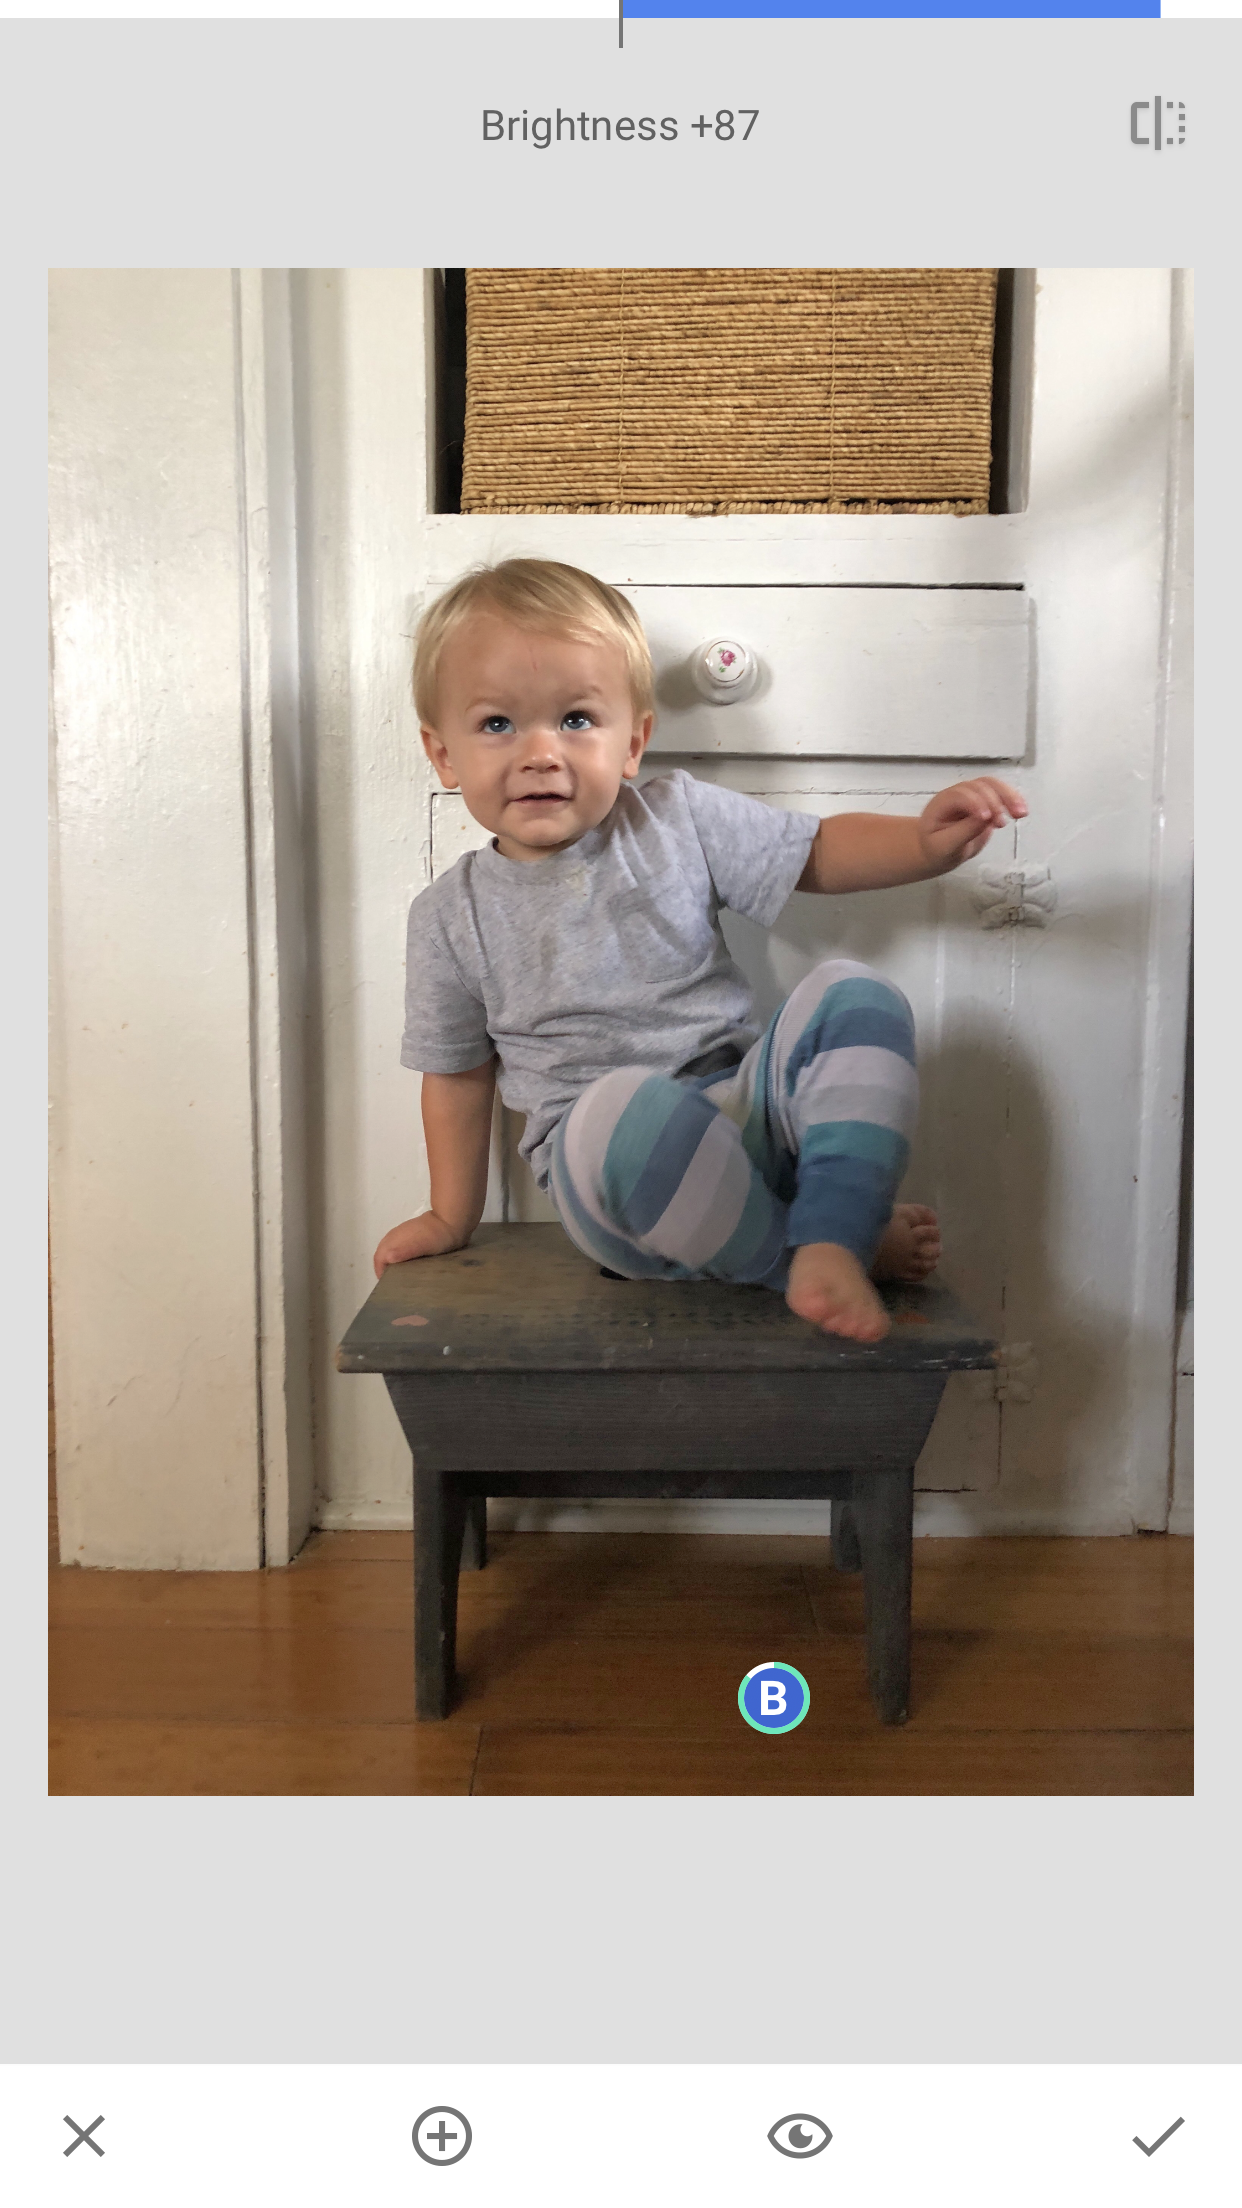
There was a really dark shadow underneath the stool. I selected right under the stool and kicked the brightness up to +87.
To brighten specific areas, all you need to do is tap on the selective tool. Then, tap on the area on the photo that needs to be lightened. You can pick how far reaching your selection will be by pinching the screen. You'll see a red area either expand or reduce based on the way you're pinching. Once you've selected the area you want to lighten, you can adjust the brightness at the top of the screen.
VSCO
I love VSCO! It's a versatile app with a lot of quality features for editing photos. I've been using it for several years now and have yet to find a photo editing app for iOS that comes close in quality and user interface.
I wanted consistency with my photos and how they appeared in my feed. I tried several different things to achieve this, but the best tip I got was from my good friend (and photographer) Ali Marsh, who helped me find consistent colors for my photos. My colors are green, blue, and yellow. If my photo is lacking any of these colors, I can use VSCO to adjust the settings to achieve the look I want.

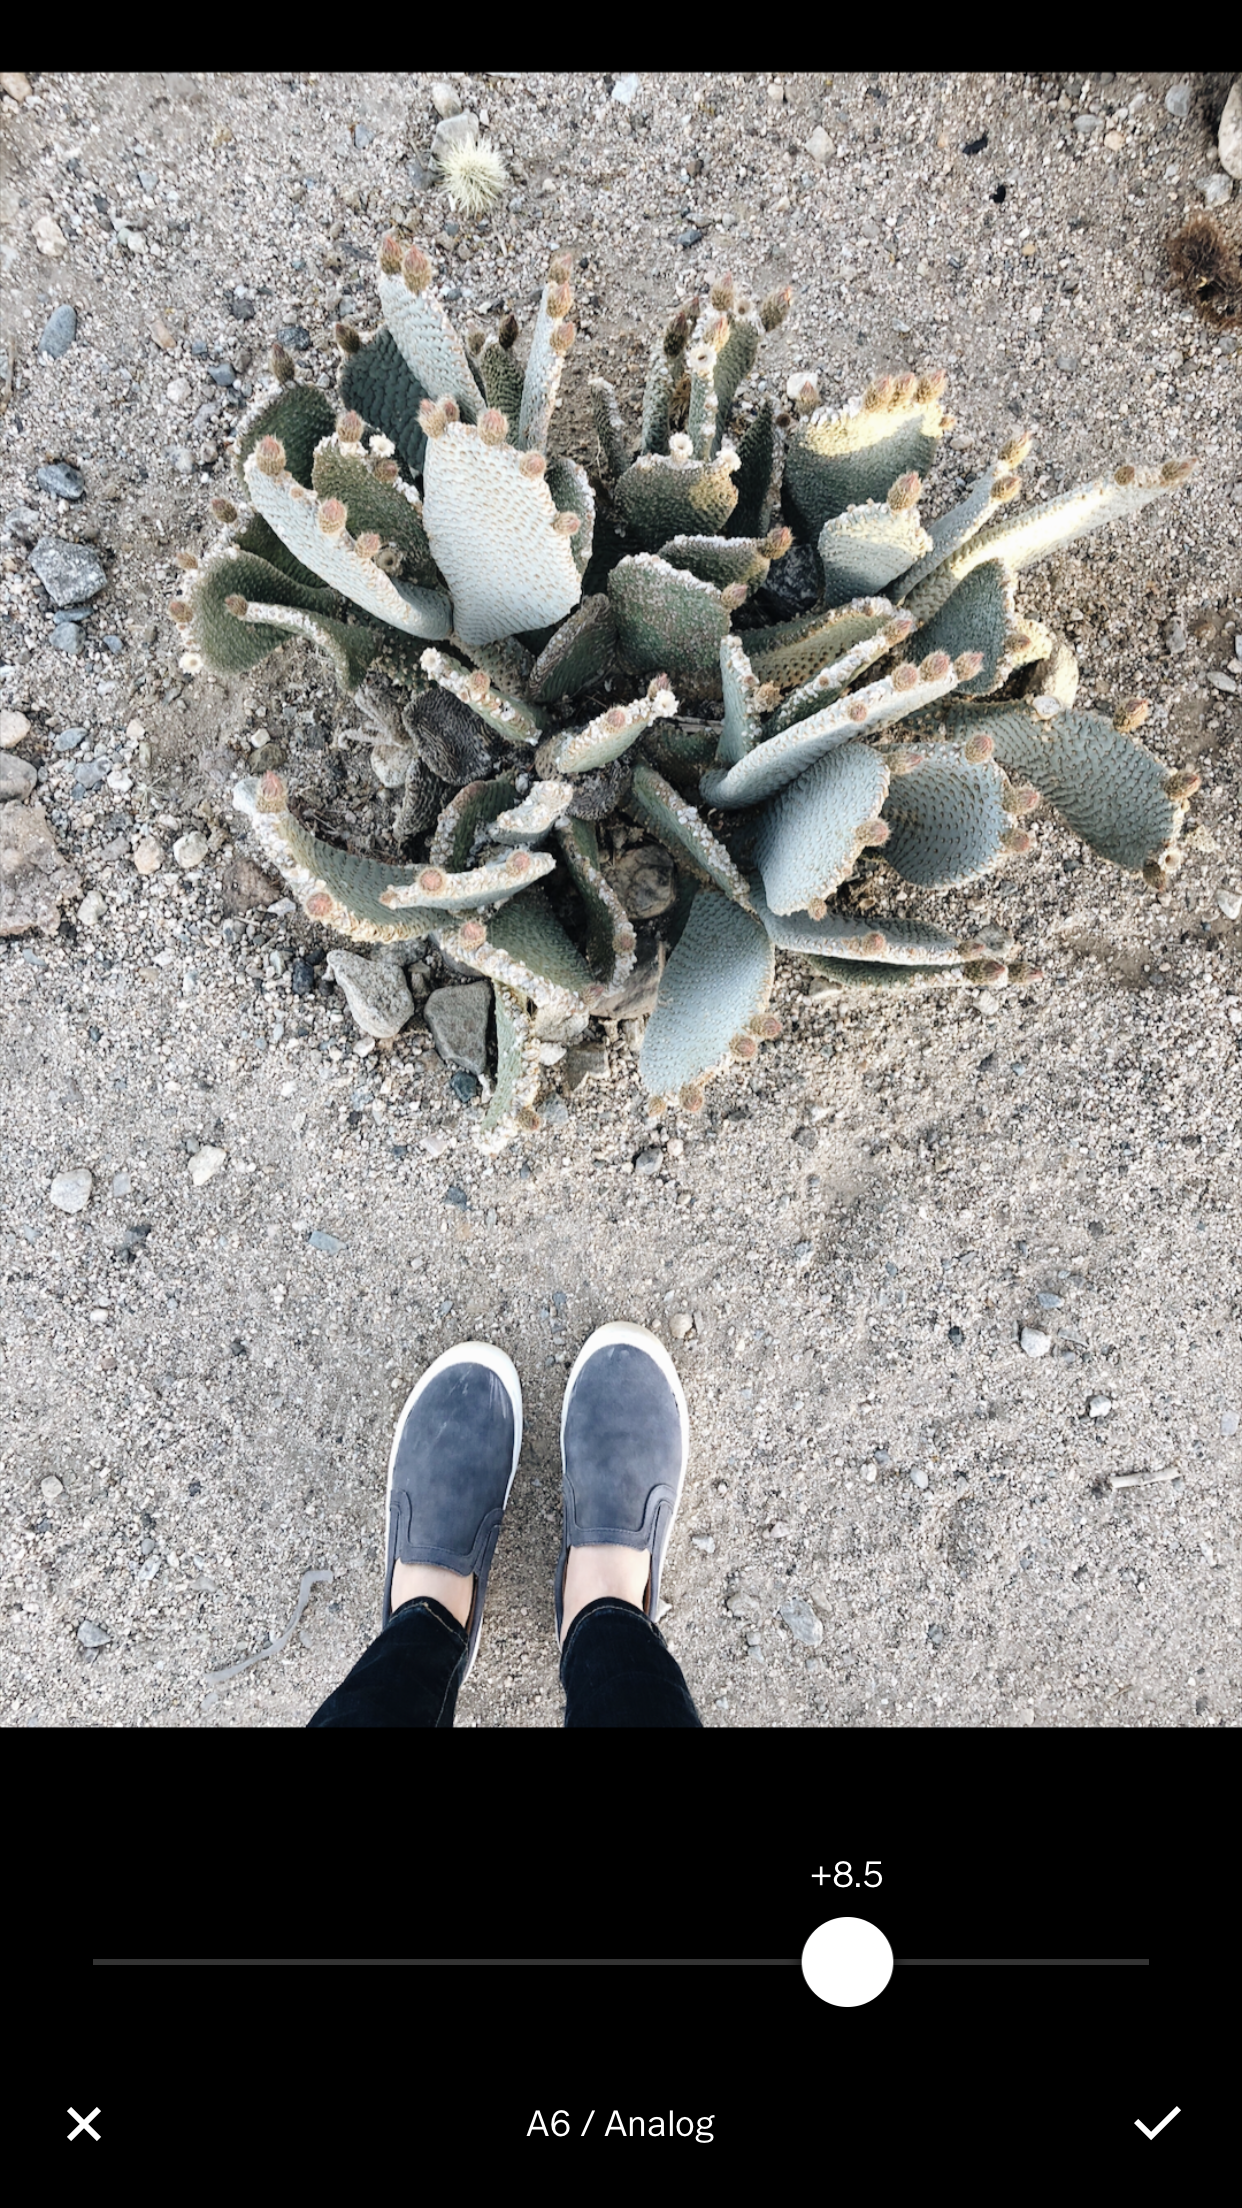
Filter
My first step inside of VSCO is to apply the filter to the photo. I regularly use A6. It really balances out the greens, blues, and yellows in a way that consistently looks good.
I rarely, if ever, leave the filter settings all the way up. I will drop them down a few so they don't feel overwhelmingly filtered.
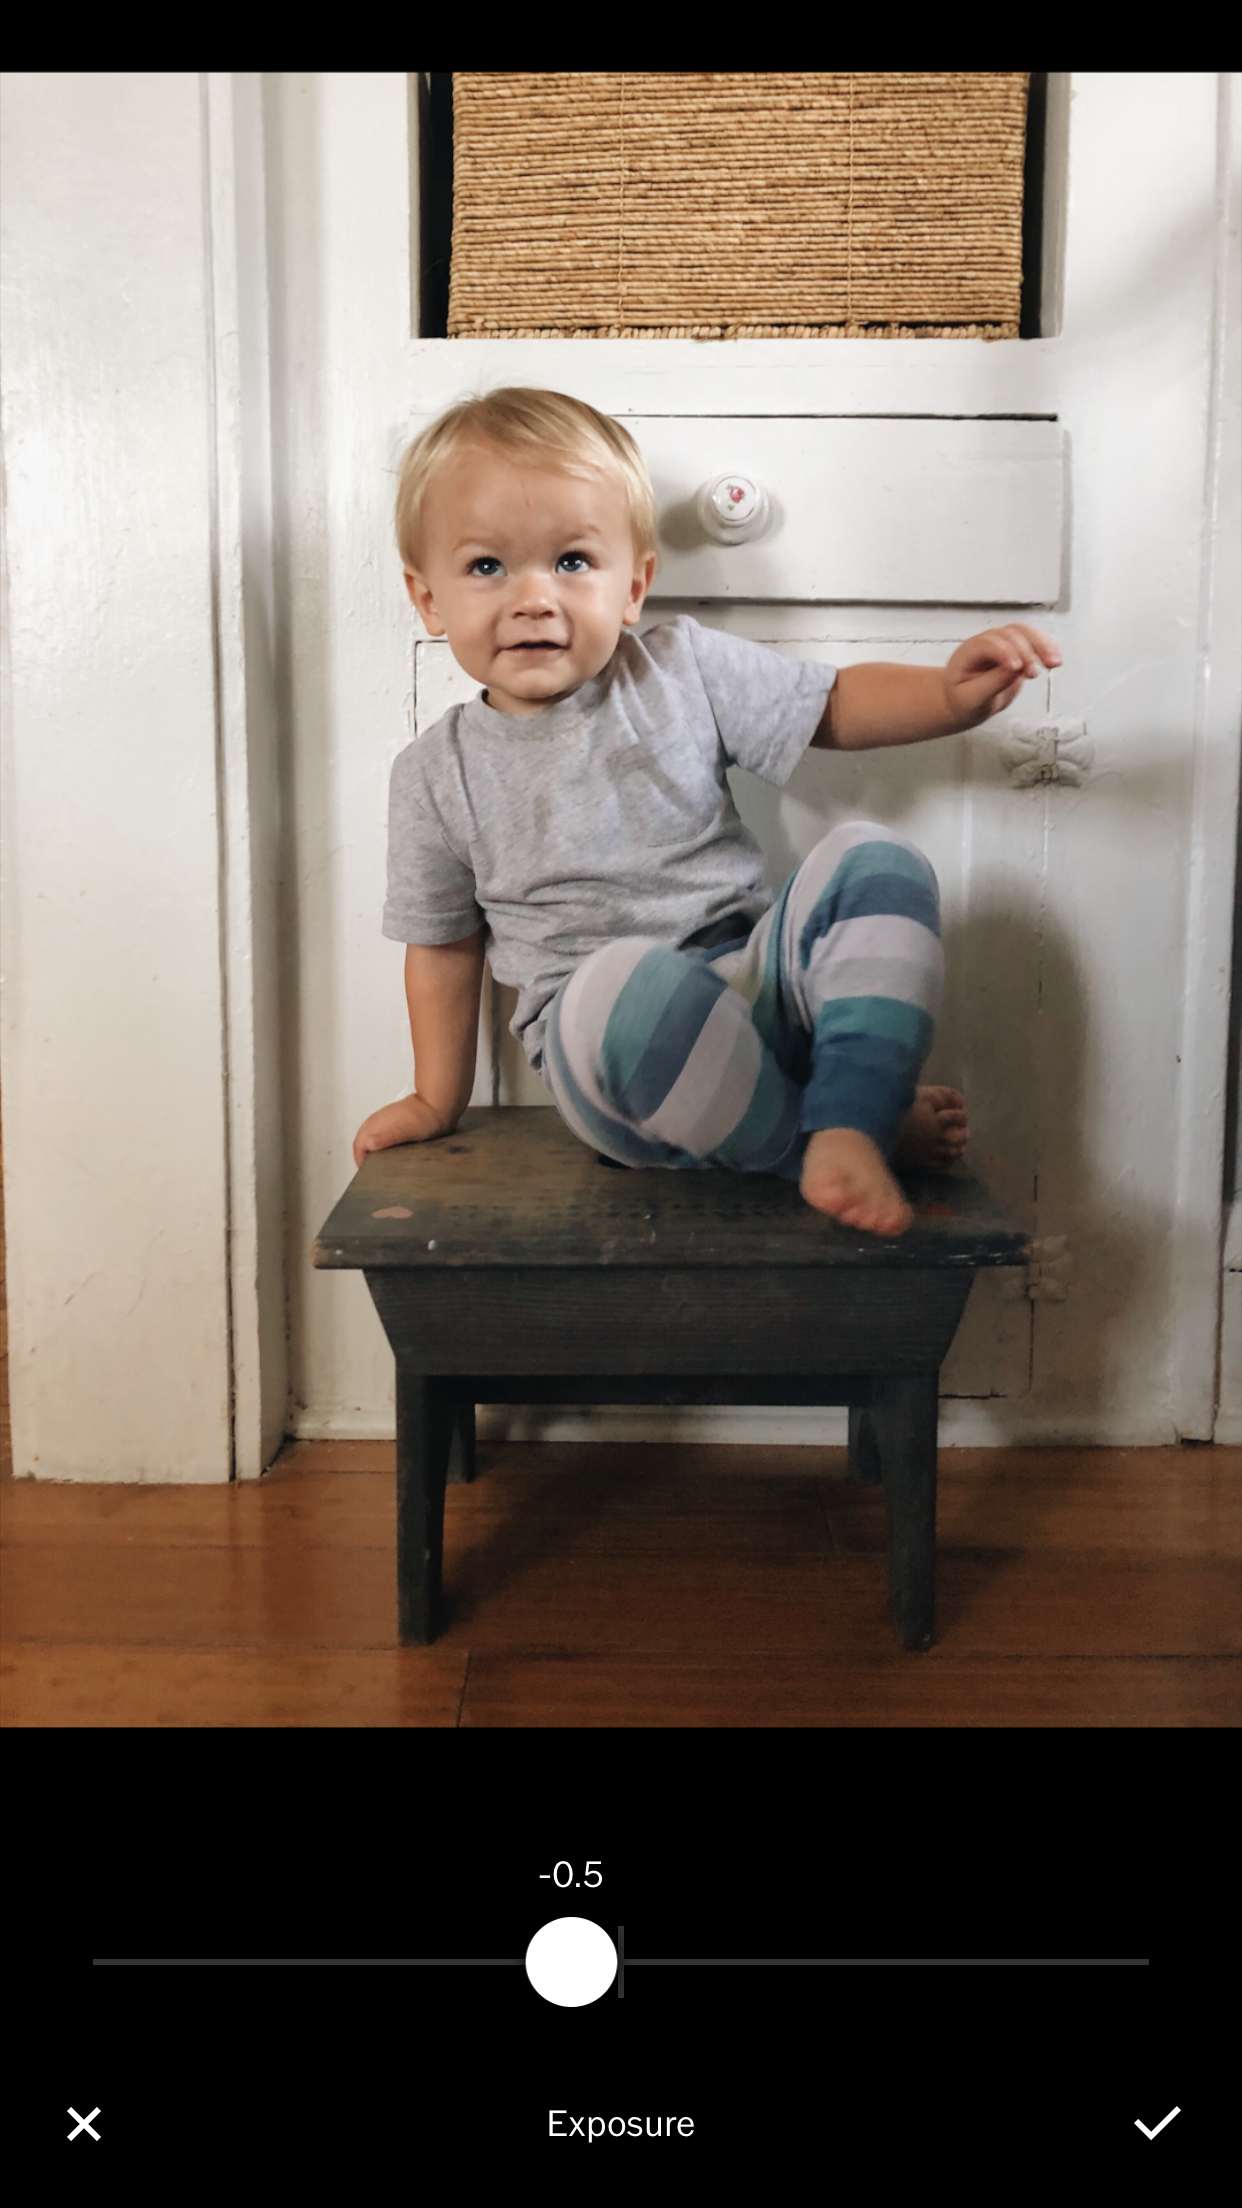
Exposure
I prefer to drop my exposure a few ticks so they don't appear too washed out, because I prefer warmer photos. Dropping the exposure will also bring some necessary depth to you photo as well. I don't worry too much about losing any brightness at this point. I can brightening it later when I adjust the temperature with more yellow.

Contrast
Whenever I edit photos in Lightroom (which is becoming more and more rare because I'm editing on my phone all the time), I increase the black levels slightly. Since there aren't any settings like this in VSCO, I've found that I've been able to achieve this look through adjusting the contrast up a bit. The balance and trick here is to increase it just enough to not create too many shadows.
Clarity
I don't like to mess with the clarity very much. If you adjust it too much, it makes the photo look over processed. But if I add just a little bit, it adds a little "punch" to the photo.
Also, I've found that if there are some blurry spots on the photo Clarity helps clear them up a little bit.
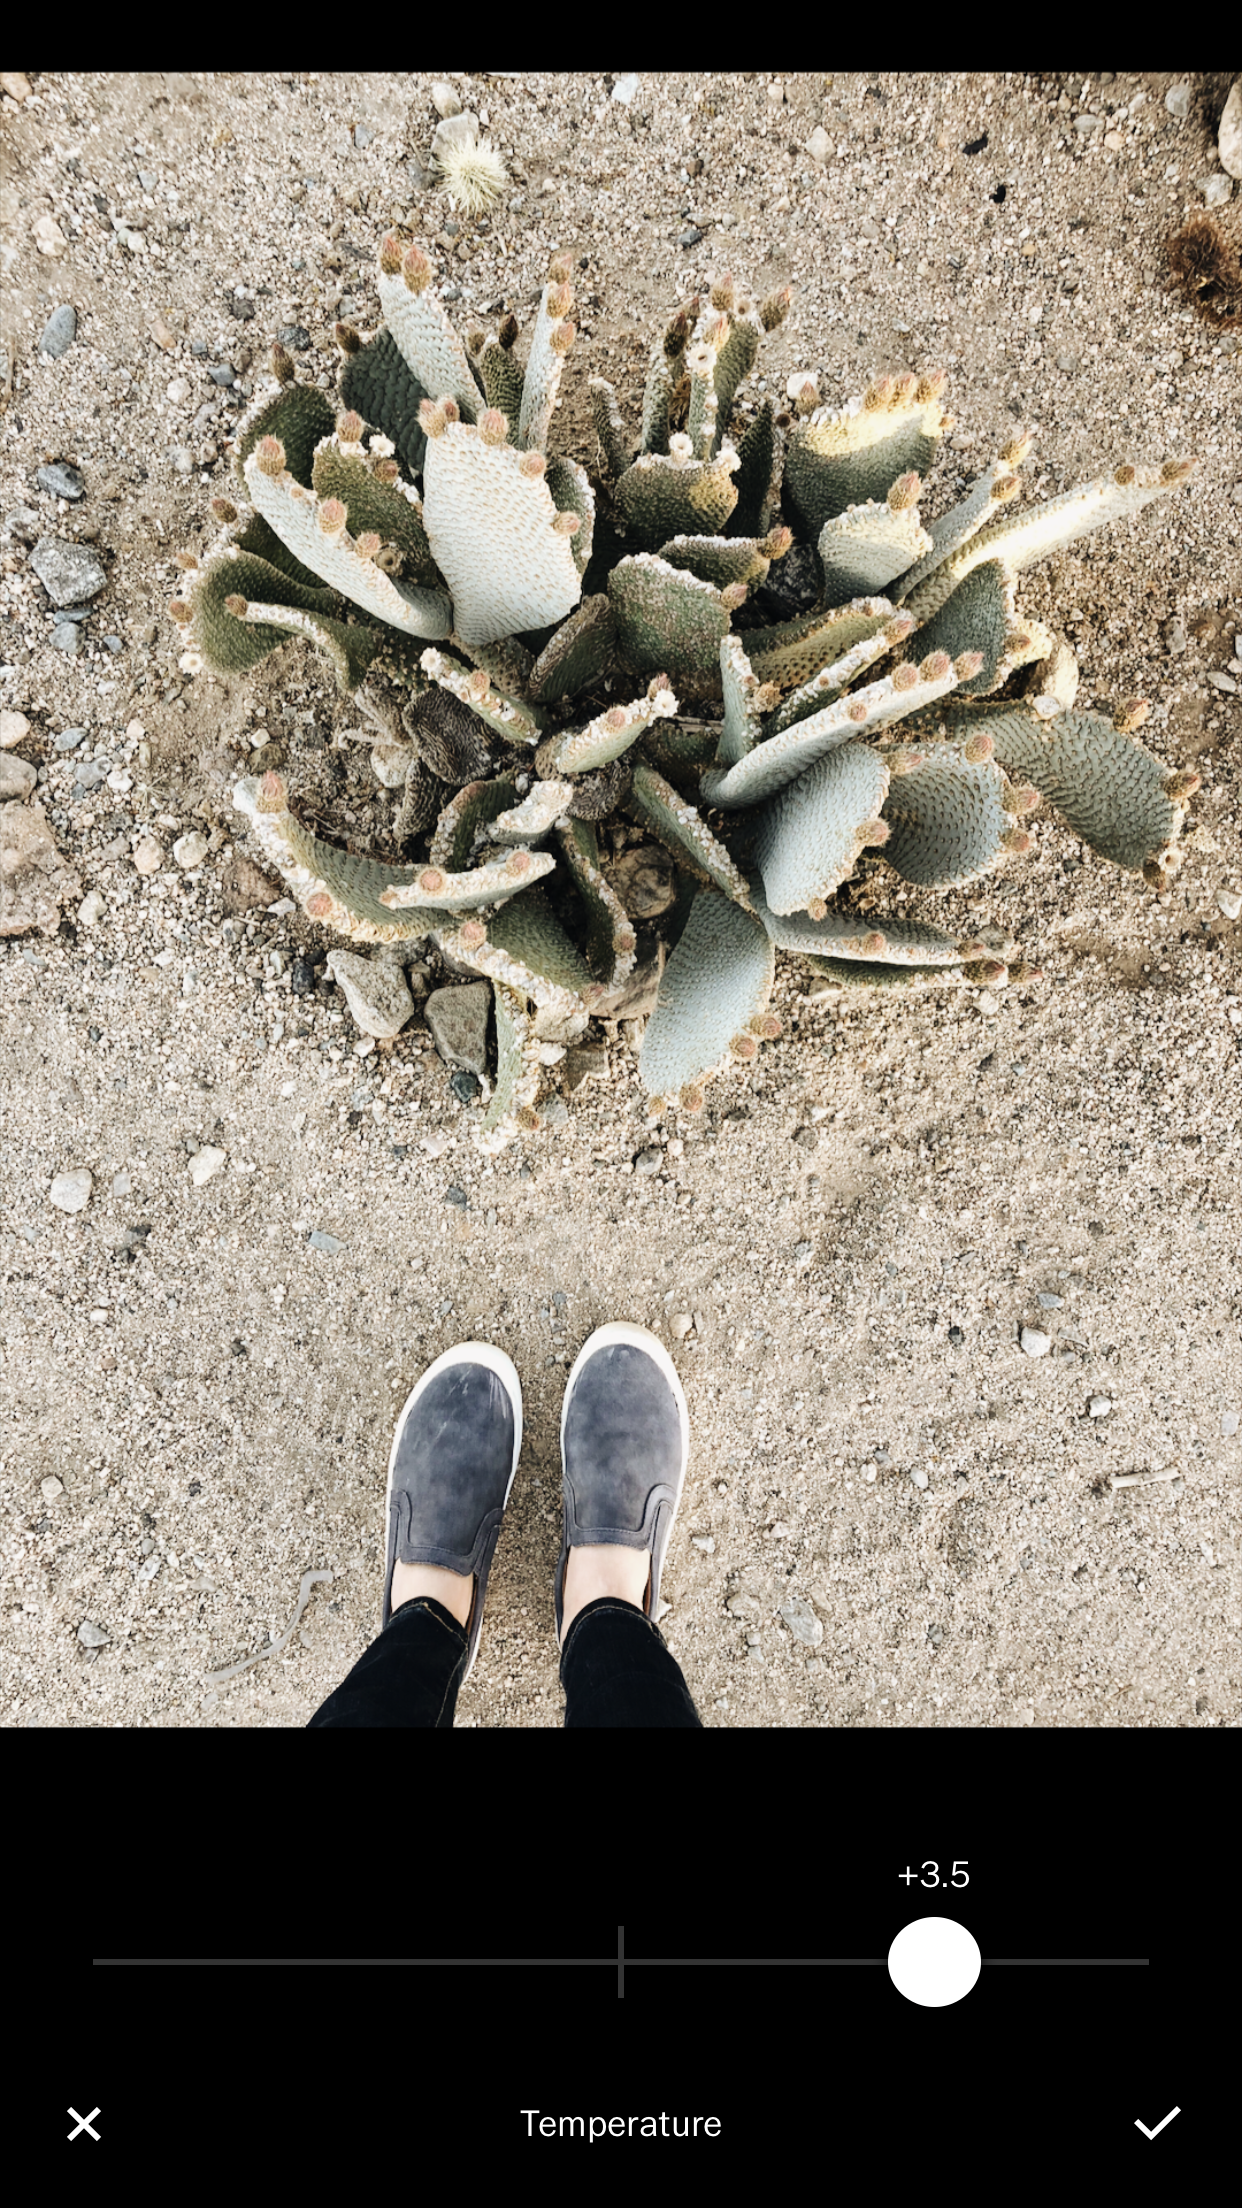
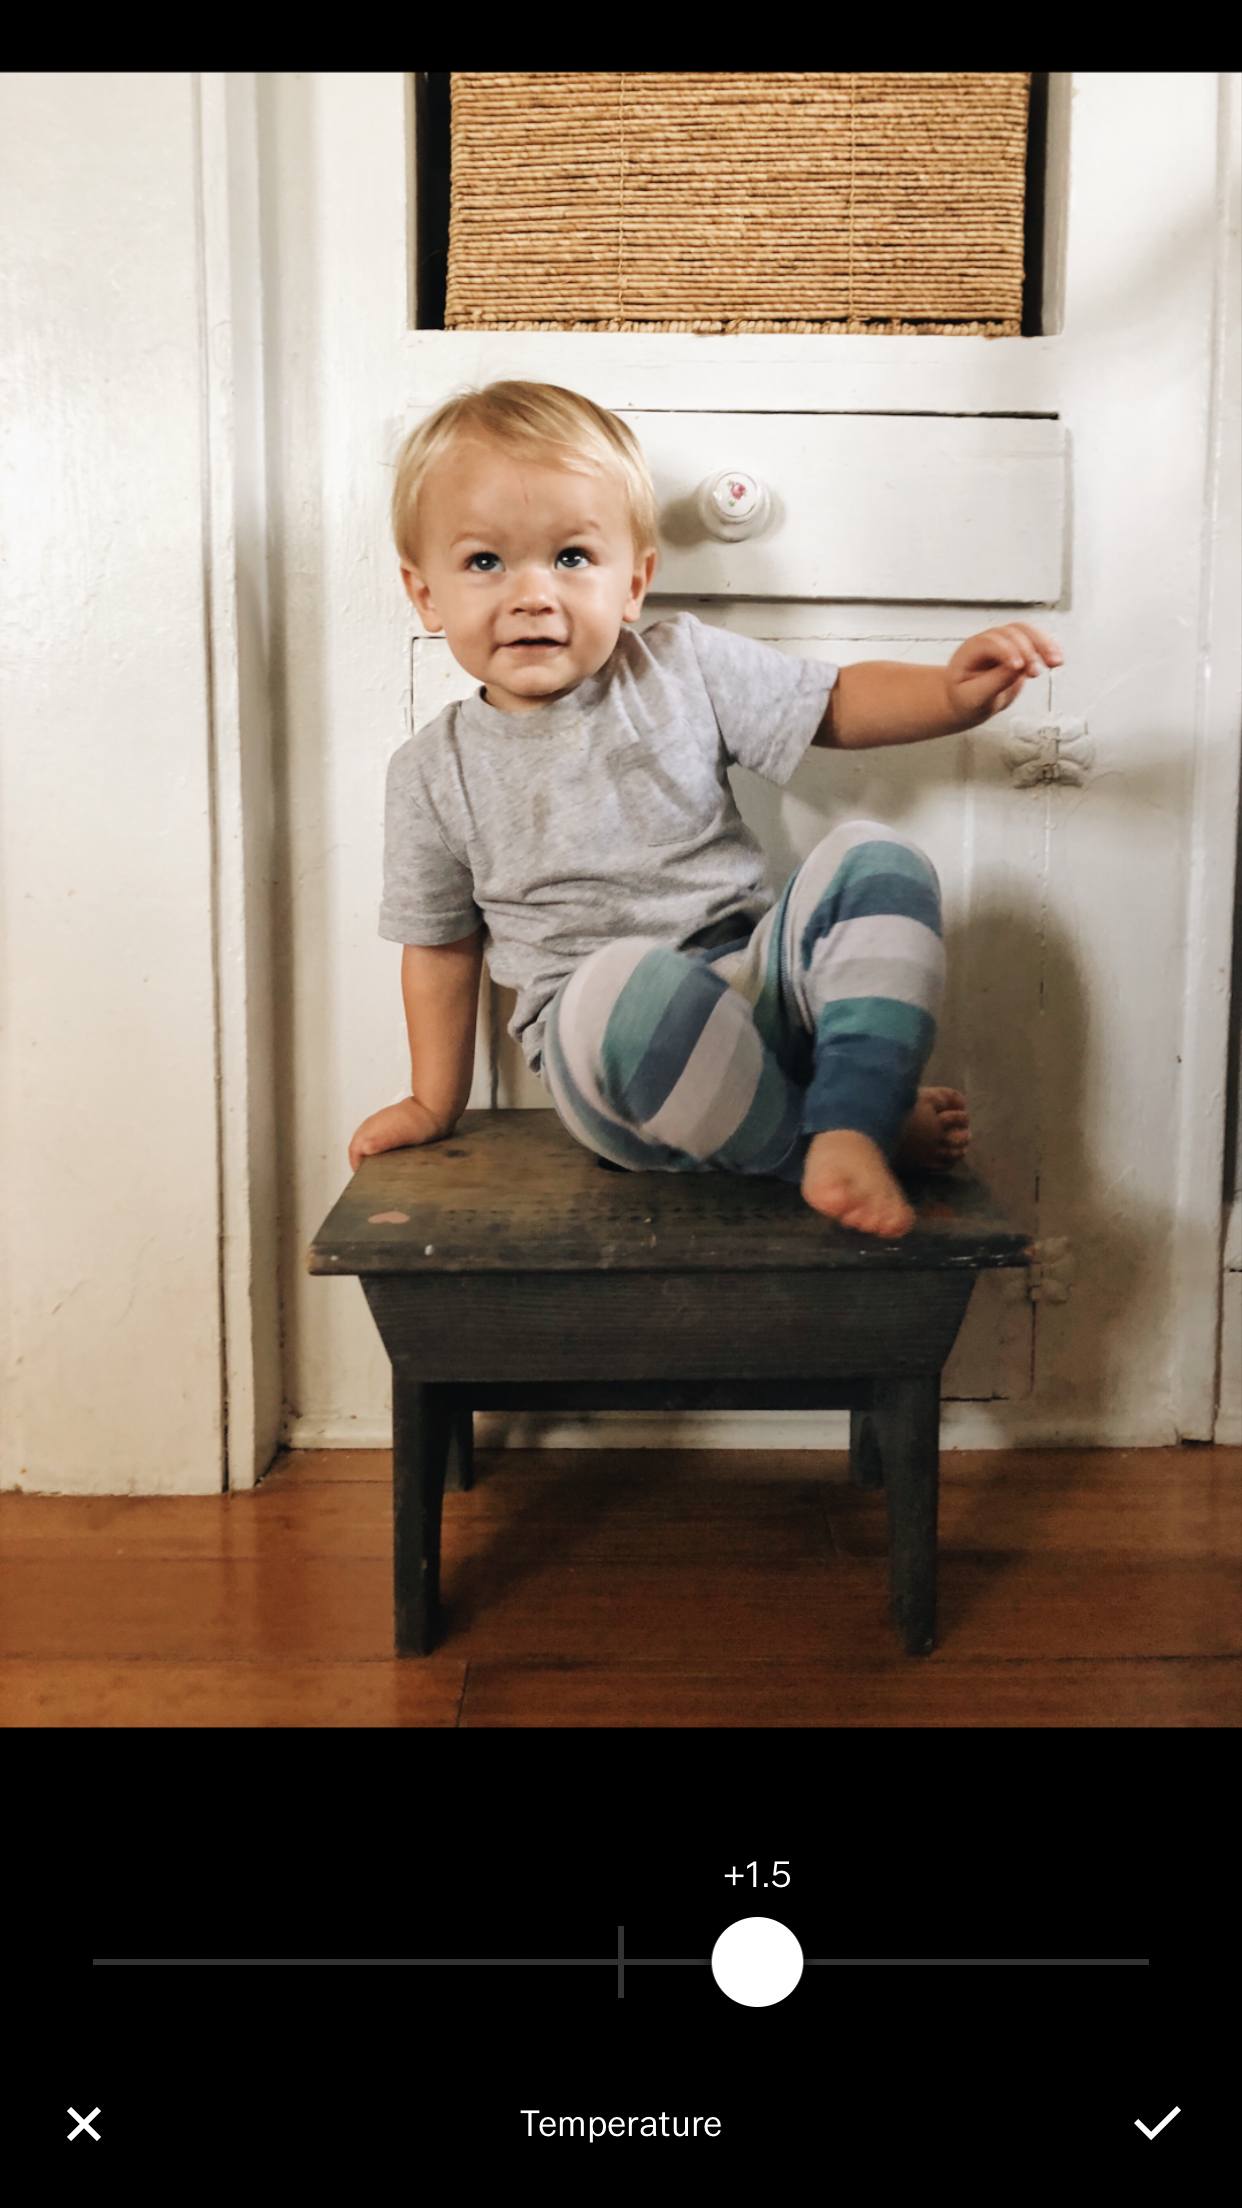
Temperature
Temperature is the tool that helps me get the color, warmth, and brightness that I want. I like my photos to be more yellow and golden - so the higher I increase the temperature, the more golden it becomes. As with any tool like this, you never want to over do it and make your photo too yellow.
Another great feature of Temperature is the it helps get rid of unwanted pink skin tones.
Cropping
These photos didn't really need any, but typically I will change the X-Skew if needed and crop any unneeded areas.
**Helpful tip: When lining up your photos look at the horizon or the background instead of your object - this will help with the alignment in your photos.

Look at how happy and warm they are!
Feel free to leave comments if you have any questions.

| Credits: Author & Photography - Jacintha Payne |