SOURDOUGH BREAD
For as long as I can remember, I've wanted to make homemade bread. But I've prioritized other things. As time has passed, I've continued to grow in my own understanding of health and taking care of yourself. I have an appreciation for sourdough and it’s health benefits. A few years ago, we made the switch to primarily using sourdough for bread in our home. This year, we took it a step further and began making our bread at home from scratch.
There’s not much that beats the smell of warm bread baking. I still have a long way to go, as you will see. But as I’ve been posting photos of loaves we make, friends ask me for the recipe and process I use. So I thought sharing it here would be the best idea.
Below you will find a step-by-step process of how I prepare and bake sourdough – along with some photos of the process. At the bottom of the blog are a handful of helpful links and resources for all things sourdough. From the beginning, I want you to know that the recipe I've shared here is a slightly tweaked version of the recipe from Cultured Food Life (linked below). If you have any questions or thoughts, be sure to leave them in the comment at the end of this blog. I would love to hear from you.
Initial Dough Prep
Remove 1/4 cup of starter from the fridge or counter. ( You can either discard the rest or I love trying to keep it to make other recipes like Sourdough Pancakes).
Place 1/4 cup of starter into a mason jar or some other glass container.
Add 1/2 cup of flour and 1/2 cup of spring water and mix with fork until there are no dry pockets of flour in the mix. (Note: don’t use tap water, as there are a handful of chemicals that will kill the helpful bacteria in the sourdough)
Leave the dough on the counter for 8-12 hours or until the dough is bubbly and has doubled in size. Once it’s bubbly remove 1/4 cup of the starter and either discard the rest or place it back into the fridge.
Prepping Dough the Night Before
Take the 1/4 cup of bubbly starter and put it into a large mixing bowl.
Add 1 1/3 cups of warm water (80 degrees, and ) 1 1/2 teaspoons of salt to the starter. Mix together until they are fully combined. (I have found that using a stiff spatula is best for mixing. I try to mix the dough the least amount as possible.)
When you are done combining, let the dough sit in a bowl for 30 minutes covered in plastic wrap.
Take the dough out, and place it on a lightly floured surface. Fold the dough in from the corners - pressing into the center. (Don’t over mix the dough.)
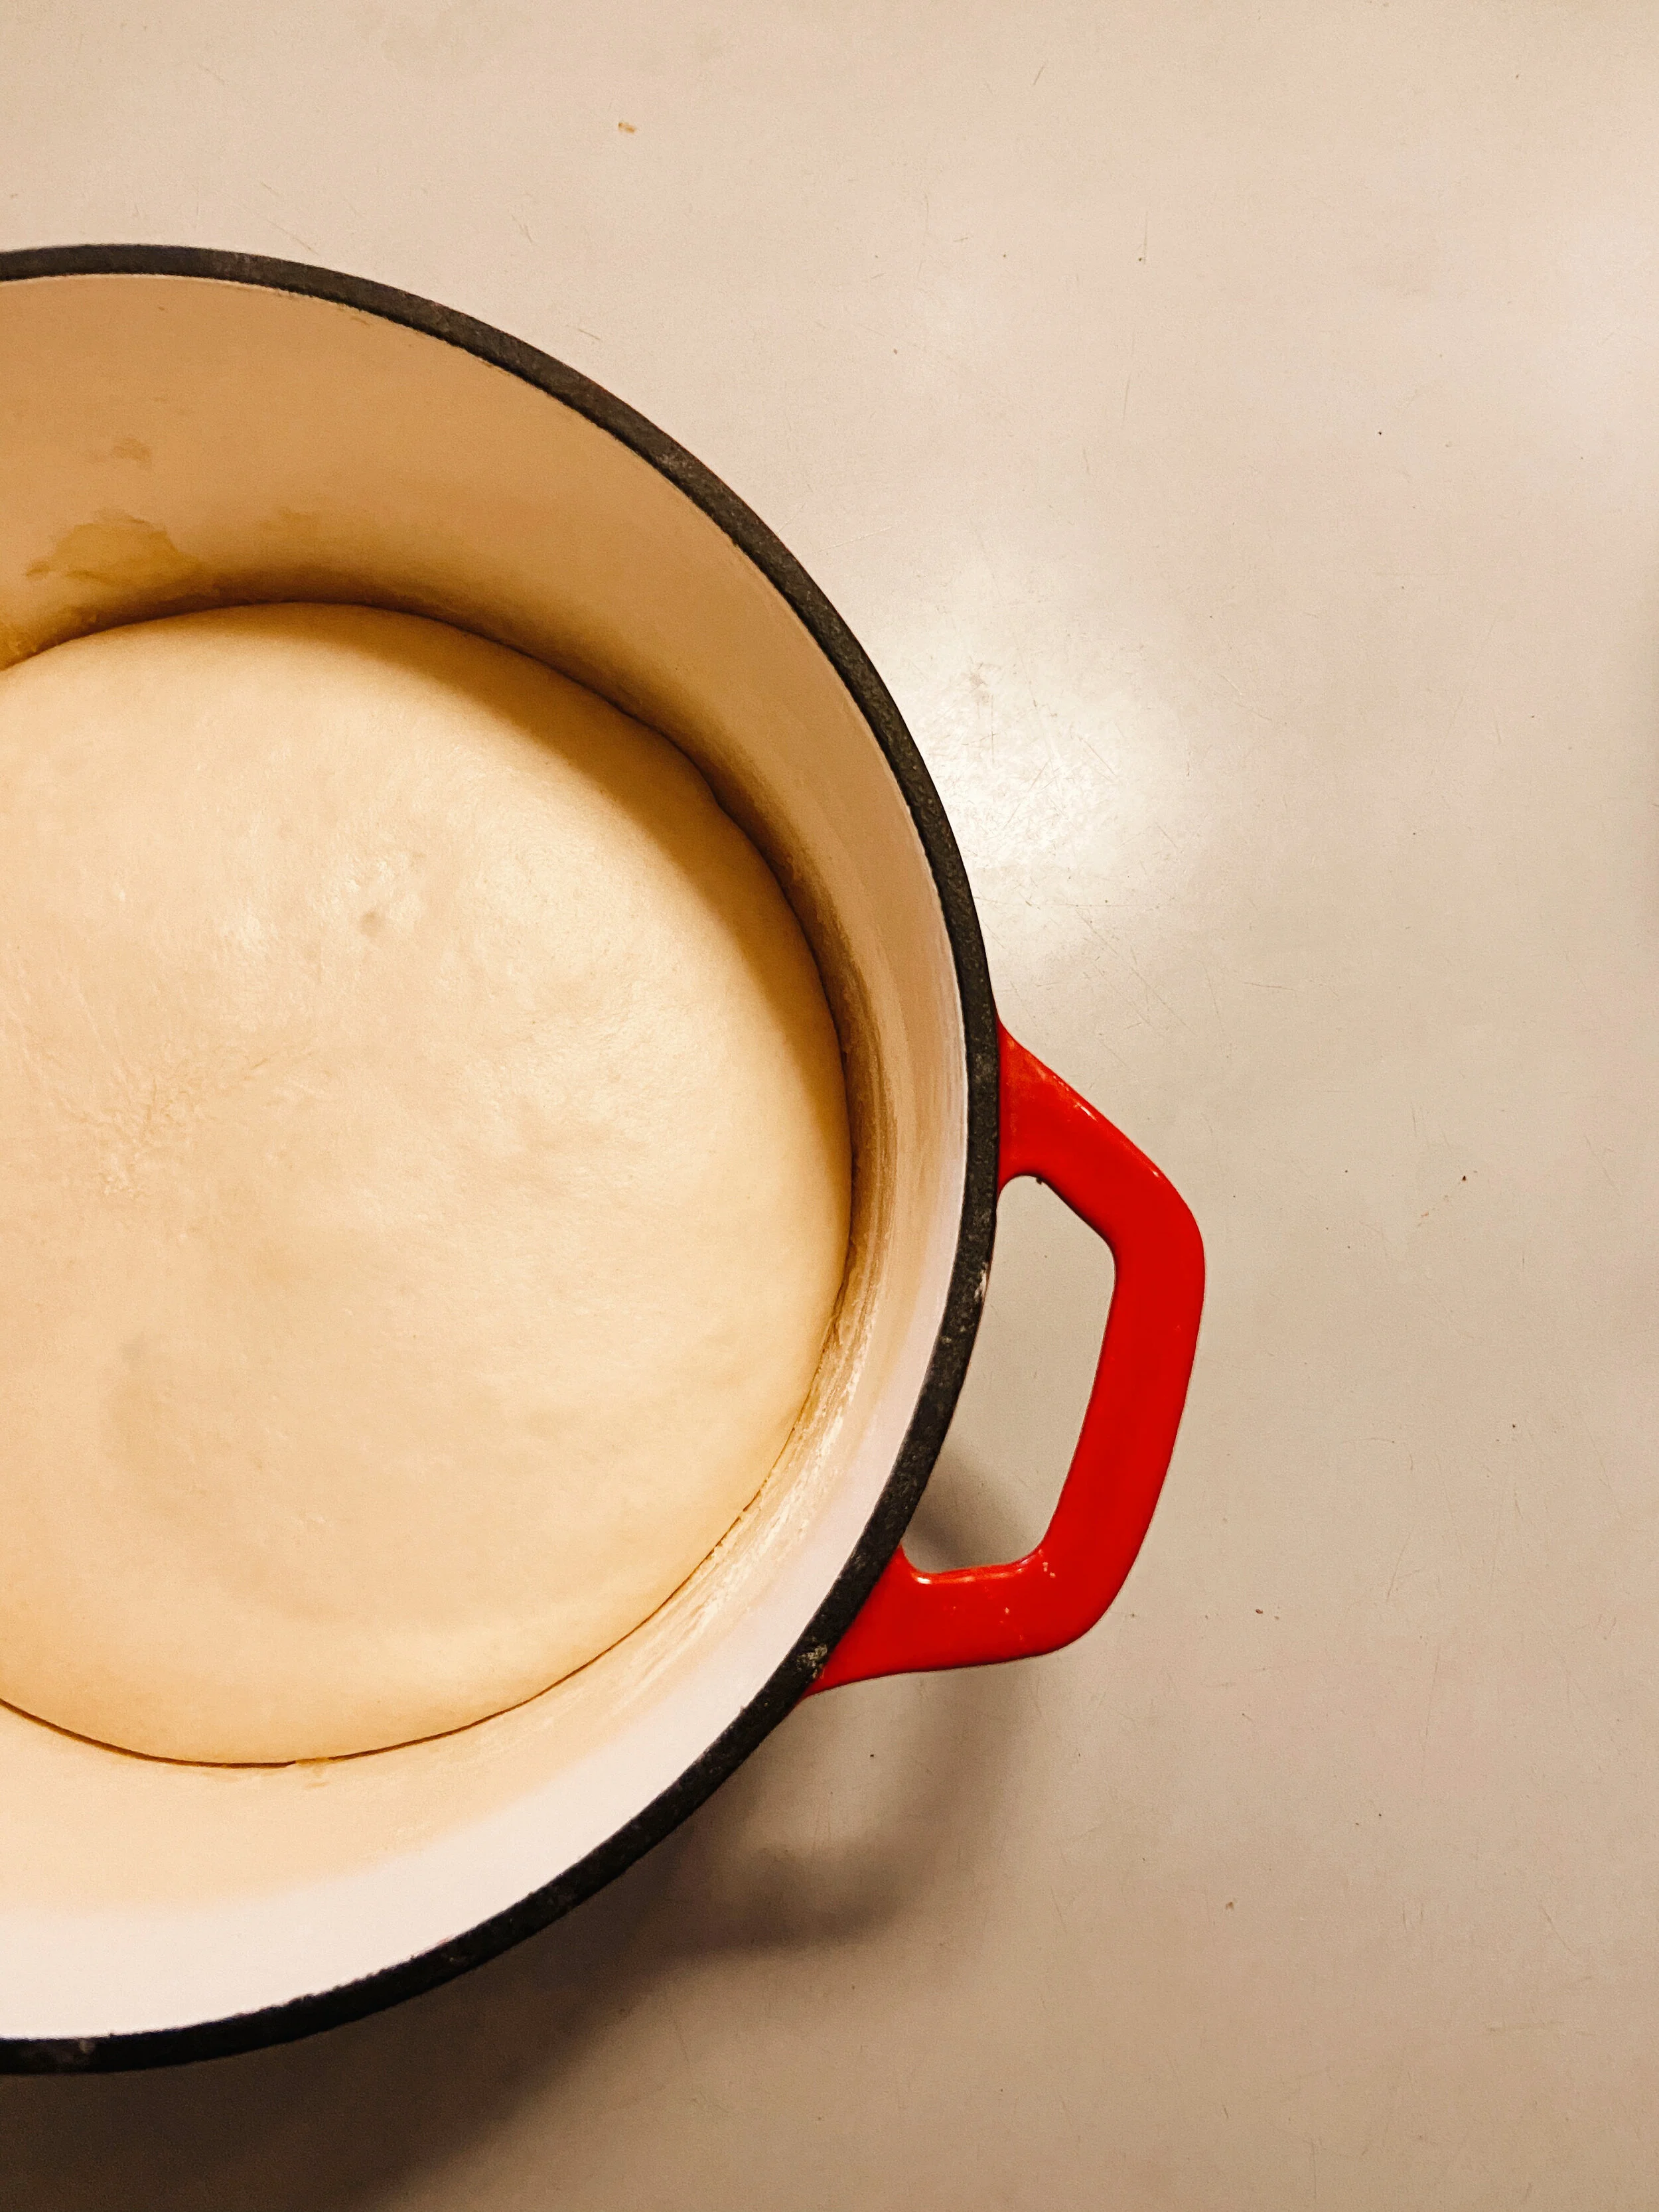
Place the dough in a bowl and let it sit overnight (8-10 hours).
Final Steps
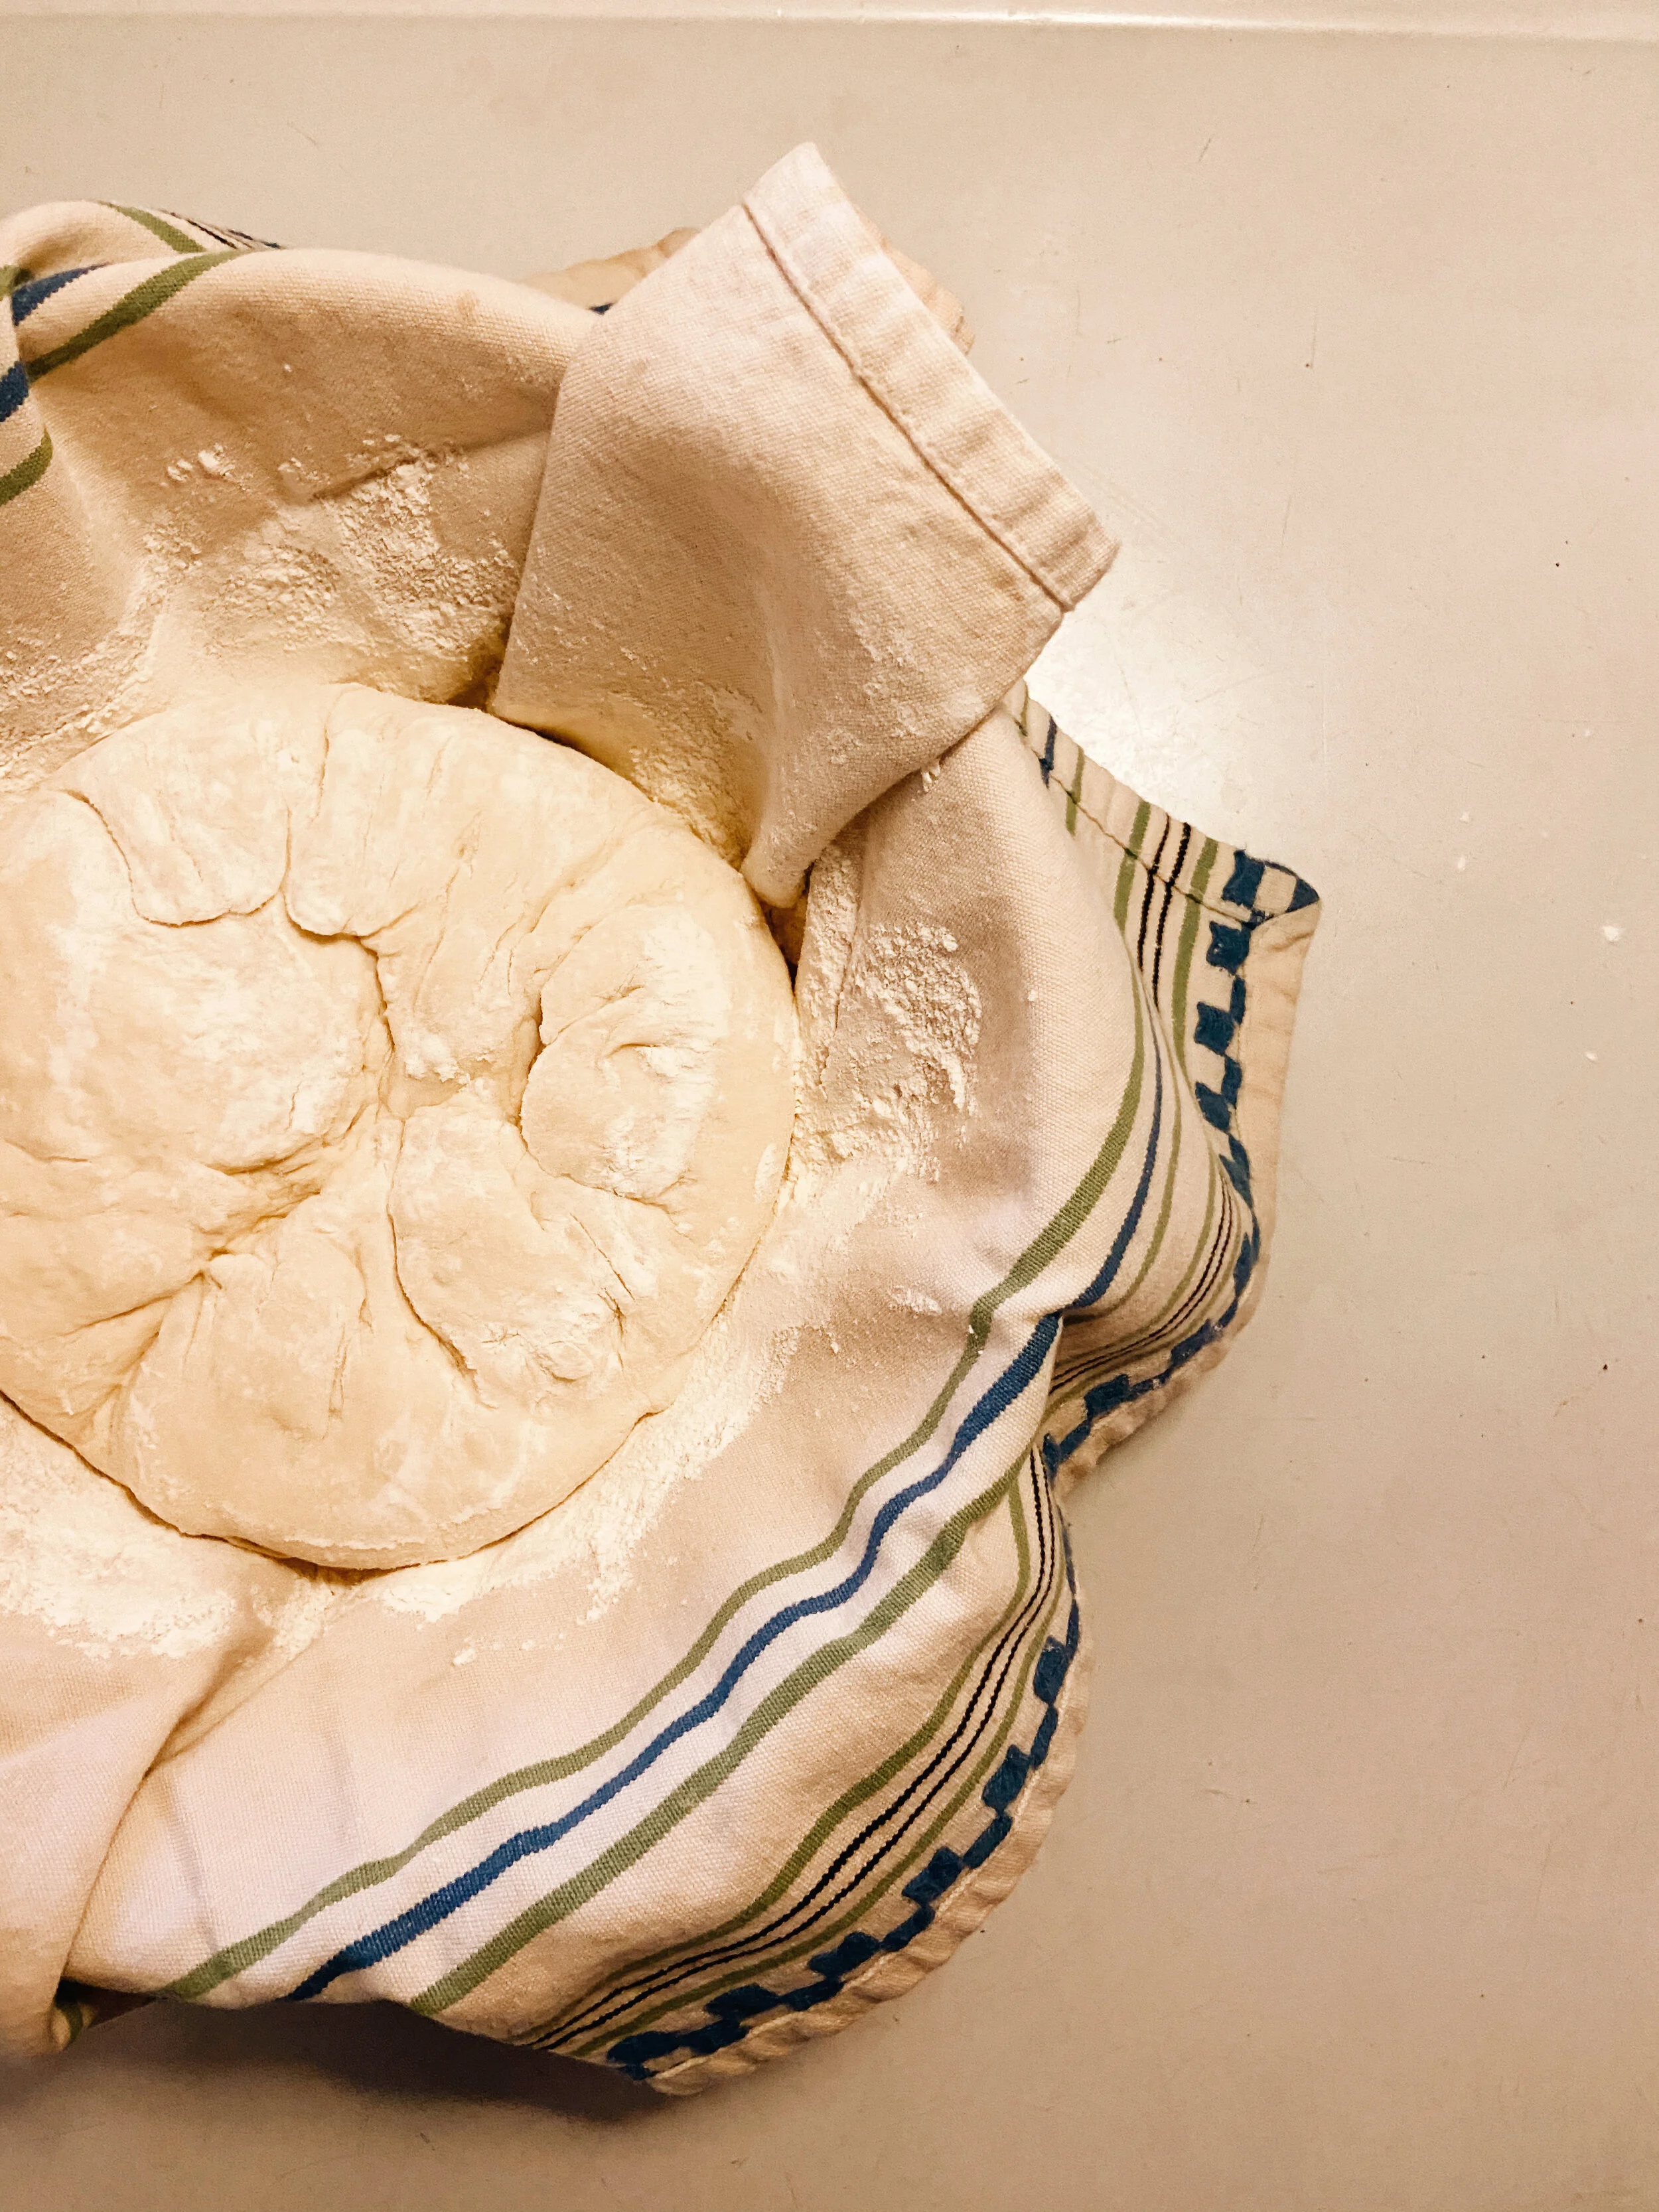
Take a stiff spatula and scrape the dough onto a lightly floured surface and begin folding the dough in from the corners - pressing into the center. (Don’t over mix the dough.)
Flip the dough over and let it sit for 10 minutes.
Take a large bowl or proofing basket (see link below) line it with a tea towel, and dust it with flour. Place the dough face down in the bowl, cover with plastic wrap, and let it sit for 60 minutes. (Begin preheating your oven to 450.)
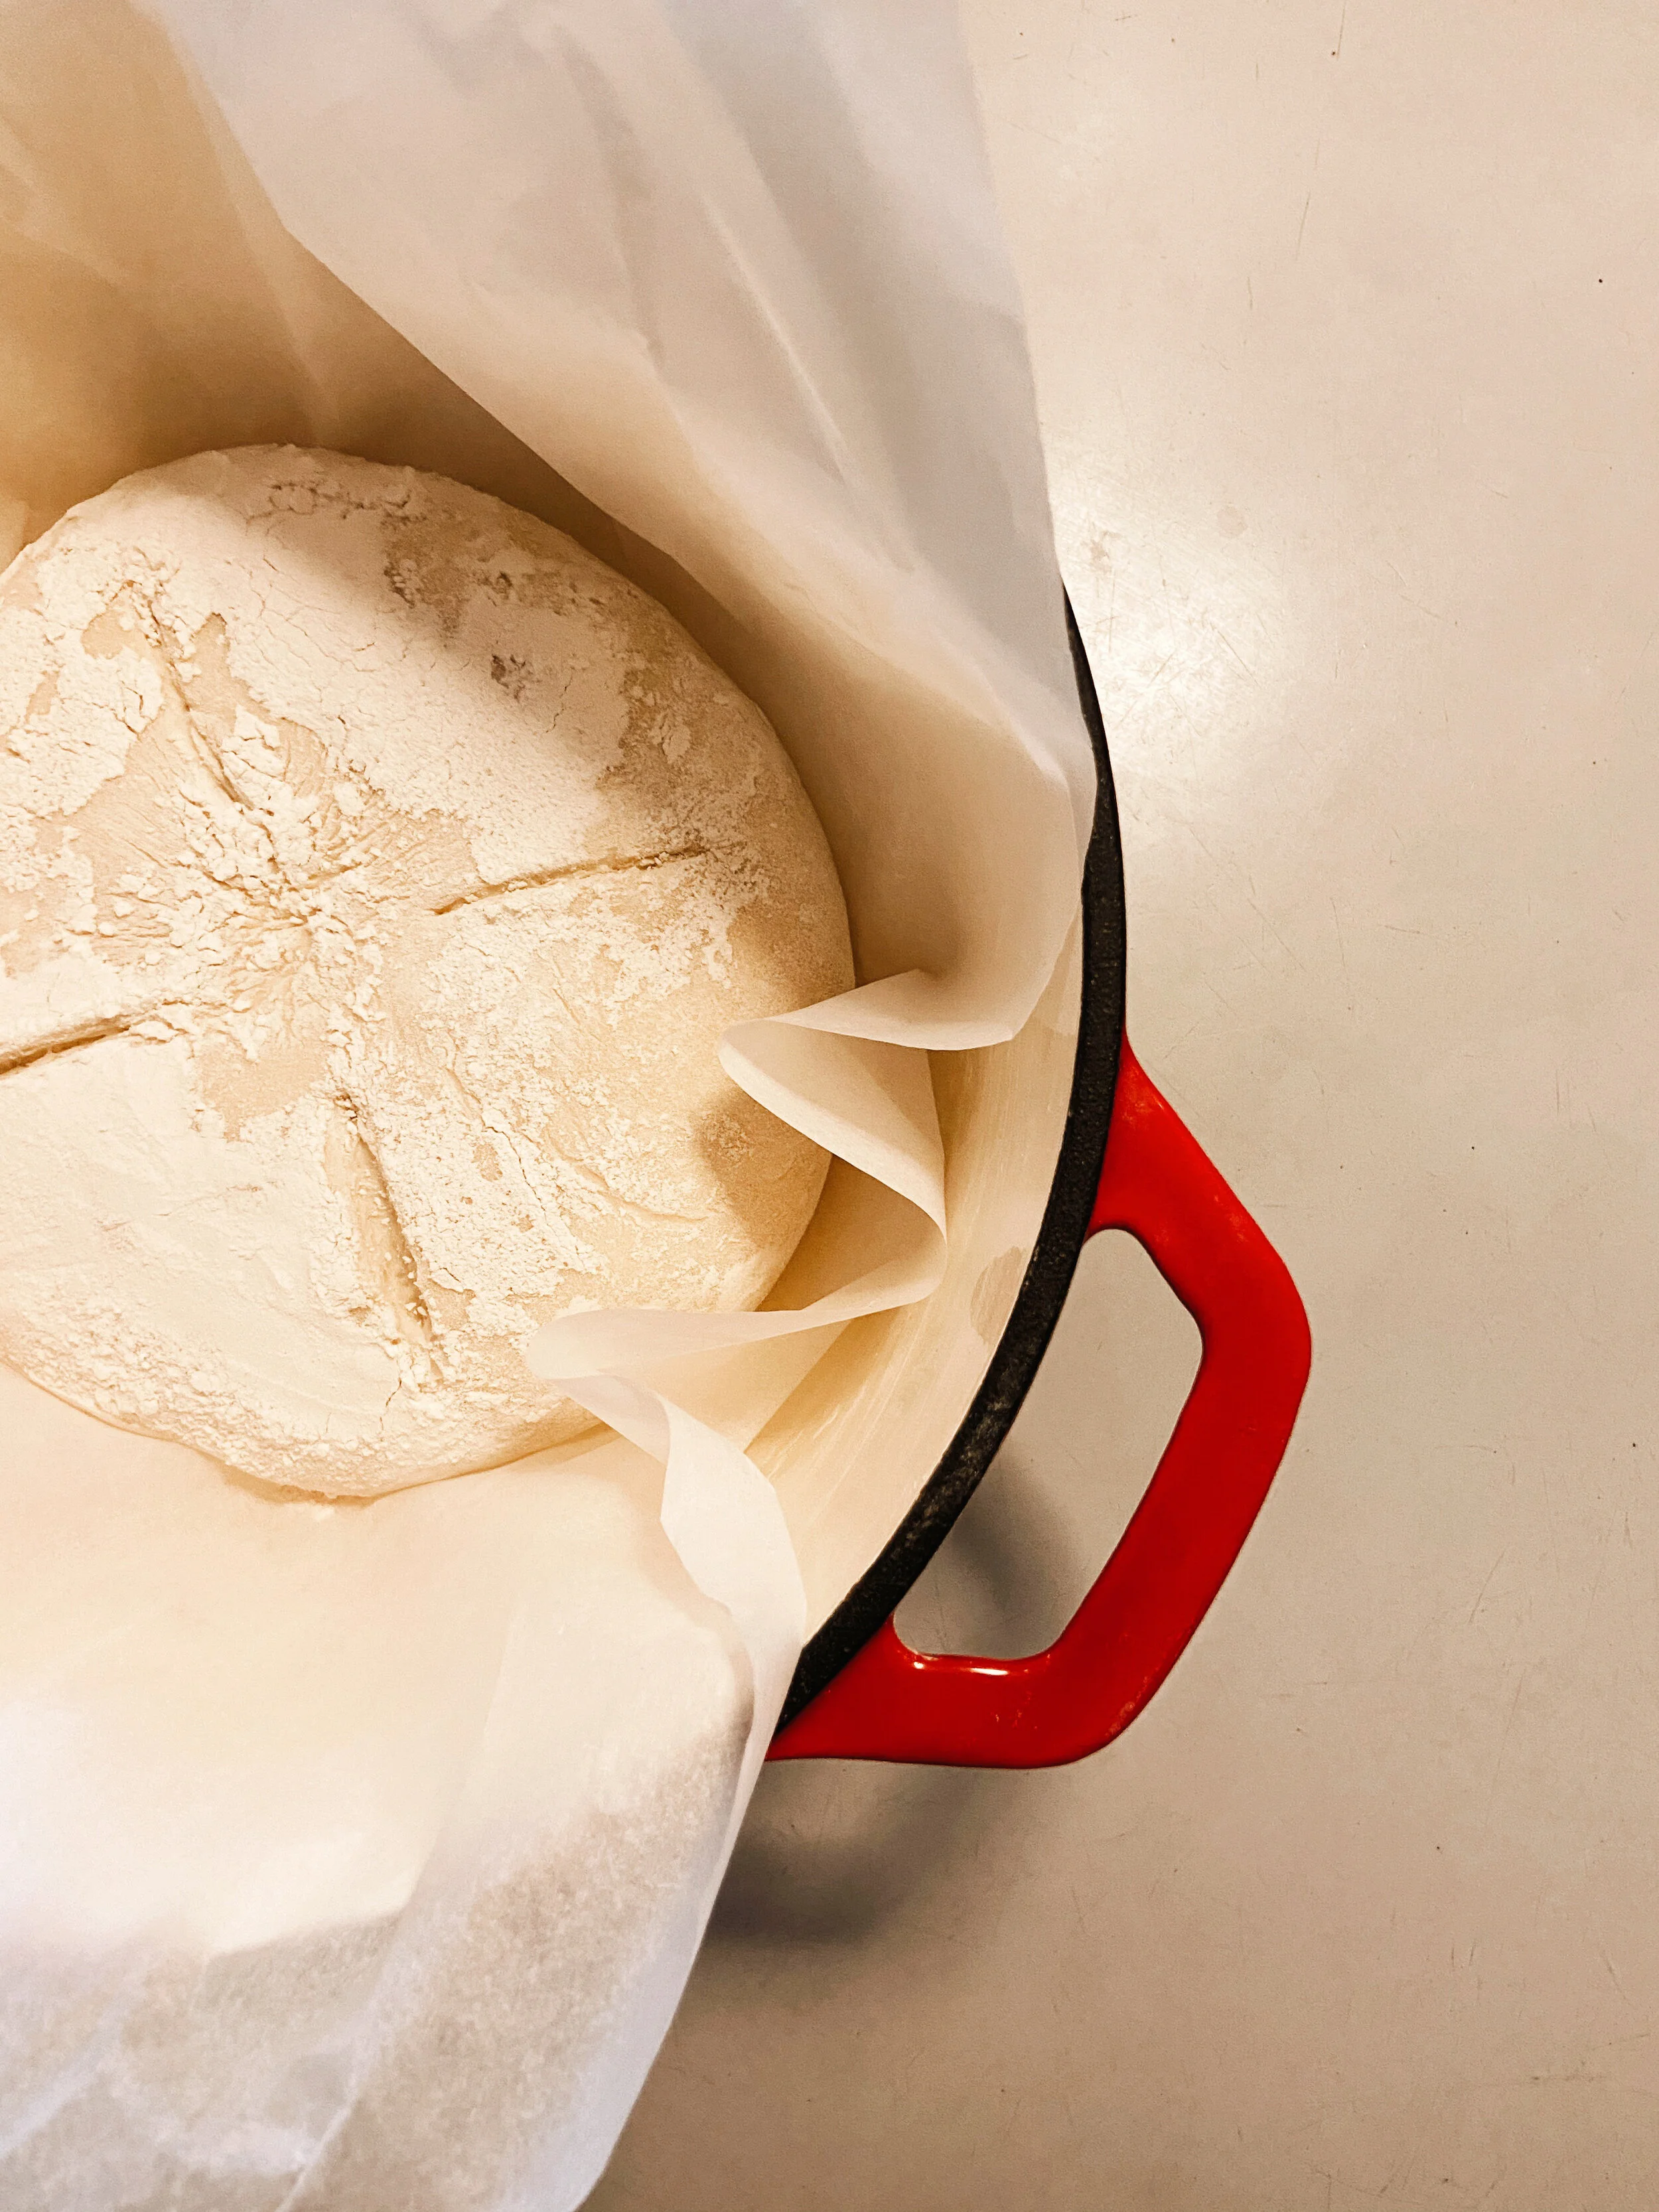
After the dough has sat for 60 minutes, take a large piece of parchment paper and lay it on a flat surface. Flip the bowl over so the dough is centered on the parchment paper.
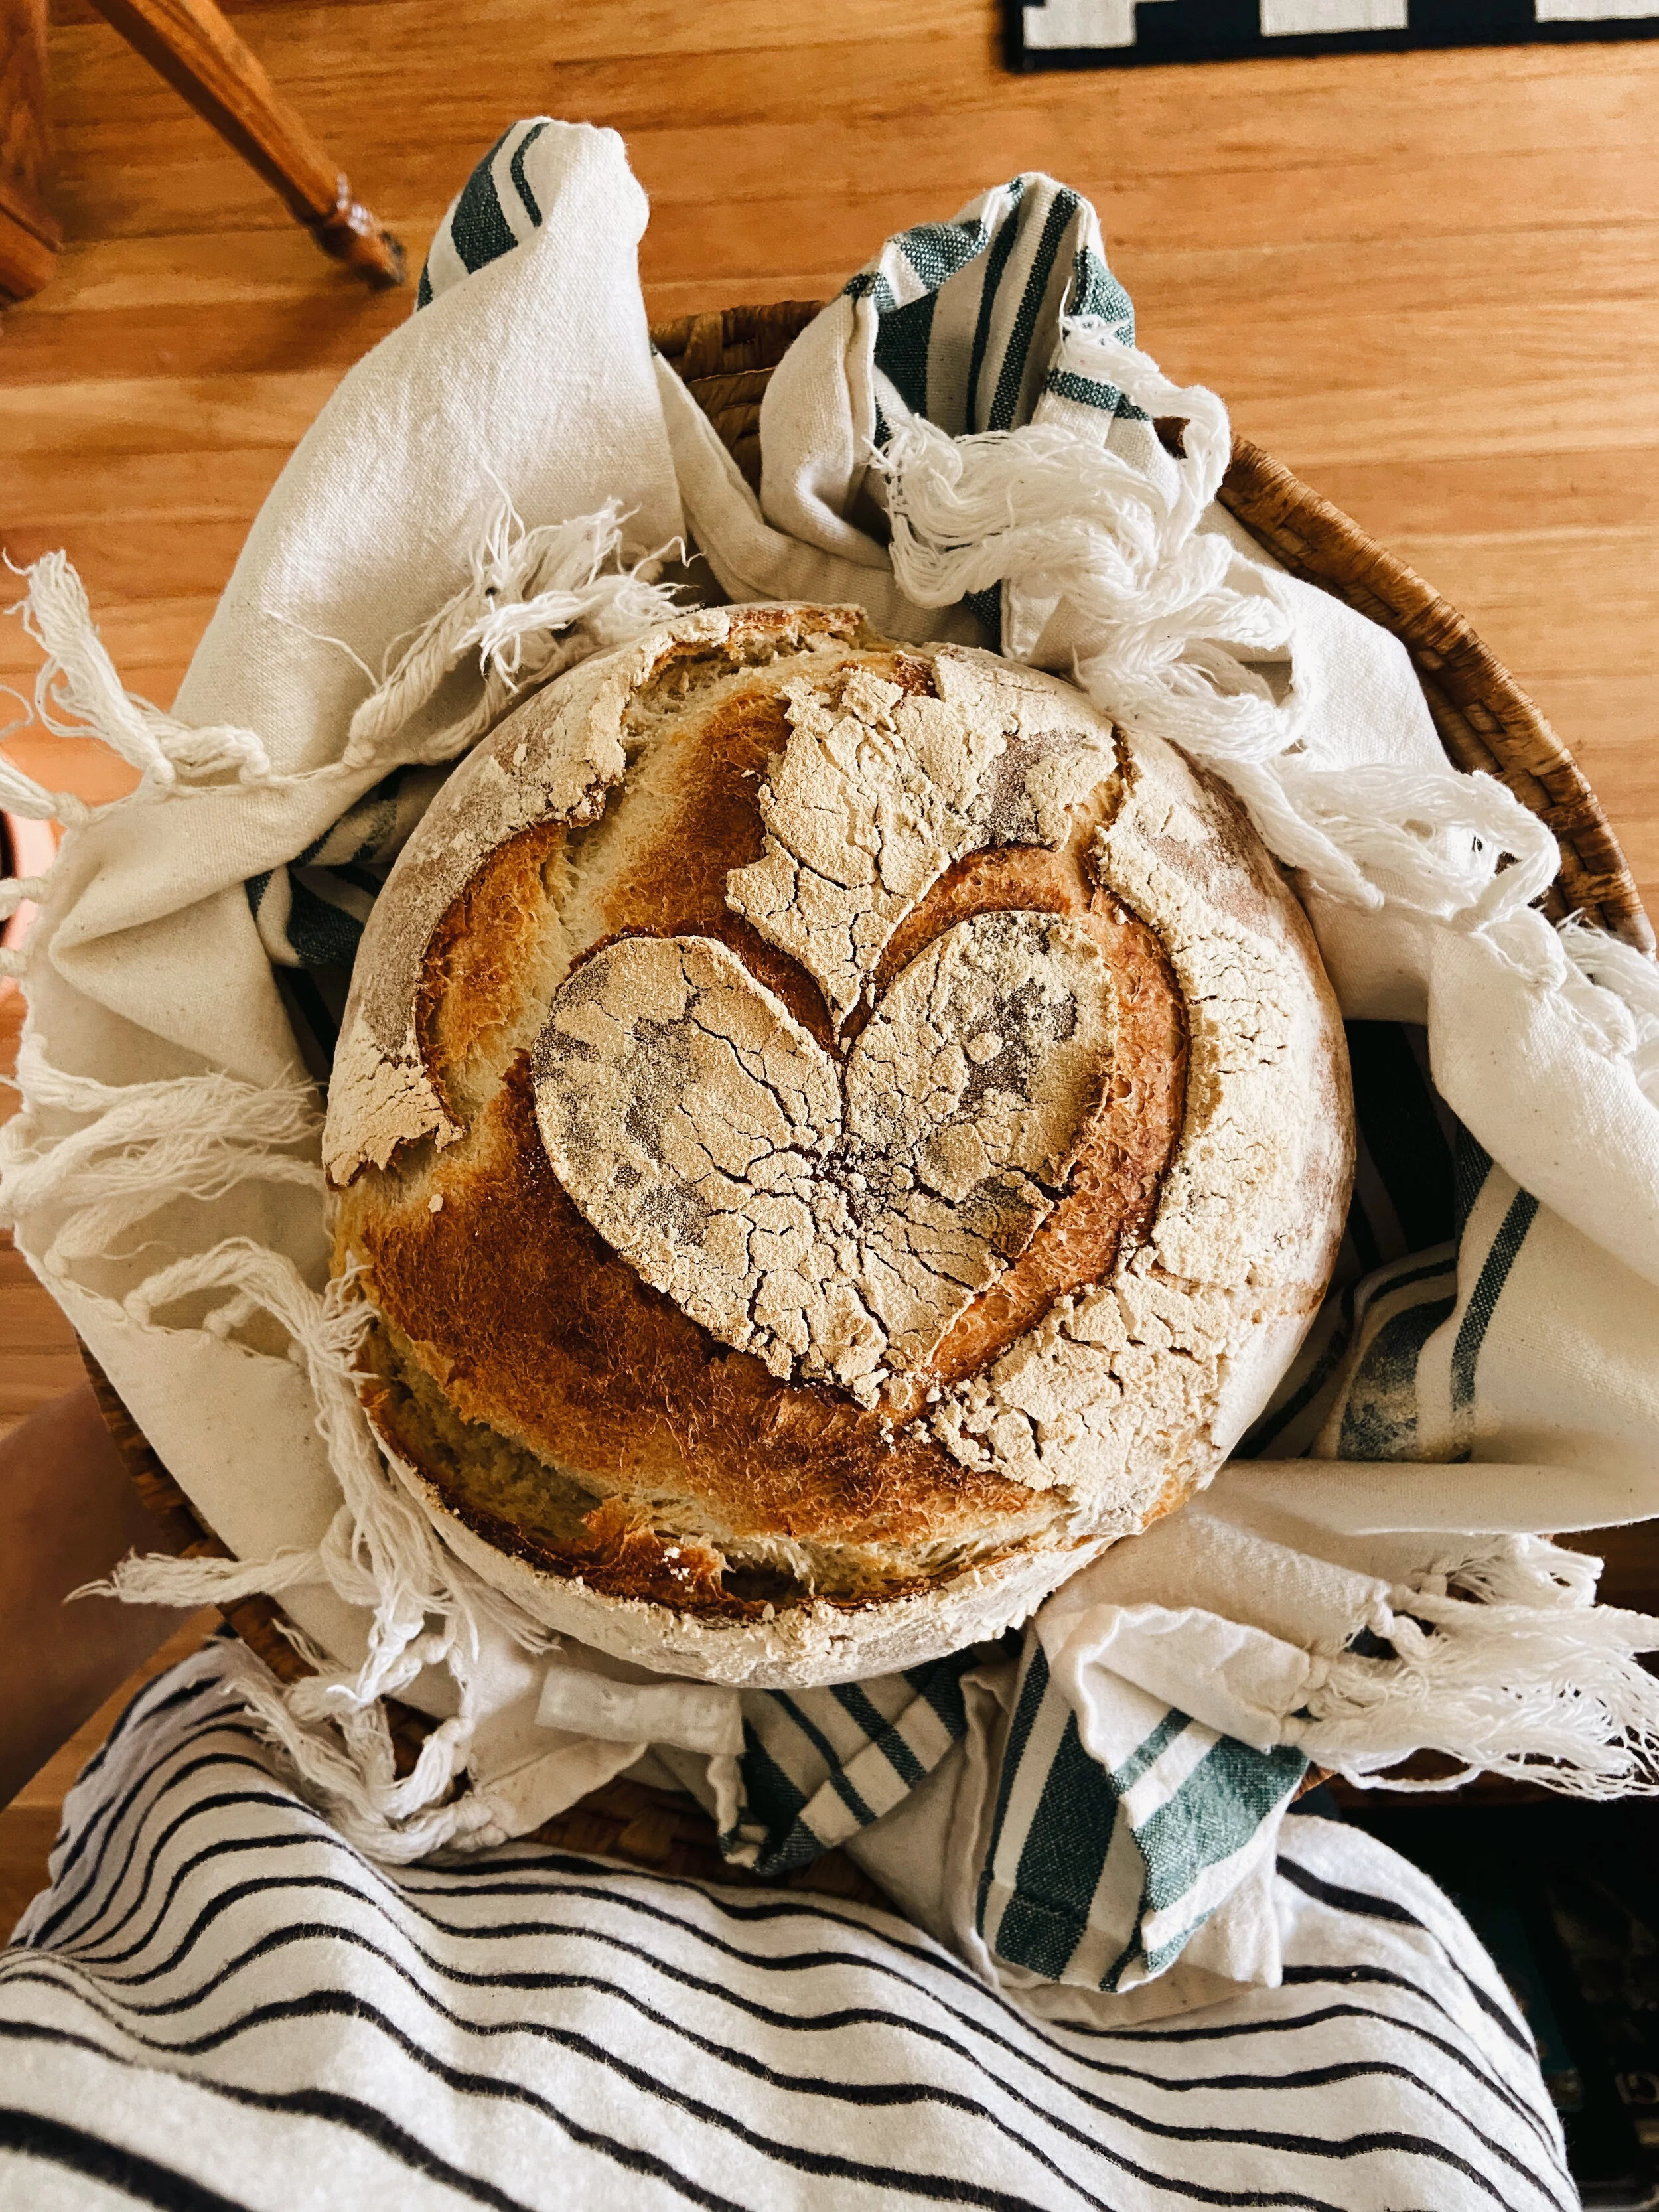
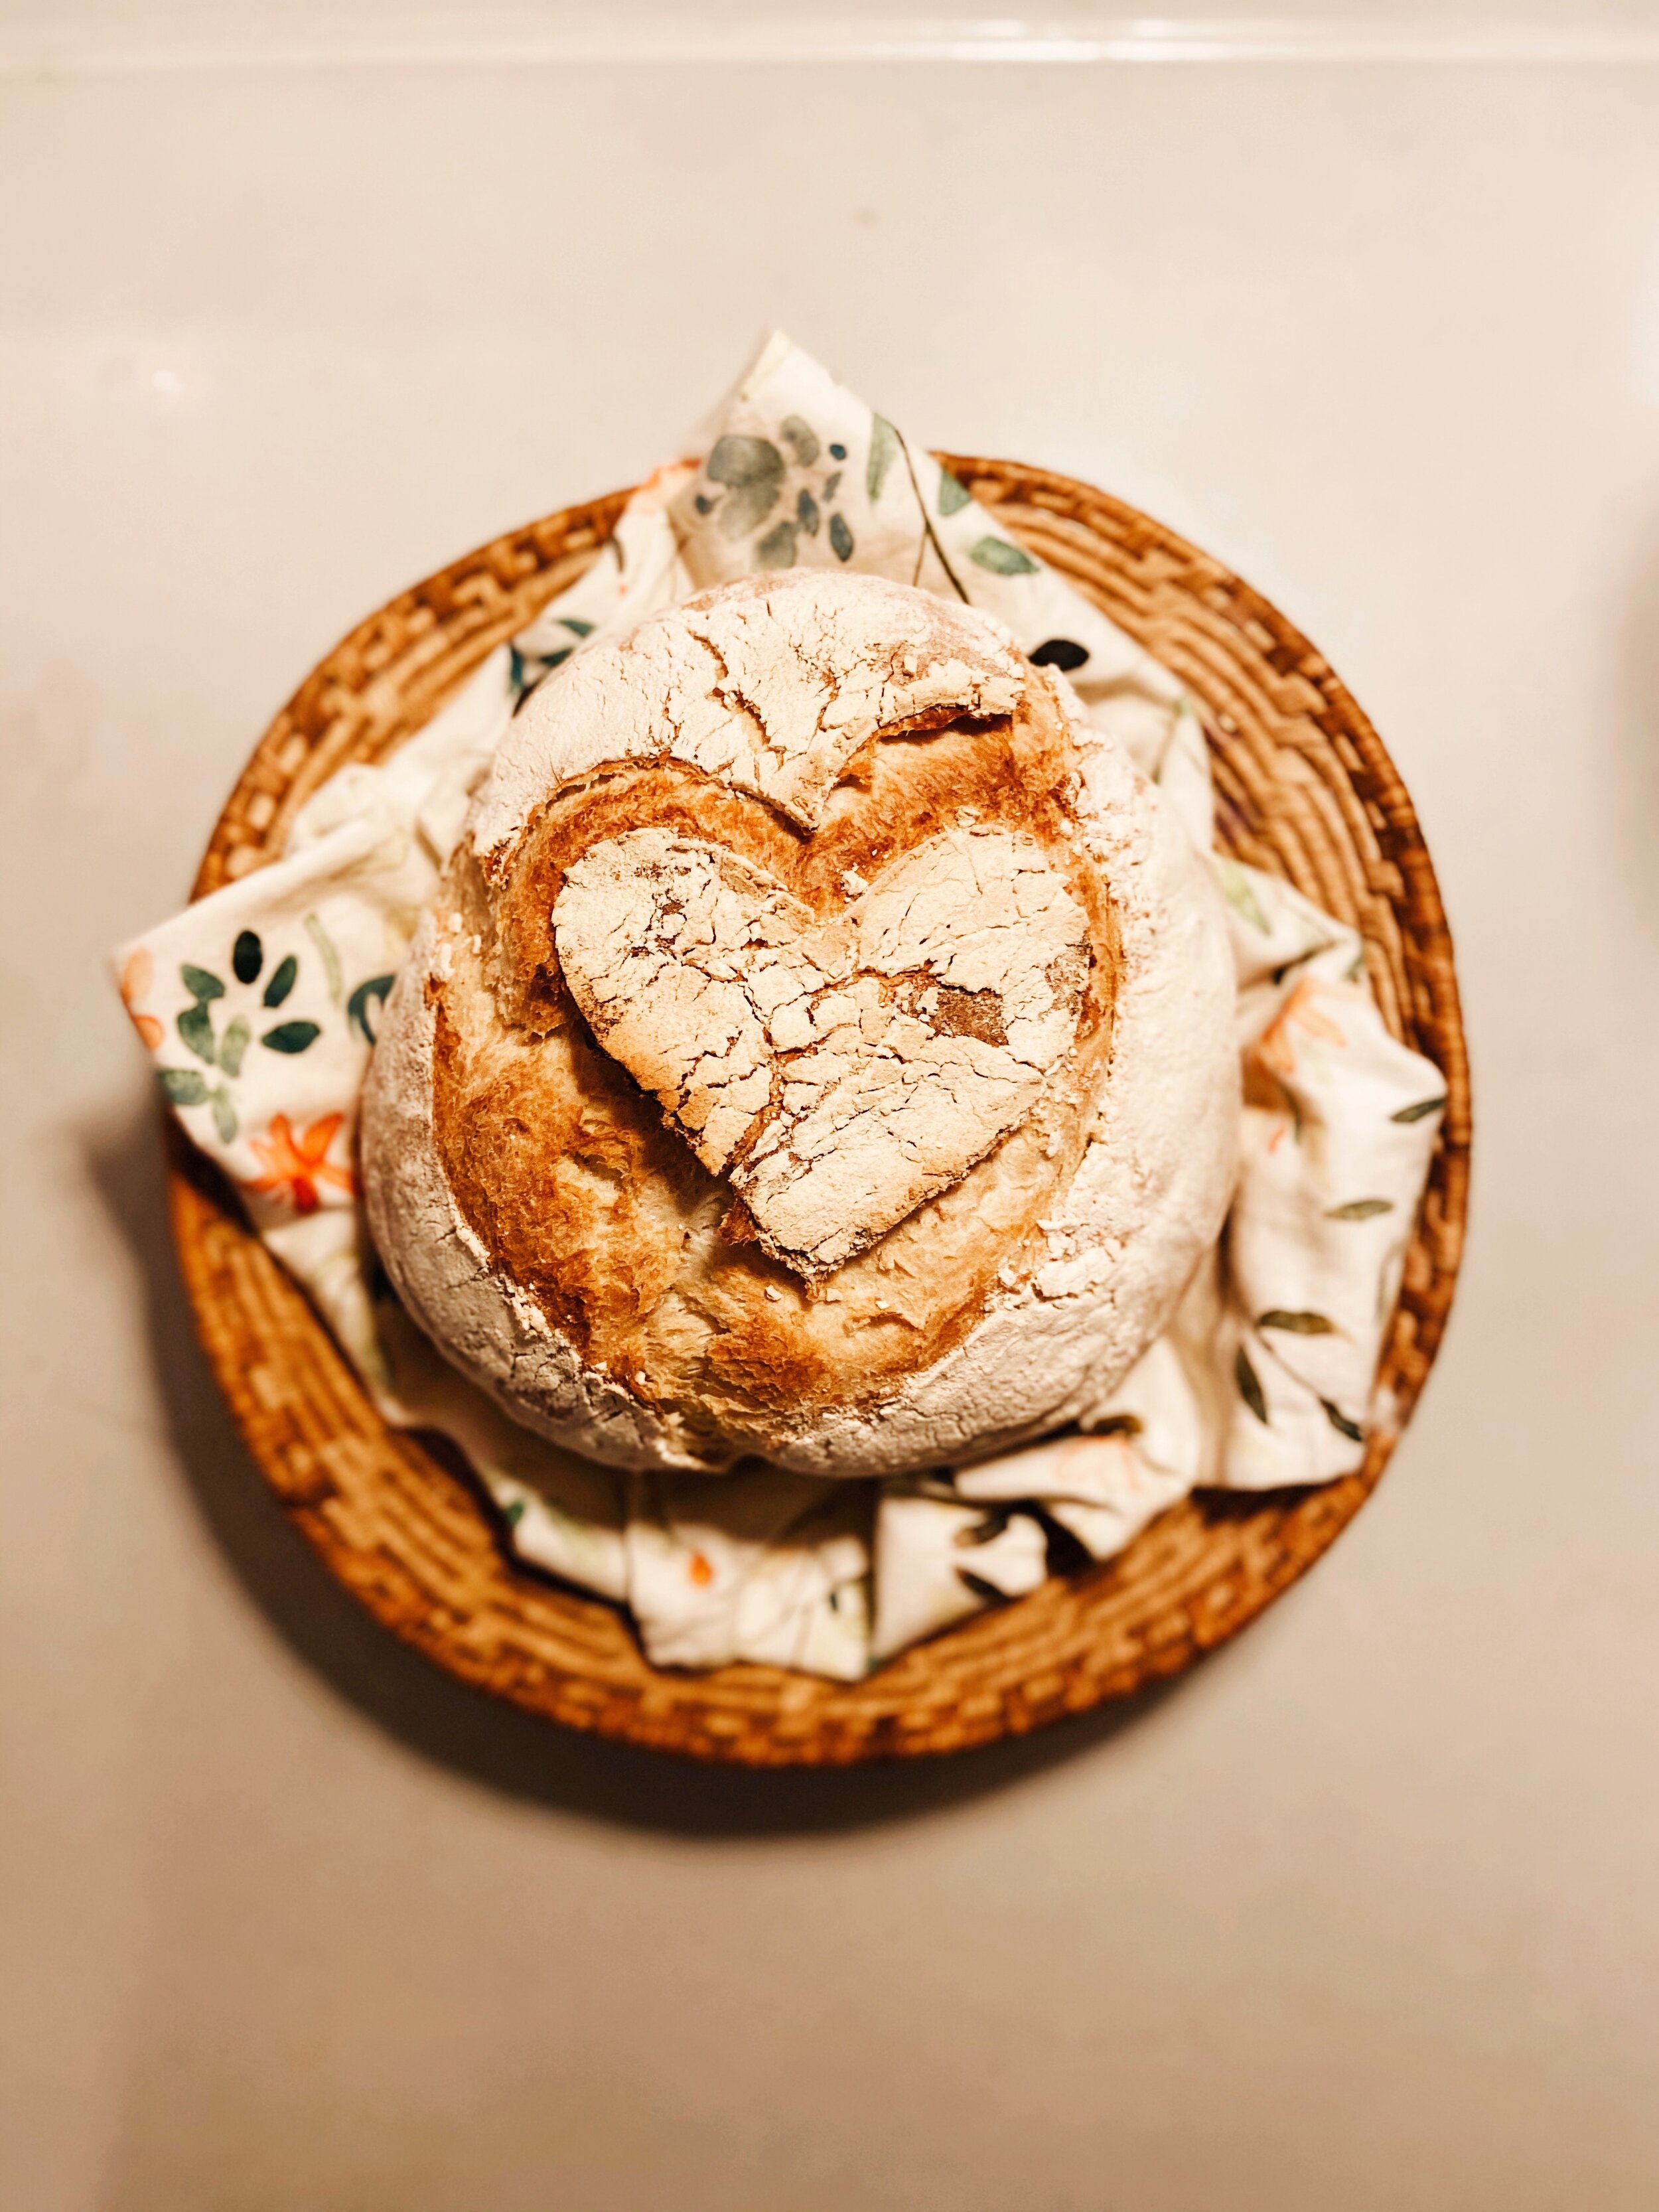
Take a razor blade or sharp knife and score the top of your dough. This will allow the dough to expand and breathe.
Place the parchment paper into a ceramic dutch oven (see link below), put the lid on the dutch oven (it’s okay if the paper sticks out), place it in the oven, and allow it to bake with the lid in place for 20 minutes.
After the bread bakes for 20 minutes, remove the lid from the dutch oven, and bake for 30 additional minutes.
When the timer is up, remove the dutch oven and remove the bread. Place it on a cooling rack and allow it to cool for 20 minutes before slicing. (Note: If you prefer for your crust to be extra brown or crispy, you can place it directly on the rack until it reaches the desired color.)


| Credits: Author & Photography -Jacintha Payne |