GETTING STARTED WITH KEFIR

Let’s talk kefir. My friend got me started with making kefir from home about a year and a half ago. From what I remember, I loved it right away. Calvin was more of the skeptic, but he loves it now. But to my advantage, I absolutely love milk. Not just any milk - whole milk! I crave it all of the time! So it makes sense that I would have a love for kefir. In fact, at this point, I can’t imagine my life without it.
Why Should I Drink Kefir?
There are many benefits to drinking kefir. Here are some of the top reasons you should consider adding it to your diet:
Lowers blood pressure
Lowers blood sugar
Helps with acid reflux
Reduces allergies
Detoxes and promotes gut health
Lowers cholesterol
Calming effect on the central nervous system
Rich in calcium
Contains more protein than an egg
Full of potassium
Can drink even if you’re lactose intolerant
What Does it Taste Like?
One question I get a lot is about the taste. I like to think of it as yogurt with a thinner consistency. I love the taste, and the more you drink it, the more you will find your body craving it. There are ways that you can infuse flavors like orange, blueberry, strawberry, and other fruits. But I prefer the plain regular flavor.
How Do I Make Kefir?
The best way to get started is to watch the two videos below. They both provide their own unique take on the process and were helpful when I was getting started.
The most important step in preparing kefir is the fermentation process. There are several different ways you can do this. Here’s the way I’ve found produces consistent kefir. Note: I’ve been playing around with the timing with this method, so you may have to adjust and tweak along the way:
2 Tbsp of kefir grains in 6 cups of milk.
Ferment on the counter (or other cool, dry area) for 18 - 24 hours or til pockets begin to form at the bottom of the jar.
Temperature: Temperature plays a huge role in the timing of your fermentation. Around 75 degrees is ideal.
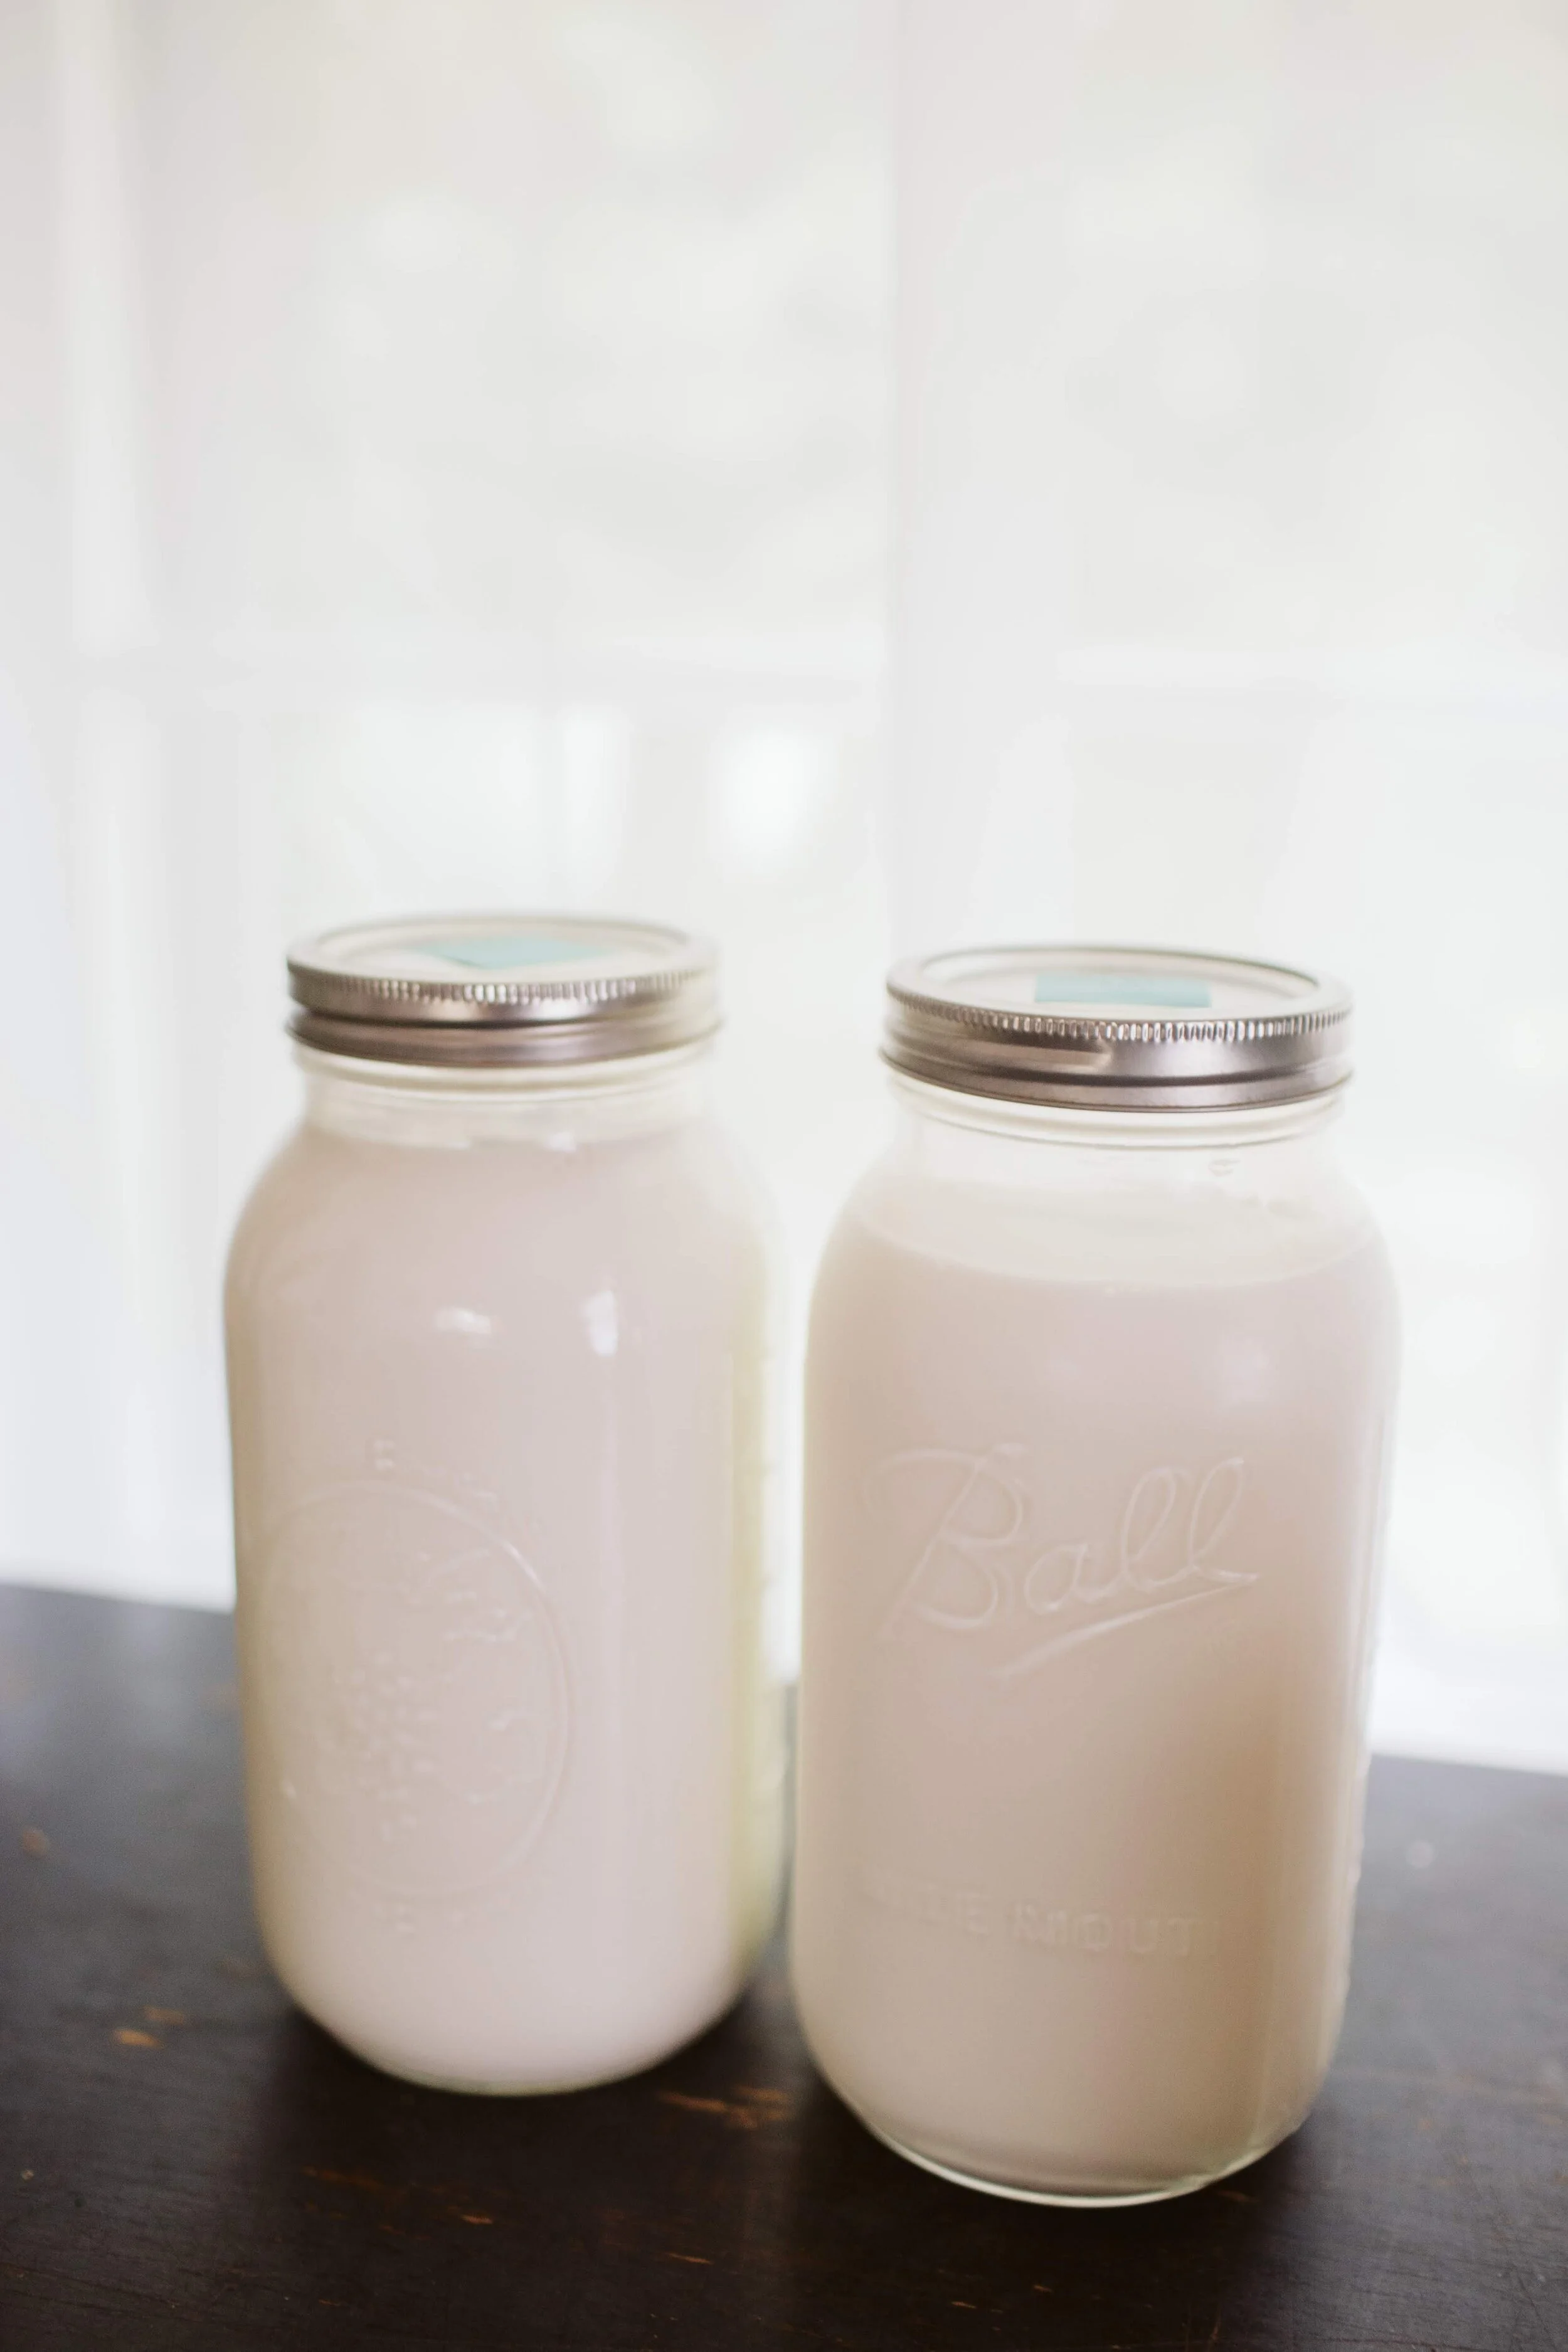
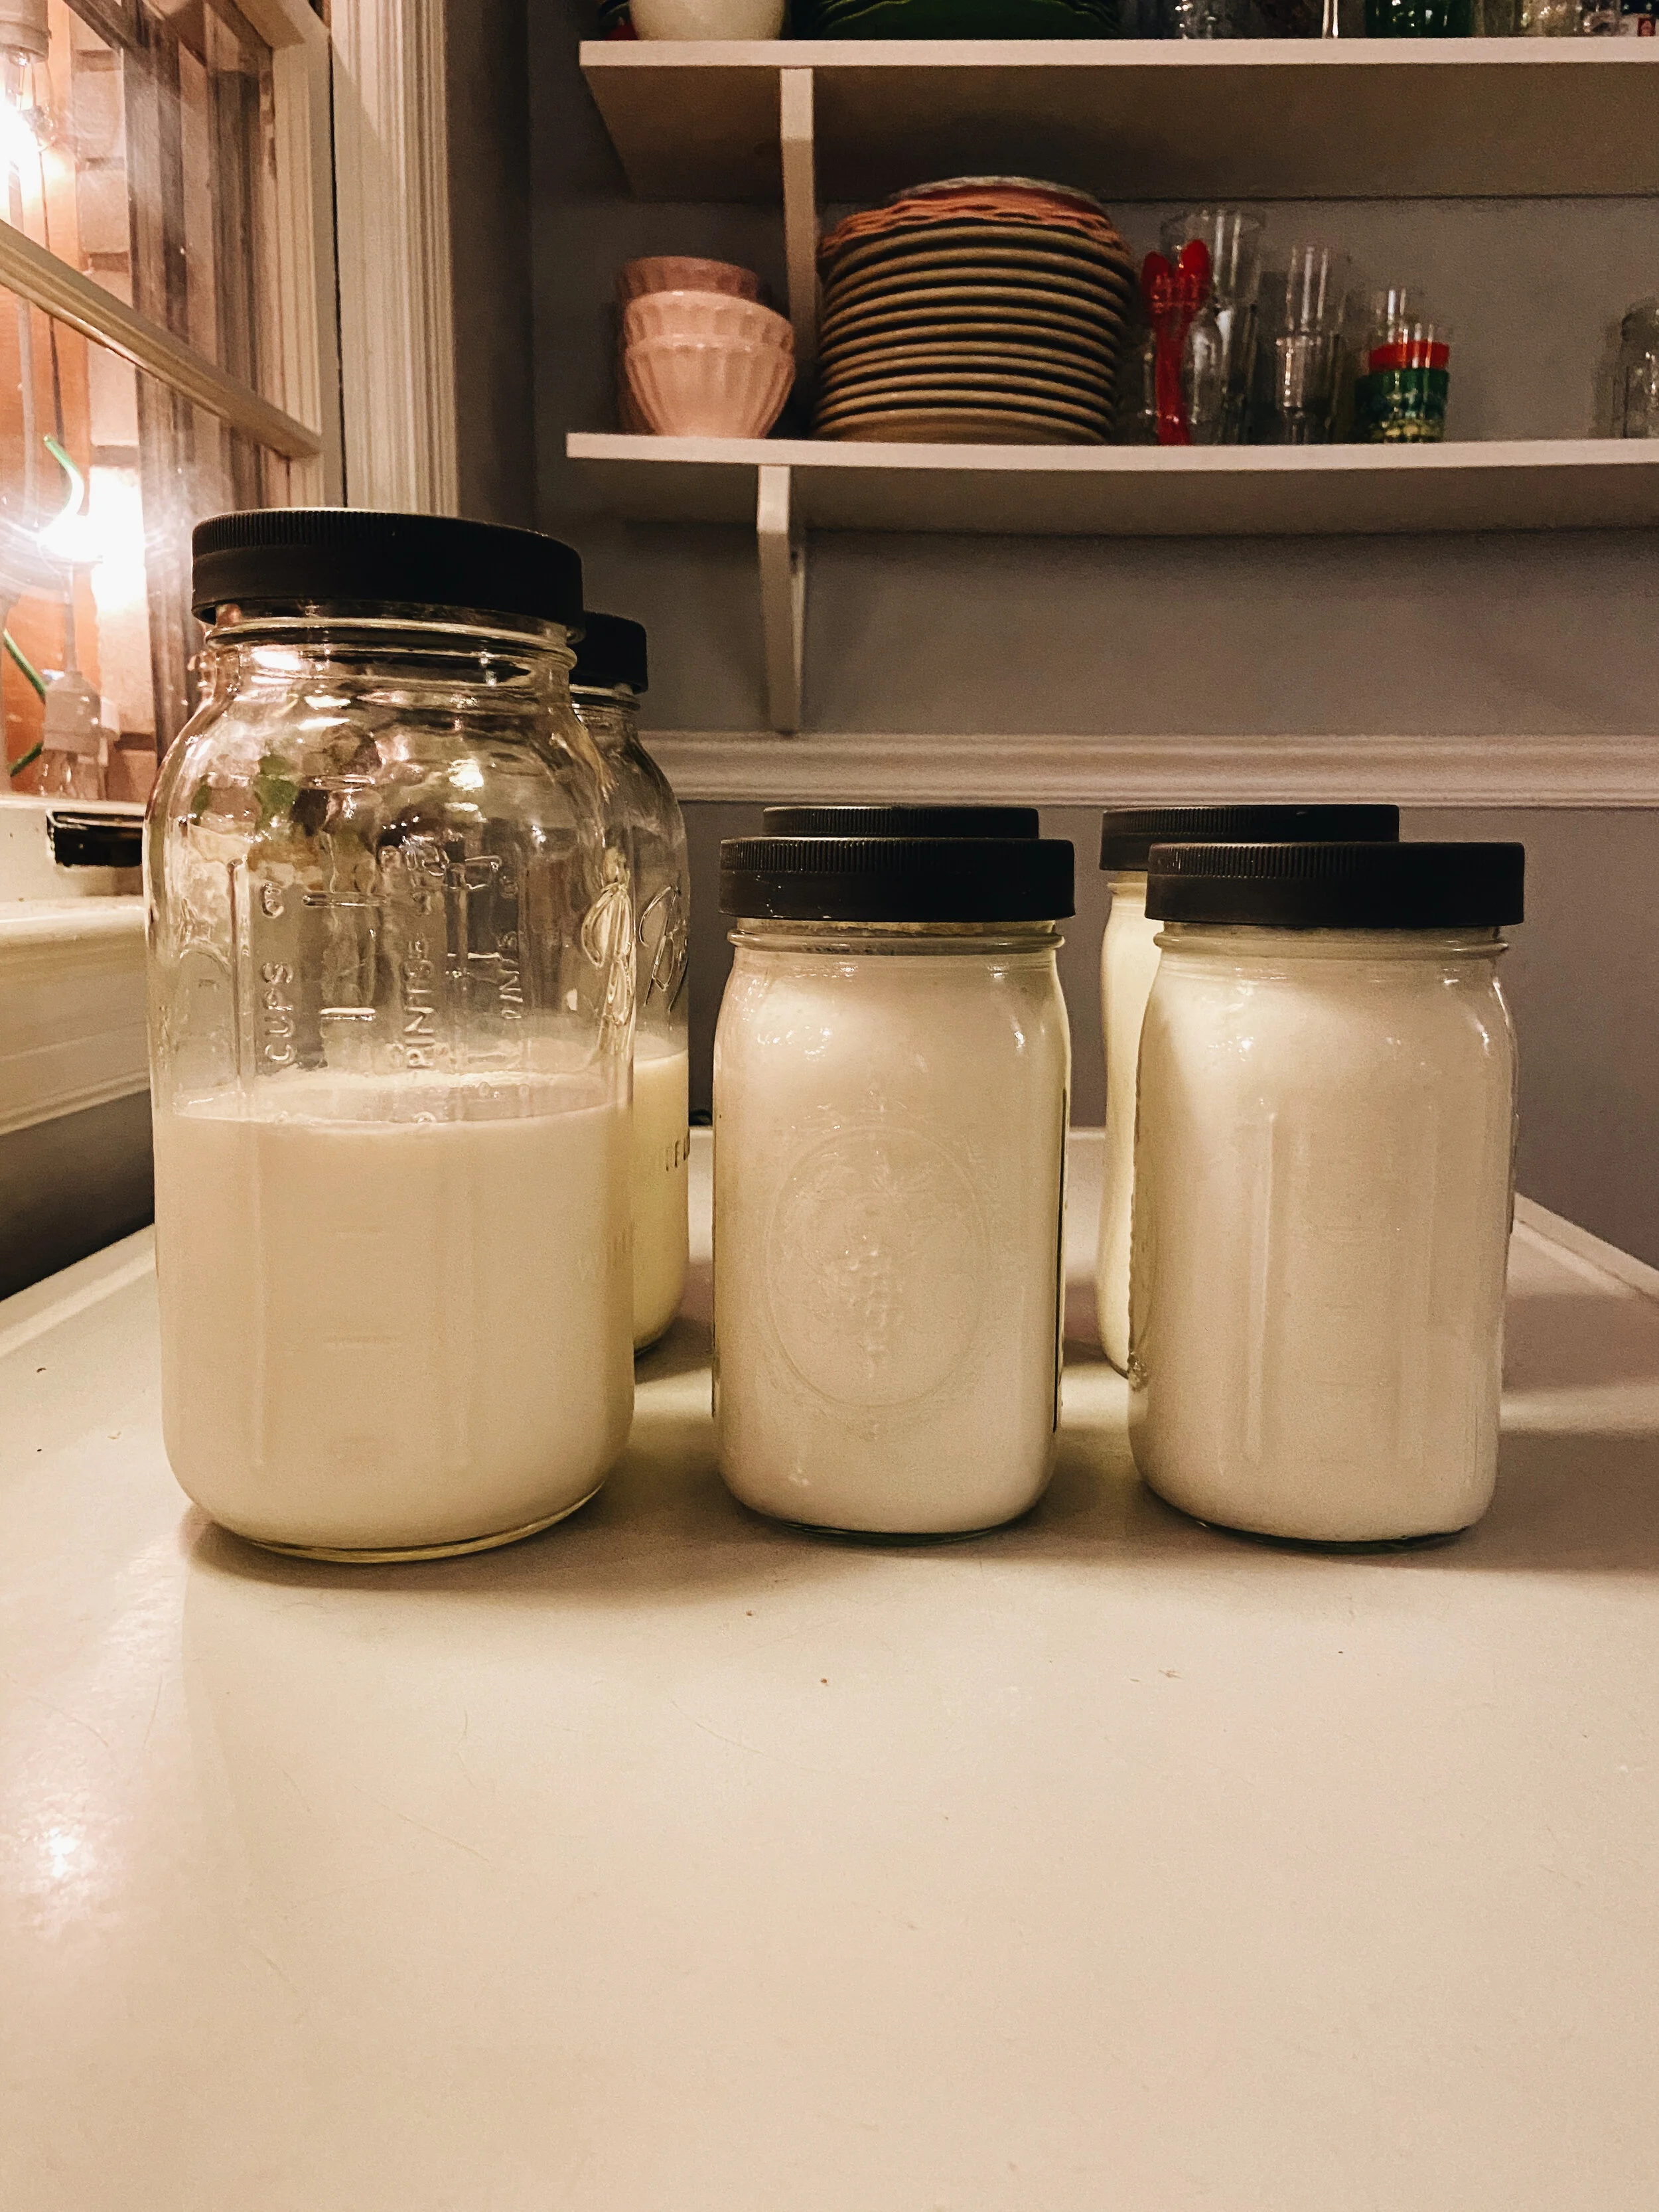
Strain the kefir using a strainer and place it into Mason Jars (I prefer using jars with plastic airtight lids). Note: I like to whisk the kefir before pouring it into the jars. This helps provide an even consistency.
You can also do a double fermentation by straining the grains while the milk is still runny (closer to 18 hours). After this, you set it back on the counter to complete the fermentation process. However, I’ve found that just watching for the right consistency between 18-24 hours (or slightly more depending on the weather) has been the easiest and most manageable.
Refrigerate and drink.
Note: Whenever I open a jar for the first time, I like to whisk the kefir before drinking it. It gives a smoother, creamier, consistency.
To store your grains, you can place them in 3 cups of milk and store them in the refrigerator for up to a week. All you need to do to begin fermenting is add 3 additional cups of milk and follow the process above. I use labeling tape to put the expiration date of the milk on the jar.
What Tools Should I Use?
Strainer (Not the exact same one I use, but it’s very close)
What Else Can I Make with Kefir Grains?
In addition to making regular kefir, here are a few additional variations you can make:
Kefir milk
Kefir cheese
Kefir soda
Kefir sour cream
If you don’t have a friend that can share some overflow grains with you, here are some that you can order:

Credits: Author - Jacintha Payne; Photography - Ali Henderson & Jacintha Payne

